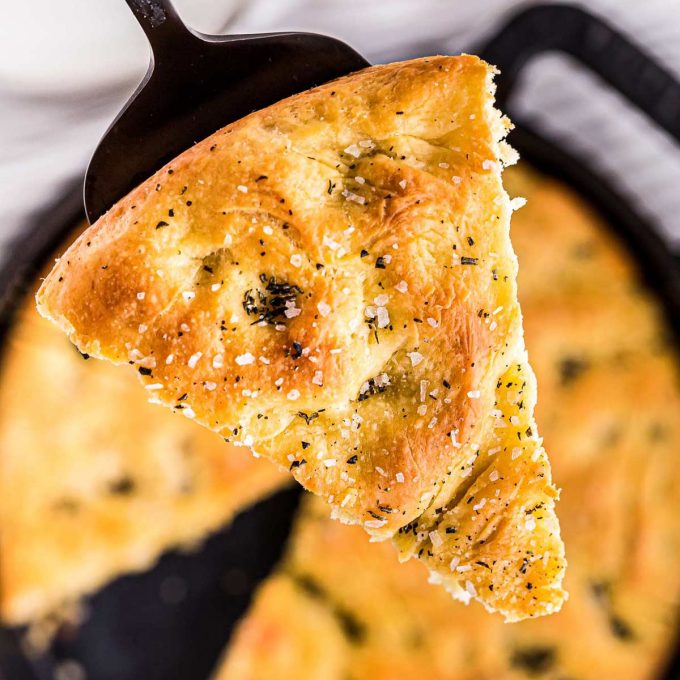
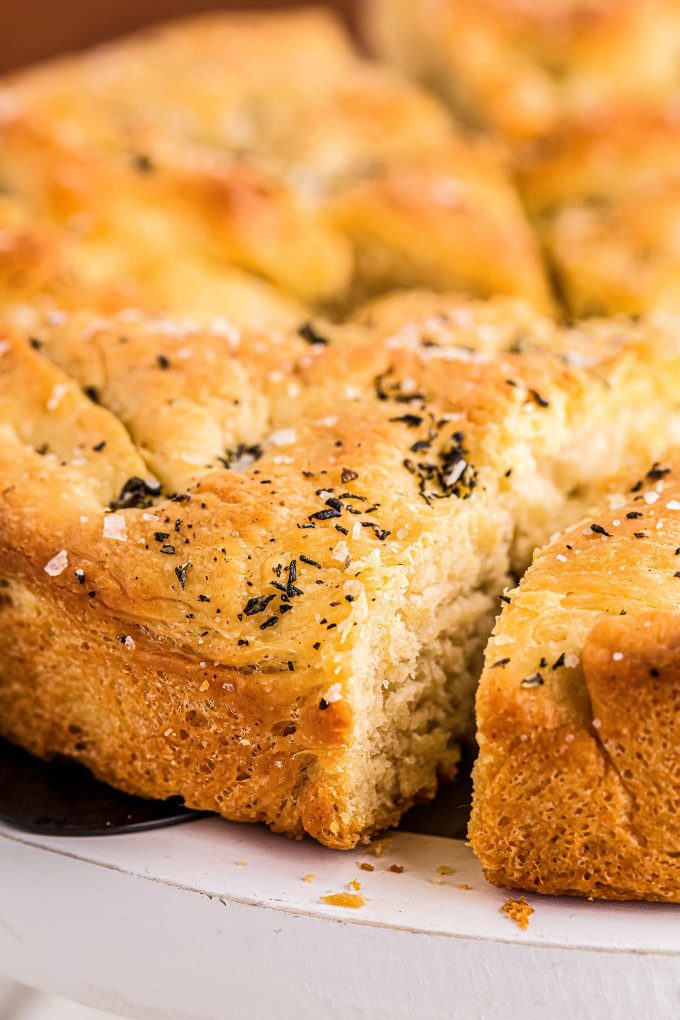
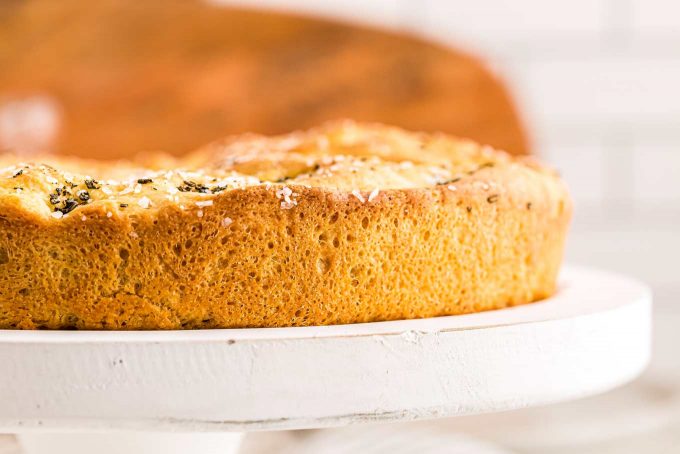
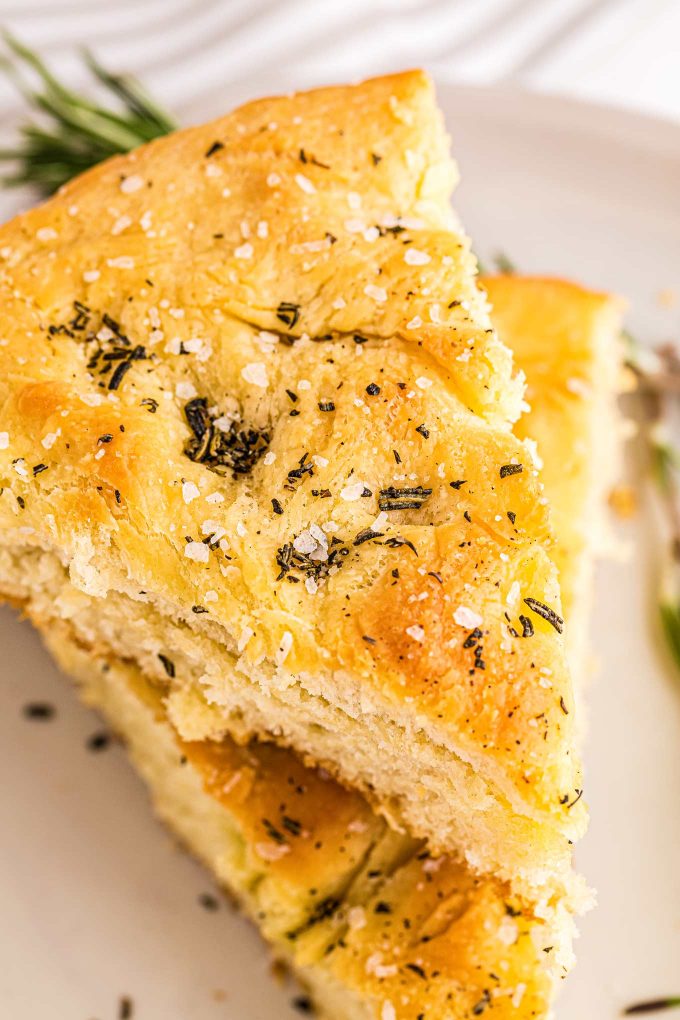
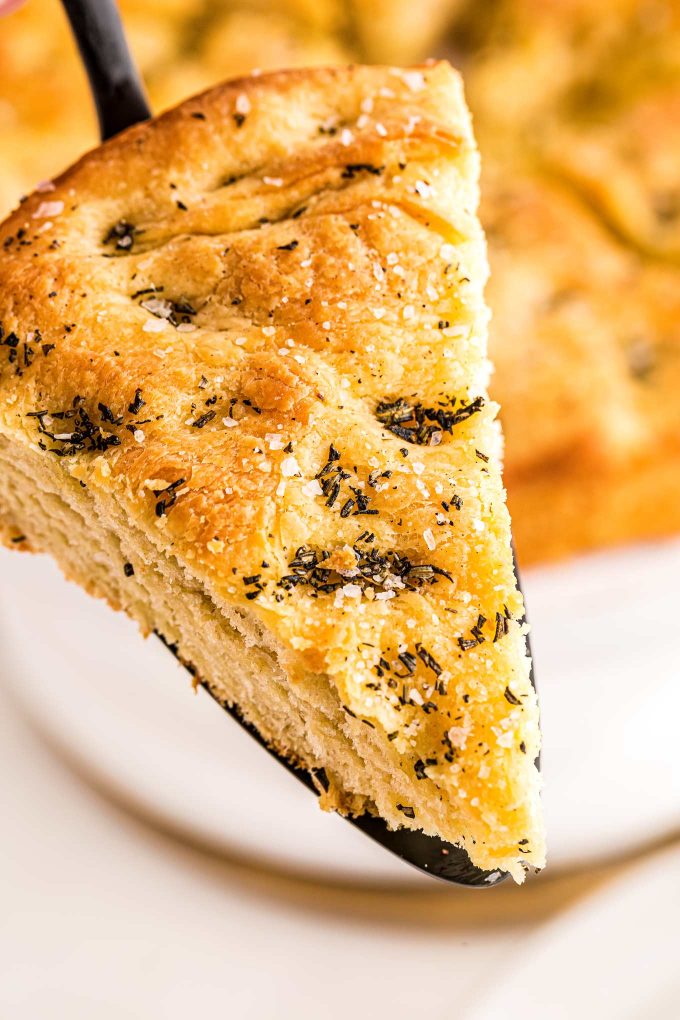
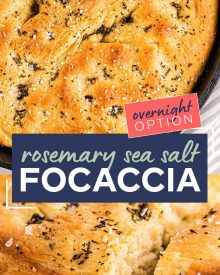
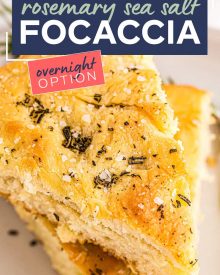
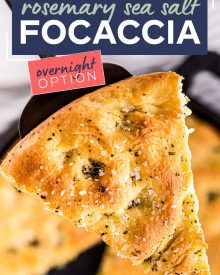
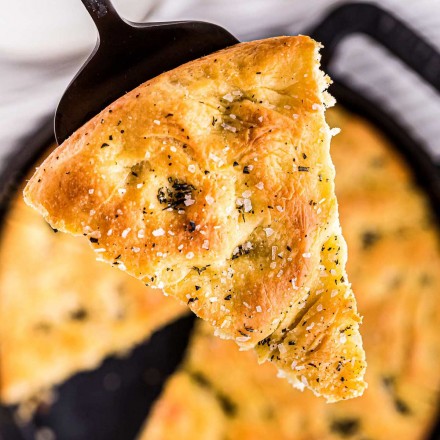
This easy focaccia recipe has a crispy crust, chewy middle, and plenty of herbs and salt in each bite! I promise making yeast bread is easier than you think. With the option to let the dough rest for just a few hours, or overnight, this bread recipe is perfect for any dinner or party!
This Rosemary Focaccia Recipe is one of those recipes that is easy to make, yet LOOKS complicated. We also love easy bread recipes like my Dutch Oven Jalapeno Cheddar Bread and Honey Beer Bread. This is one of my Bread Recipes I know you’ll want to keep on hand!
FOCACCIA RECIPE
Have you ever had really good focaccia bread? It’s so flavorful, with that perfect crisp exterior and tender, chewy interior. To me, focaccia always tastes like pizza crust, turned into a bread!
I love that it can be an appetizer when paired with a great dipping oil, it can be standard table bread when you have soup or pasta, and it can even be a great bread for sandwiches or paninis!
Sure you can buy some focaccia from the bakery, but homemade always tastes so much better. Plus, this recipe requires chilling time, and even tastes BETTER when it sits overnight, so it’s the perfect make ahead recipe.
HOW TO MAKE OVERNIGHT ROSEMARY FOCACCIA
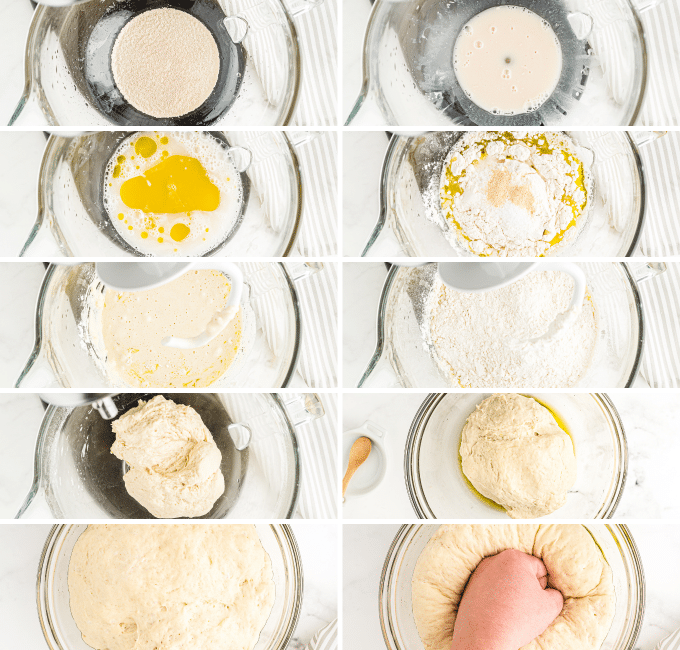
- Activate the yeast. Adding half the water, all the sugar and yeast together and letting it sit activates the yeast so you know you’ll get a good final product.
- Add remaining ingredients. I like to add my flour in stages, so at first, only add 1 cup of the flour, then all the salt, oil, and garlic powder. Once it’s mixed in, add the remaining cup of flour. Reserve the last 1/4 cup to use in case the dough is still really sticky.
- Knead the dough. Doing this in the stand mixer is my preferred way, but you can knead by hand if you like. Poke the dough and watch for it to slowly spring back. If it does, you’re ready to move on. If not, keep kneading.
- Add to bowl and rise. Add dough to lightly oiled bowl, cover and let rise for about 2-3 hours at room temperature, or until doubled in size.
- Punch down the dough. Literally make a fist and punch the dough to deflate the air.
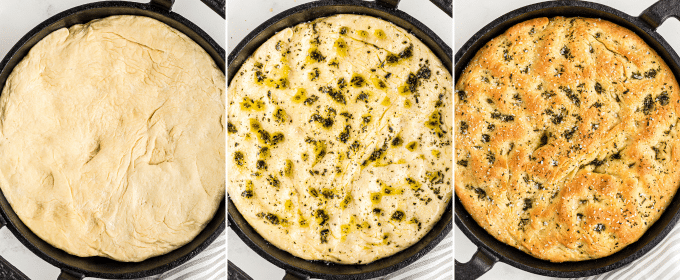
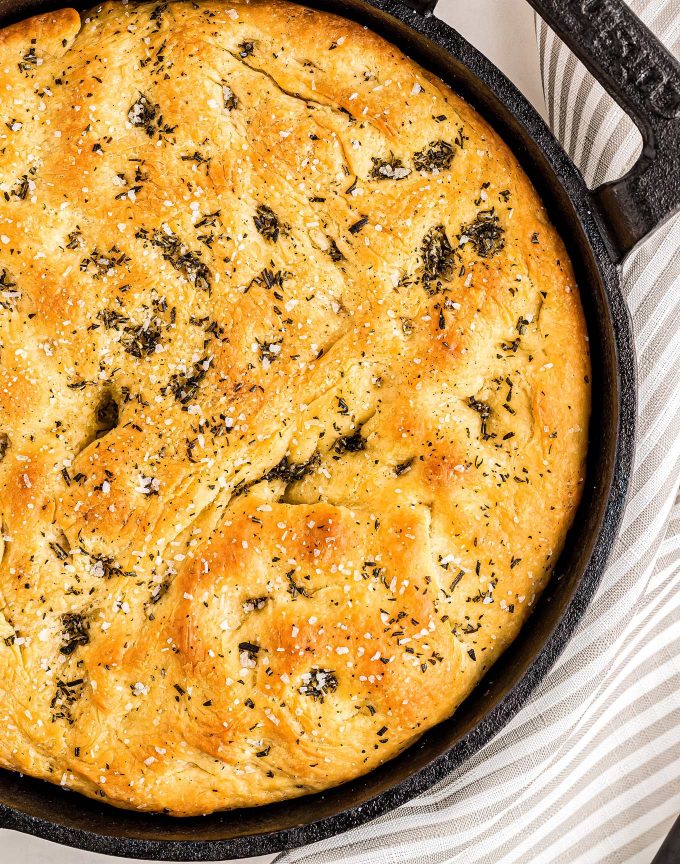
- Add dough to skillet. Add punched down dough to an oiled cast iron skillet and stretch it to fill the skillet.
- Cover and chill. Cover skillet and refrigerate for at least 2 hours, but overnight is best.
- Dimple the dough. With oiled fingertips, push down on the dough to create dimples all over.
- Brush with herb oil. Combine oil and fresh herbs and drizzle or brush it all over the bread dough. Sprinkle with sea salt and a pinch of pepper.
- Bake. Bake in a 450°F oven for 21-23 minutes.
ADDITIONAL COOKING TIPS
- FLOUR – All purpose flour may be used instead of bread flour, without a whole lot of texture changes. I feel bread flour makes focaccia more chewy, which we love.
- YEAST – Instant yeast may be used instead of instant, and you can skip the “active the yeast” section of the recipe directions.
- OIL – Olive oil is a major flavor in focaccia, and this recipe is no exception! We use it not only in the topping and skillet, but in the dough itself. So make sure you buy a good quality olive oil.
VARIATIONS OF THIS RECIPE
- DOUBLED – this recipe can easily be doubled and used to make 2 skillet’s worth of bread, or one large half sheet pan (like this one – at least 12×17 with a rim, nothing flat like a cookie sheet).
- ROASTED GARLIC – try mashing a few cloves of roasted garlic (there’s a method for that here), into the dough, or adding whole roasted cloves on top!
- SEASONINGS – you can feel free to use dried herbs if you don’t have fresh on hand, just use about 1/3 of the amount (since dried herbs are more potent than fresh ones). You can also try adding some red pepper flakes to the topping as well!
- TOPPINGS – one of the great things about focaccia is that you can top it with just about anything! Pine nuts, sun-dried tomatoes, Parmesan cheese, olives, onions, etc.
- NO SKILLET – if you don’t have a cast iron skillet, you can make this bread in a 9×13″ baking pan as well.
MAKING ROSEMARY FOCACCIA AHEAD OF TIME
I love this bread recipe because it’s great for starting one day and finishing the next day! The dough has to chill for at least 2 hours, but I honestly think it tastes BEST when the dough chills overnight.
The longer a yeasted dough sits, the more flavor that develops. However, you don’t want to let it go too long, or it’ll take on a sort of sour taste and weird texture. In general, I don’t let this dough go more than 24 hours, but it can go up to 30.
FREEZING THE DOUGH
You can also freeze this dough! After the dough rises, punch it down to release the air as listed in step 1 of the “transfer dough to skillet” section of the recipe below.
Lightly coat all sides of the dough ball with olive oil. Place the dough ball into resealable freezer bags and seal tightly, squeezing out all the air. Freeze for up to 3 months.
To thaw, place the frozen dough in the refrigerator overnight. Let the thawed dough rest for 30 minutes on the counter, then continue with adding the dough to the skillet as instructed in step 2 of the “transfer dough to skillet”. Proceed with recipe as written.
STORAGE
Leftover focaccia should be covered tightly and stored either at room temperature for 2 days, or in the refrigerator for 1 week.
FREEZING LEFTOVERS
You can freeze the baked (and cooled completely) focaccia for 1 to 3 months. To thaw, place in the refrigerator or at room temperature. When you’re ready to reheat, I recommend slicing and reheating the slices. Bake slices at 300°F for 5-10 minutes, or in the microwave.
SPECIAL EQUIPMENT FOR THIS RECIPE
The following links are affiliate links.
The Chunky Chef, LLC is a participant in the Amazon Services LLC Associates Program, an affiliate advertising program designed to provide a means for sites to earn advertising fees by advertising and linking to amazon.com. For more information regarding this program and what it means for you, please see my Privacy page.
- Stand Mixer – not required, but helps make the kneading quicker and easier.
- Cast Iron Skillet – this is such an affordable option, and I love the double handle design. Perfect for not only this bread, but searing, and stove to oven recipes.
- Sea Salt Flakes – any sea salt will do, but this is my favorite brand.
BE SURE TO SCROLL DOWN TO CHECK OUT OTHER READERS’ COMMENTS FOR TIPS AND REVIEWS.
AND DON’T FORGET, IF YOU’VE MADE THIS RECIPE, LEAVE A COMMENT AND PLEASE GIVE IT A STAR RATING LETTING ME KNOW HOW YOU ENJOYED IT!
Did you make this? Be sure to leave a review below and tag me @the_chunky_chef on Facebook and Instagram!
Ingredients
DOUGH
- 1 cup warm water (warm to the touch, but not hot) divided
- 1 tsp granulated sugar
- 1 tsp active dry yeast can use instant as well
- 2 Tbsp extra virgin olive oil
- 2 1/4 cups bread flour all purpose can be used if you don't have bread flour
- 1 1/4 tsp kosher salt
- 1/4 tsp garlic powder
SKILLET/TOPPINGS
- 3 - 3 1/2 Tbsp extra virgin olive oil divided
- 2-3 Tbsp chopped fresh rosemary
- sprinkle of sea salt and black pepper
Instructions
ACTIVATE THE YEAST
- To the bowl of a stand mixer, fitted with the dough hook attachment, add half the water, all of the sugar, and all of the yeast. Stir together, then let rest for 5-7 minutes.
MAKE DOUGH
- Add remaining water, olive oil, 1 cup of the flour, salt and garlic powder. Mix on low speed for about 30 seconds, then add 1 more cup of flour.
- Mix on low speed for 2 minutes. If the dough is still sticking to the sides of the bowl, add last 1/4 cup flour, a Tablespoon or so at a time, until dough clears the sides of the bowl.
- With mixer still on low or medium low speed, mix dough for 2-3 minutes, until dough is smooth and tacky but not sticky enough to stick to your finger. Poke the dough with your index finger and watch for it to slowly spring back. If it does, it’s ready for the next step. If not, keep kneading with the mixer. (alternately, dough can be turned out onto a lightly floured surface for this step and kneaded by hand for about 4 minutes.)
ADD DOUGH TO BOWL AND RISE
- Drizzle a bit of oil, about a tsp or so, into a large bowl. Add dough to bowl and turn dough over to coat in oil on all sides. Cover bowl with plastic wrap and let sit on the counter at room temperature for 2-3 hours, until doubled in size.
TRANSFER DOUGH TO SKILLET
- When dough has doubled in size, punch down the dough to release potential air bubbles.
- Grease a 12” cast iron skillet with about 1 1/2 Tbsp of olive oil. I spread it around with my fingers, but you can use a pastry brush if you like.
- Transfer dough to prepared skillet, then stretch and smoosh the dough to fill the skillet. If your dough is shrinking and pulling back after you stretch it, cover the skillet and let it rest for 5-10 minutes. Then continue stretching.
CHILL DOUGH
- Cover skillet tightly with plastic wrap and/or foil, and refrigerate overnight, or at least 2 hours. Dough can be chilled for up to 24 hours.
PREPARE TO BAKE
- Remove skillet from refrigerator and let rest on the counter at room temperature for 15 minutes or so, keeping it covered.
- Preheat oven to 450°F.
DIMPLE DOUGH AND ADD TOPPINGS
- Rub a little olive oil on your finger tips and use your fingers to dimple the entire surface of the dough.
- Combine remaining 1 1/2 - 2 Tbsp of olive oil with fresh herbs. Drizzle herb oil mixture all over the top, using a pastry brush to completely cover the dough. Sprinkle with a little sea salt and black pepper.
BAKE AND COOL
- Bake for 21-23 minutes, until lightly golden brown.
- Let cool at room temperature until warm or cooled completely. Slice and serve!
Want to save this recipe for later? Click the heart in the bottom right corner to save to your own recipe box!
Chef Tips
Nutrition Disclaimer
The Chunky Chef is not a dietician or nutritionist, and any nutritional information shared is an estimate. If calorie count and other nutritional values are important to you, we recommend running the ingredients through whichever online nutritional calculator you prefer. Calories can vary quite a bit depending on which brands were used.

Kathy F says
Outstanding!! Very easy to make and your directions were easy to follow. Thank you for another amazing bread recipe.
Sara Welch says
Gave this a try and it definitely did not disappoint! Was perfect with our spaghetti dinner last night!
Beti | easyweeknightrecipes says
This is the perfect side to any fall meal!! It looks SO delicious!
katerina @ diethood.com says
I LOVE this rosemary focaccia! It looks incredibly delicious!
Allyson Zea says
I love getting this at the restaurant and now I can make it at home! WIN!!!
Toni Dash says
This is such a delicious side dish! Perfect for any occasion!
Erin | Dinners,Dishes and Dessert says
This Rosemary Focaccia is seriously making me hungry!
kerri says
I’ve been intimidated by focaccia. This makes me feel like I could do it myself and not mess it up!