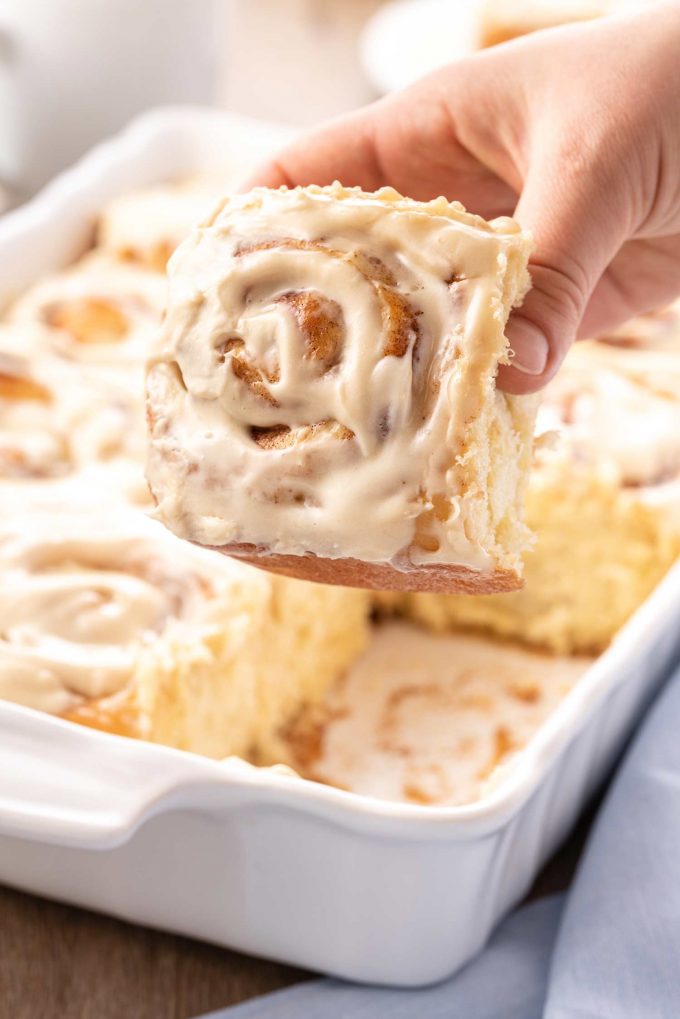
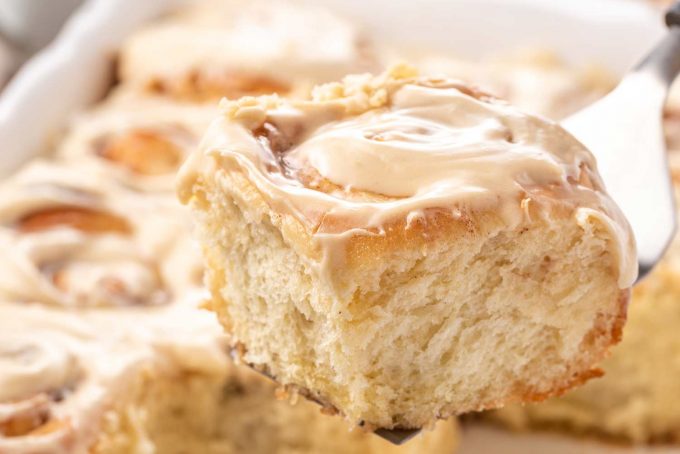
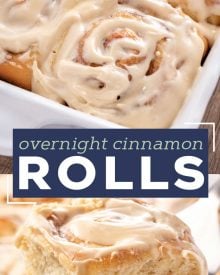
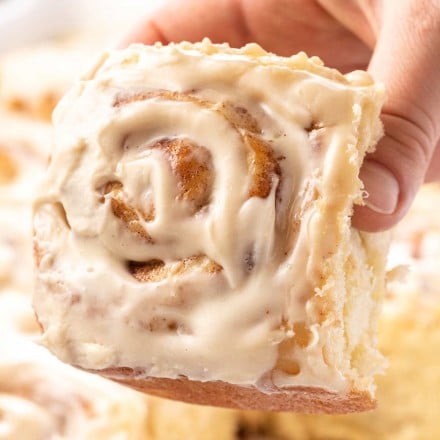
These Overnight Cinnamon Rolls are so soft and fluffy and slathered in a velvety cream cheese icing! You’ll love this warm and gooey breakfast recipe, and how easy it is to make ahead of time!
These Homemade Overnight Cinnamon Rolls are such a fun breakfast treat, and SO delicious! We love breakfasts that can double as a dessert, like my Old Fashioned Donuts, and Sticky Buns. This is one of my Breakfast recipes you’ll definitely want in your collection!
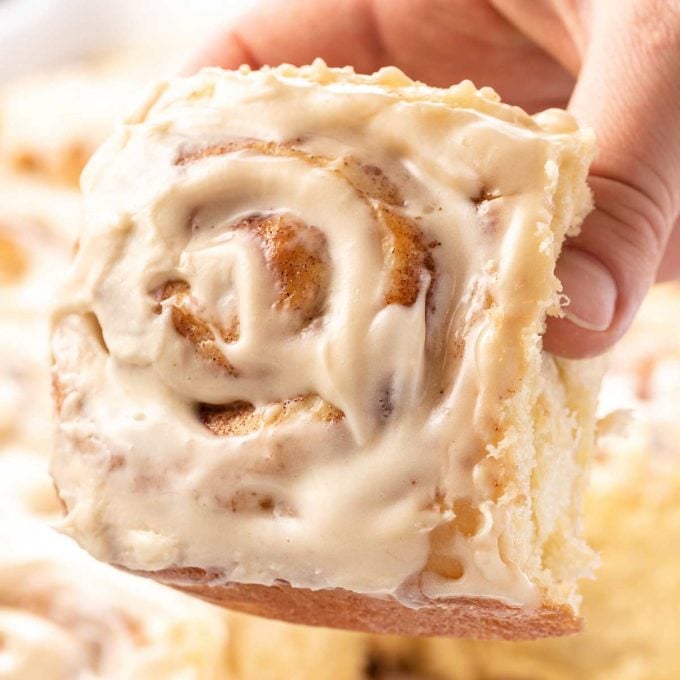
Overnight cinnamon rolls recipe
Is there anything better than sinking your teeth into a warm, gooey cinnamon roll? I mean, just writing that sentence made my mouth water a bit.
I took my Caramel Pecan Sticky Bun dough and turned them into fabulous cinnamon rolls!
Cinnamon rolls are the quintessential comfort food breakfast; the ultimate indulgence. Not something you’re going to eat ever morning, but every now and then… man, you just gotta do it!
The problem is, making cinnamon rolls from scratch takes hours, and if you want to eat at a regular breakfast time, that means the person who’s cooking will have to get up realllllllly early in the morning.
I don’t know about you, but that’s just not my thing. I’m not what you’d call a morning person lol.
But with these overnight cinnamon rolls, you do most of the work the day before! In the morning, all you have to do it set out the rolls to finish rising, which takes about an hour, or up to two. So set them out, then grab a shower, go back to bed for a bit, get ready for the day, or however you like to spend your mornings.
Then just pop the rolls in the oven and slather them with icing when they’re done baking. It’s a breakfast your whole family won’t mind getting up for!
How to make homemade cinnamon rolls
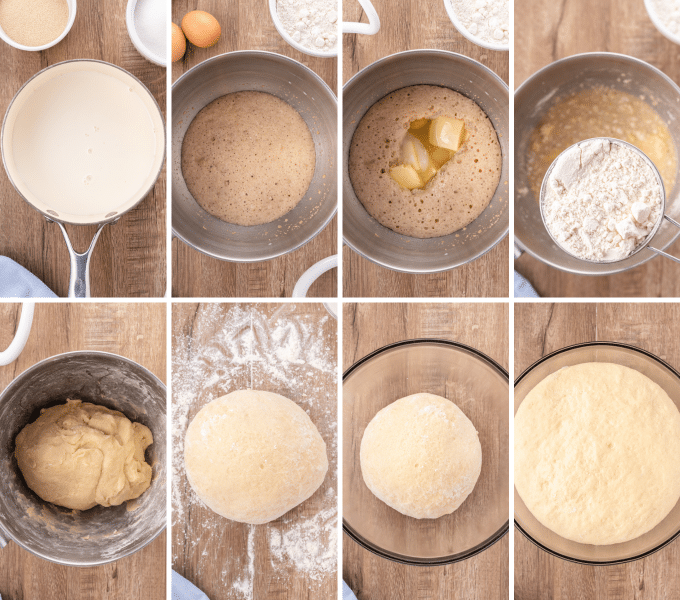
- Warm the milk and bloom yeast. This activates the yeast, and makes sure it’s good to use.
- Add butter, eggs and salt.
- Add flour. Add flour in 1 cup increments, mixing after each addition.
- Knead dough. Increase mixer speed to medium and mix/knead about 5 minutes, until dough is soft and tacky, but not sticky.
- Turn out dough and form into ball. Transfer ball to greased mixing bowl.
- First rise. Let dough rise for about 2 hours, or until doubled in size.
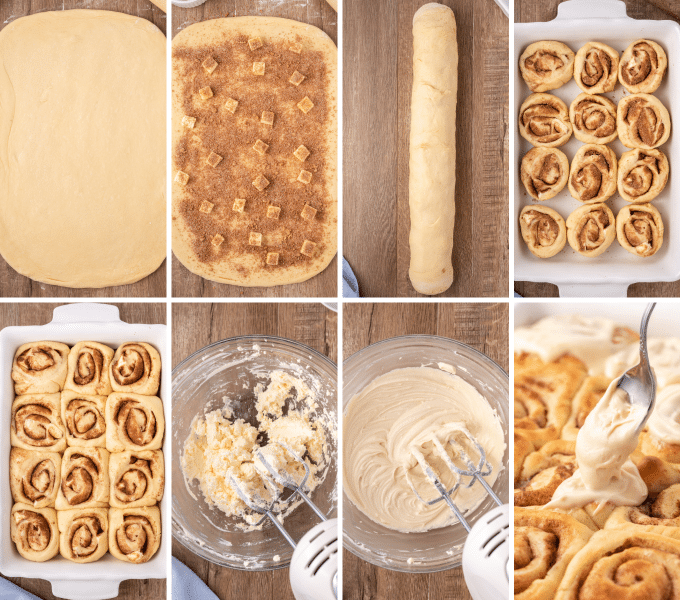
- Turn out dough and roll into rectangle. Your rectangle should be approximately 12×18″.
- Dot or spread softened butter on dough.
- Sprinkle dough with cinnamon and sugars.
- Roll dough up into a log shape, rolling up the bottom (long) side of the rectangle.
- Slice into rolls, then add to greased 9×13″ baking pan. Cover and refrigerate.
- Let rolls rise for 1-2 hours, until puffy and larger.
- Bake in preheated 375°F oven for about 25 minutes.
- Let rolls cool for about 5-10 minutes.
- While rolls are cooling, mix icing together.
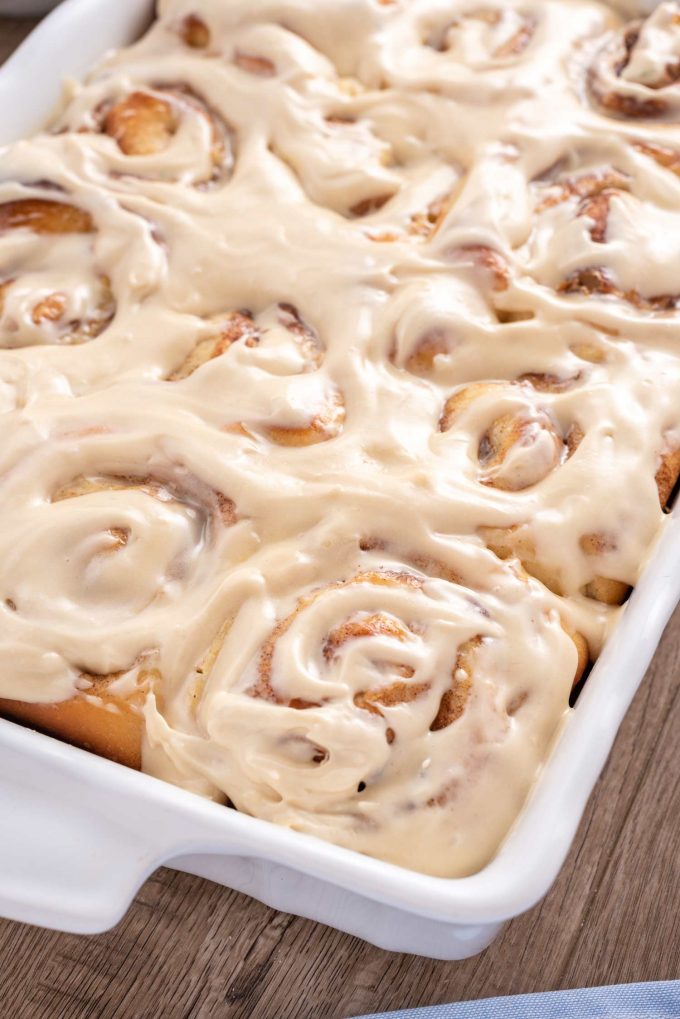
- Spread icing on rolls.
Additional cooking tips
- Don’t panic – first things first, take a deep breath. If you’ve never worked with yeast before, you can still make these. Bread-making isn’t as difficult as it’s made out to be… it just takes some time. You have to have a little patience.
- No stand mixer – you don’t have to use one, so don’t be discouraged if you don’t own one. You just use a bowl and wooden spoon, but you’ll have to knead by hand until the dough comes together.
- Check your yeast – after sitting with the warm milk, the yeast should be frothy and foamy looking. If it doesn’t, then that yeast is likely dead and won’t work for this recipe. Start over with a new batch of yeast.
- Make your own warm spot for the dough – most people, myself included, don’t know where a naturally warm spot is in their kitchen… or maybe it’s the dead of winter and there’s no warmth anywhere. No worries! Preheat your oven to 200°F and let it preheat for about 3-4 minutes. Then turn your oven OFF, don’t let it get all the way to 200°F. Place the bowl of dough in the oven to rise. Alternately, you can turn on the light in your cold oven and add the bowl of dough to the oven with the door shut.
- Not picture perfect – don’t worry if your cinnamon rolls aren’t absolutely perfect in shape. Odds are, they won’t be… mine never are anyway! Homemade treats are supposed to be a bit rustic, and once people take a bite, they won’t care what they look like… trust me!
- Easy slicing – Slicing the cinnamon roll dough into wheels can be tricky. Use a very sharp serrated knife, or some unflavored dental floss (seriously, make sure it’s UNflavored – no one wants spearmint flavored rolls!). Slide the floss underneath the log, bring both sides up, cross them over each other, and pull tight. Easy slices!
Variations of this recipe
- Non-overnight – if you don’t need to have these rolls rise overnight, no problemo! After the sliced rolls are added to the baking pan, loosely cover the pan, and let it rise in a warm place until puffy and larger in size, about 1.5 – 2 hours. Bake as directed and enjoy!
- Nuts – try adding some chopped pecans to the filling mixture!
- Regular icing – personally I love the cream cheese icing, but if it’s not your thing, no worries, beat 1/2 cup unsalted butter until creamy, then add in 2 cups of powdered sugar. Beat sugar into the butter, along with 1 tsp vanilla extract and 2 tsp milk. When creamy and smooth, it’s ready.
- Eggnog – there are two ways you can add some holiday flavor to these cinnamon rolls. First, replace half the milk with eggnog. Second, add eggnog instead of milk in the icing. Both are delicious!
- Nutella – for a fun twist add some hazelnut spread to the filling of these rolls.
- Maple – try adding maple syrup to the icing instead of milk!
Making cinnamon rolls ahead of time
The beauty of this recipe, is as it’s written, it’s already a make ahead recipe! The dough is designed to be made, allowed to rise once, sliced into rolls, and instead of going right in for the second rise, they’re refrigerated overnight.
This lets the dough rise slowly, which not only gives you more time, it lets the flavors of the dough develop a bit more.
You can also make the icing ahead of time too! Just keep it covered and refrigerated, then when you set the rolls out in the morning to finish rising, set out the icing so it can come to room temperature.
Storage
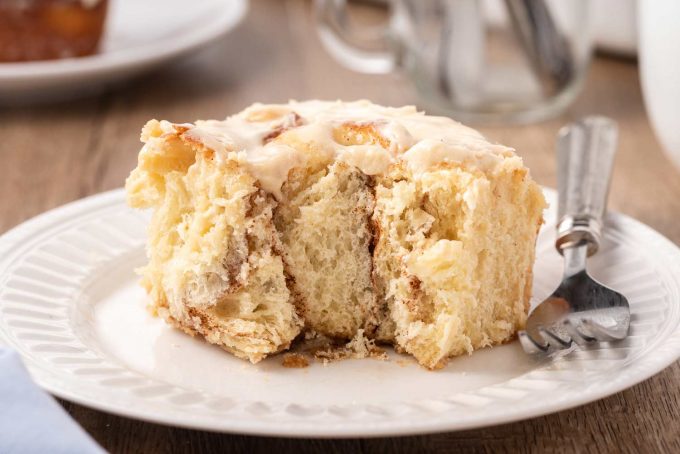
Leftover cinnamon rolls should be stored in an airtight container at room temperature for up to 3 days. You can refrigerate them to make them last another couple of days, but that can dry them out. So use your best judgement when it comes to storing.
Freezing
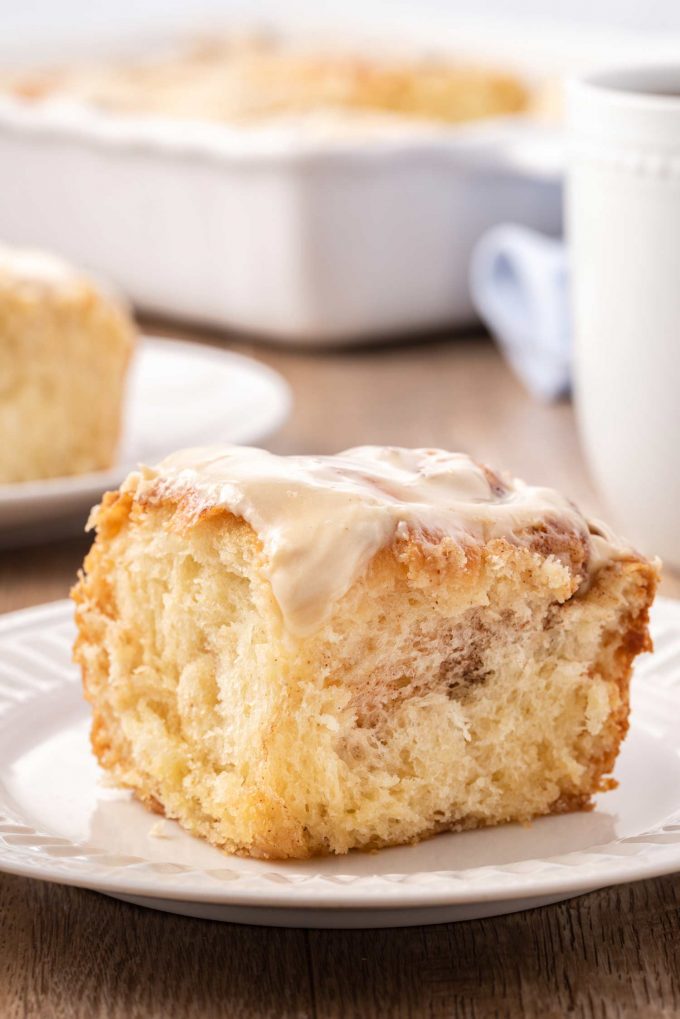
What could be better than having cinnamon rolls waiting for you in the freezer? The unfrosted baked rolls can be frozen for 2-3 months.
- Cool the baked cinnamon rolls completely. Make sure to wrap them tightly with foil and place in an airtight container for freezing. Thaw them overnight in the refrigerator, then warm them up, slather them with icing, and enjoy!
You can also freeze the UNbaked cinnamon rolls. Well, partially baked. They’re best when par-baked so you can have these rolls on the table faster.
- Complete the cinnamon roll recipe up to the baking step. Bake for 10-12 minutes, until set but not golden brown. Let them cool completely in the pan, then cover tightly and freeze for up to 6 weeks.
- Thaw overnight in the refrigerator, then bake for about 15 minutes, or until cooked through and golden.
- Ice and serve!
Shop the recipe
- Ceramic 9×13″ pan – I can’t find the link for the exact baking pan used in the photos, but this one is close and I have several of the brand’s pieces and they’re definitely good quality.
- Metal 9×13″ pan – most of the time, I use this classic and inexpensive pan.
- Platinum yeast – my all-time, absolute favorite yeast to work with!
Be sure to scroll down to check out other readers’ comments for tips and reviews.
And don’t forget, if you’ve made this recipe, please consider leaving a comment and star rating to let me know how you enjoyed it!
Did you make this? Be sure to leave a review below and tag me @the_chunky_chef on Facebook and Instagram!
Ingredients
Dough
- 1 cup whole milk
- 2/3 cup granulated sugar
- 1 1/2 Tbsp instant or active dry yeast (my personal favorite is Red Star Platinum Yeast - it's instant)
- 1/2 cup unsalted butter softened to room temperature and sliced into 5-6 pieces
- 2 large eggs room temperature is best
- 1/2 tsp kosher salt
- 4 - 4 1/2 cups all purpose flour
Filling
- 6 Tbsp unsalted butter softened to room temperature
- 1/4 cup granulated sugar
- 1/4 cup packed light brown sugar
- 1 Tbsp ground cinnamon
Cream Cheese Icing
- 4 Tbsp unsalted butter softened to room temperature
- 3-4 oz cream cheese softened to room temperature
- 2 tsp whole milk
- 1 tsp vanilla extract
- 1 1/3 cups powdered sugar
Instructions
Make the dough
- Heat milk until about 95°F (where milk is warm to the touch but not hot), using either the stove or microwave. Add to bowl of a stand mixer, add warm milk, sugar and yeast. Stir and let sit for 5-10 minutes.
- After the 5-10 minutes, the mixture should be foamy and smell “yeasty”. This step to to activate the yeast and make sure it’s still good. If mixture doesn’t look foamy, discard and start over with new yeast.
- Fit the stand mixer with the dough hook attachment and add butter, eggs and salt, then mix on LOW speed until combined.
- Gradually add the flour, in roughly 1 cup increments. When 4 cups of flour has been added, increase mixer speed to MED and knead about 5-6 minutes, until a soft dough forms. Dough should be soft and smooth, slightly tacky but not sticky. If dough is too sticky, add extra flour, 1 Tbsp at a time, and mix until it’s soft and smooth. If dough is too stiff, add some water, about 1/4 tsp, and mix until dough is soft.
- Lightly grease a large mixing bowl and set aside.
- Lightly flour your counter or other flat surface and transfer dough onto it. Dust your hands with a little bit of flour and gently knead the dough for a minute or so.
- Form into a ball and transfer to prepared mixing bowl. Cover loosely with plastic wrap and a clean kitchen towel. Place bowl in a warm spot for about 2 hours, or until roughly doubled in size.
- Punch down the dough, then turn dough out onto lightly floured surface and roll into a rectangle, roughly 12x18” in size, and even in thickness.
Make the filling and roll
- In a small bowl, combine granulated sugar, brown sugar and cinnamon.
- Dot the dough with the softened butter, then sprinkle on the cinnamon sugar mixture. Pat the dough with your hands a bit so the sugar mixture sticks to the butter.
- Starting with one of the longer sides of the rectangle, roll up tightly into a log shape. I find starting to roll one side, rolling away from you once, then moving down the line a bit and doing the same thing, repeating until you’re all the way across gives you the most even rolling method.
- Once you have an 18” log shape, carefully slice into 12 evenly sized rolls.
- Butter the bottom and sides of a 9x13” baking dish. Arrange rolls in baking dish, cut side up.
- Cover tightly with foil and refrigerate for 8-18 hours.
Second rise and bake
- Remove baking dish with rolls from the refrigerator and let sit in a warm spot for about 1-2 hours, until puffy.
- Once the rolls have risen, preheat the oven to 375°F. Bake rolls for about 25 minutes, until golden. Halfway through, cover loosely with foil so the tops don’t brown too much.
Cool slightly and top with icing
- Let baking dish of baked rolls cool on a wire cooling rack for about 7-10 minutes.
- Using a handheld mixer, or stand mixer with a paddle attachment, beat butter and cream cheese together until smooth.
- Add vanilla and powdered sugar and beat another 3 minutes or so, until fluffy and creamy.
- Spread icing over the cinnamon rolls and serve.
Want to save this recipe for later? Click the heart in the bottom right corner to save to your own recipe box!
Chef Tips
No stand mixer
If you have one, by all means use it! But you don’t have to use one, so don’t be discouraged if you don’t own one. You just use a bowl and wooden spoon, but you’ll have to knead by hand until the dough comes together.Check your yeast
After sitting with the warm milk, the yeast should be frothy and foamy looking. If it doesn’t, then that yeast is likely dead and won’t work for this recipe. Start over with a new batch of yeast.Make your own warm spot for the dough
Most people, myself included, don’t necessarily know where a naturally warm spot is in their kitchen… or maybe it’s the dead of winter and there’s no warmth anywhere. No worries!- Preheat your oven to 200°F and let it preheat for about 3-4 minutes. Then turn your oven OFF, don’t let it get all the way to 200°F.
- Place the bowl of dough in the oven to rise.
- Alternately, you can turn on the light in your cold oven and add the bowl of dough to the oven with the door shut.
Easy slicing
Slicing the cinnamon roll dough into wheels can be tricky. Use a very sharp serrated knife, or some unflavored dental floss (seriously, make sure it’s UNflavored – no one wants spearmint flavored rolls!). Slide the floss underneath the log, bring both sides up, cross them over each other, and pull tight. Easy slices!Freezing
The unfrosted baked rolls can be frozen for 2-3 months.- Cool the baked cinnamon rolls completely.
- Make sure to wrap them tightly with foil and place in an airtight container for freezing.
- Thaw them overnight in the refrigerator, then warm them up, slather them with icing, and enjoy!
- Complete the cinnamon roll recipe up to the baking step. Bake for 10-12 minutes, until set but not golden brown.
- Let them cool completely in the pan, then cover tightly and freeze for up to 6 weeks.
- Thaw overnight in the refrigerator, then bake for about 15 minutes, or until cooked through and golden.
Nutrition Disclaimer
The Chunky Chef is not a dietician or nutritionist, and any nutritional information shared is an estimate. If calorie count and other nutritional values are important to you, we recommend running the ingredients through whichever online nutritional calculator you prefer. Calories can vary quite a bit depending on which brands were used.
Any nutritional information shared is an estimate, and is automatically calculated through a program. If calorie count is important to you, I recommend running the ingredients through whichever online nutritional calculator you prefer. Calories can vary quite a bit depending on which brands were used.
The Chunky Chef is not a nutritionist and doesn’t provide full nutritional information for recipes as there is a potential for error and we wouldn’t want to potentially and/or unknowingly pass along incorrect information.



Jillian Zorn says
I’m going to try and make these a second time and use a thicker or different filling. Dough was good but they were extremely dry… and I did use more butter than what is called for as well. Maybe they dried out in the fridge. Cream cheese icing saves everything, so it worked for Christmas breakfast!
Ana Leaf says
I am a novice baker living in high altitude Colorado! I made this recipe for a baby shower brunch; I doubled the ingredient amounts because of the guest list…what a mini miracle of baking I achieved! The cinnamon rolls came out perfect and the evidence was the empty pan I brought home! Everyone commented how delicious the cinnamon rolls were. Thank you for helping me look like a professional baker! Yummy recipe!
Julie says
What happens if I use 1% milk instead of whole milk?
The Chunky Chef says
I’ve only tested this recipe as written. So without testing and retesting it myself, I can’t say for certain how well 1% would work. If you do some experimenting, I’d love to know how it turns out!
AC says
Just made these for the first time and they were incredibly delicious! Thank you for sharing your recipe and providing clear steps for a still learning baker like me. My first successful cinnamon roll baking experience 🙂
Catalina says
Mmmm…! How good this cinnamon rolls looks! Yummy!
Beth says
This looks so delicious and yummy! My daughter is going to love this recipe! So excited to show her this!
Erin | Dinners,Dishes and Dessert says
These Homemade Overnight Cinnamon Rolls would disappear in our house!
Amanda Livesay says
Perfect cinnamon rolls! My kids ask for them every weekend.
Jen says
I always love the way you break down recipes. I’ve been intimidated to try my hand at making these until now. I really appreciate all of the tips.