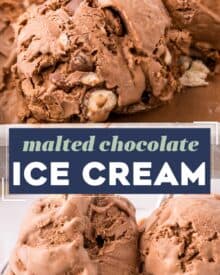
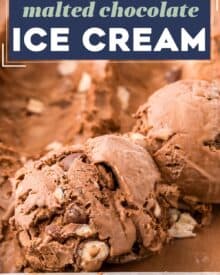
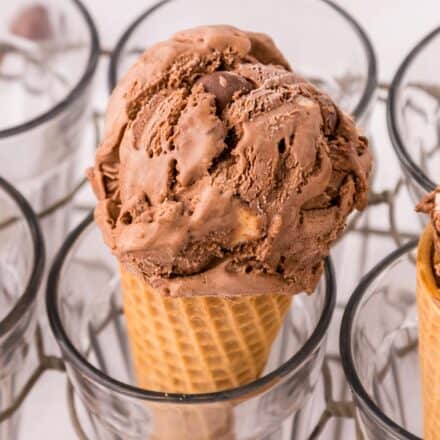
Rich and creamy homemade chocolate ice cream is flavored with malted milk powder, and a decadent crunch from the chopped malted milk balls. This frozen treat is so simple to make, and no ice cream maker is required!
This is one of my Frozen Dessert recipes I know you’ll want to keep on hand!
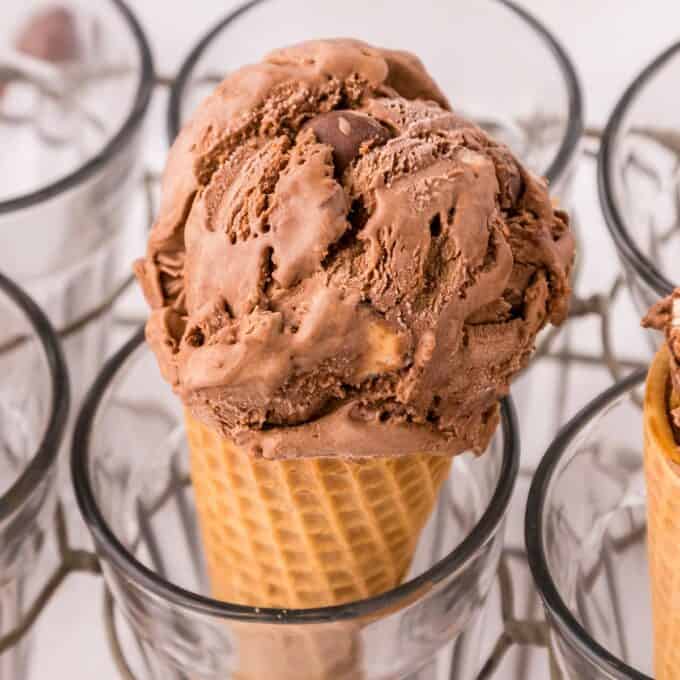
When it comes to ice cream, you’re either camp “year-round” or camp “summer only”. Which camp are you in?
I’m definitely in the “year-round” camp. Even on the coldest winter night, I’ll happily dive into a bowl of my favorite ice cream!
Making homemade ice cream is deceptively simple, and most of the time is spent just waiting for it to freeze.
Plus, this turtle brownie ice cream recipe doesn’t use an ice cream maker – so you can absolutely make this, with no fancy tools required!
As a bit of an ice cream connoisseur, I can attest that homemade ice cream tastes SOOOO much better than store-bought.
And as a bonus, there aren’t any added preservatives and you can add ANY flavor you want, with as many mix-ins as you want!
What do I need to make this recipe?
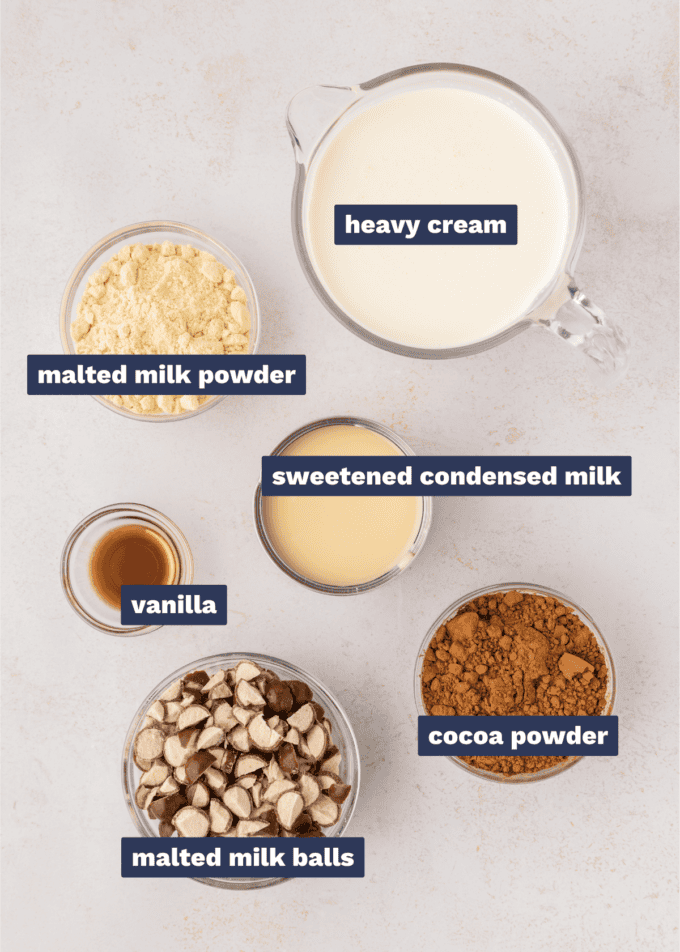
- Heavy cream – this is found in the dairy aisle, and may be labeled “heavy whipping cream”. It’s really not substitute-able for this recipe.
- Cocoa powder – pick up your favorite brand of unsweetened cocoa powder, we like Hershey’s.
- Malted milk powder – in my grocery store, this is found in the baking aisle, near the condensed and evaporated milks, as well as the regular powdered milk.
- Vanilla extract – this recipe was tested using the real stuff, not the clear imitation flavor.
- Sweetened condensed milk – this is what makes the ice cream sweet, so you really don’t want to omit or substitute this ingredient.
- Malted milk balls – such as Whopper brand candies.
How to make malted chocolate ice cream?
This is just an overview; the full ingredients and directions are in the recipe card toward the bottom of this post.
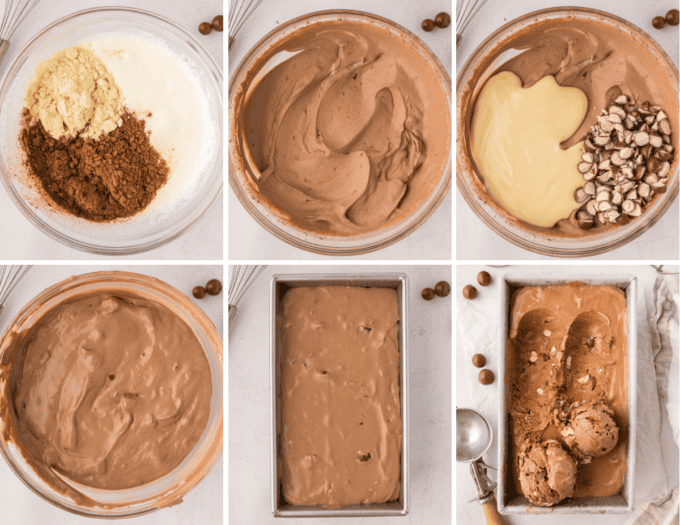
- Whip the cream, cocoa powder, and malted milk powder. This will take a little bit of patience, but it’s essential. You want stiff peaks for this (check out the chef tips section below the full recipe for a detailed description of stiff peaks).
- Fold. Gently fold in the vanilla, condensed milk, and malted milk balls.
- Freeze. This will take several hours.
Helpful Tip!
Pay close attention to the cans at the grocery store when picking up the sweetened condensed milk. Condensed milk and evaporated milk are sold in similar cans and usually next to each other on the shelf. Even though the cans look similar, they can’t be used interchangeably. Condensed milk is thick and gooey, while evaporated milk is thin and looks like milk… you’ll know as soon as you open the can if you accidentally picked up the wrong kind.
Variations of this recipe
- Chocolate malted milk powder – if you’d like to buy chocolate malted milk powder, just use 1 cup of that and omit the regular cocoa powder.
- Larger batch – if you’d like more than the 1.5-2 quarts of ice cream this recipe makes, feel free to double the recipe (just make sure to double all of the ingredients), and use a 9×13″ pan instead of a loaf pan.
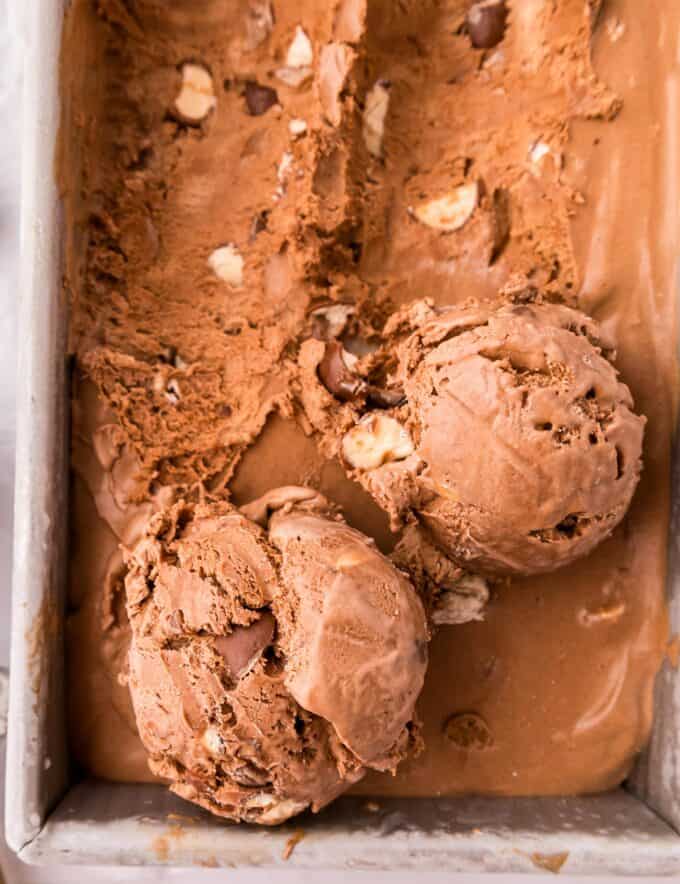
- Other stir-ins – for some extra flavor and crunch, I like to add some chopped salted and roasted almonds, and/or some chocolate chips.
- Malted milk balls – if you’re not a fan of these candies (Whoppers is a common brand), you can omit them.
FAQ’s
It may be an ingredient you’re unfamiliar with, and don’t worry, you’re not alone! Malted milk powder is a combination of evaporated milk powder, malted barley, and a little wheat flour. It adds a toasty, earthy flavor to this ice cream, as well as creaminess. It’s also great in milkshakes (which would make them a “malt”), so I like to keep a canister on hand.
All it means is that no ice cream maker is needed. With traditional ice cream, you need to make an egg custard and add the mixture to an ice cream maker where it’s mechanically churned for a length of time. This recipe eliminates all of that.
Unfortunately no, not with the same creamy results. Milk or half and half just don’t have enough fat content to whip into stiff peaks. Regular whipping cream should technically work, but it won’t be nearly as creamy.
Making ice cream ahead of time
No churn ice cream is perfect for making ahead, since it has to freeze for at least 5 hours.
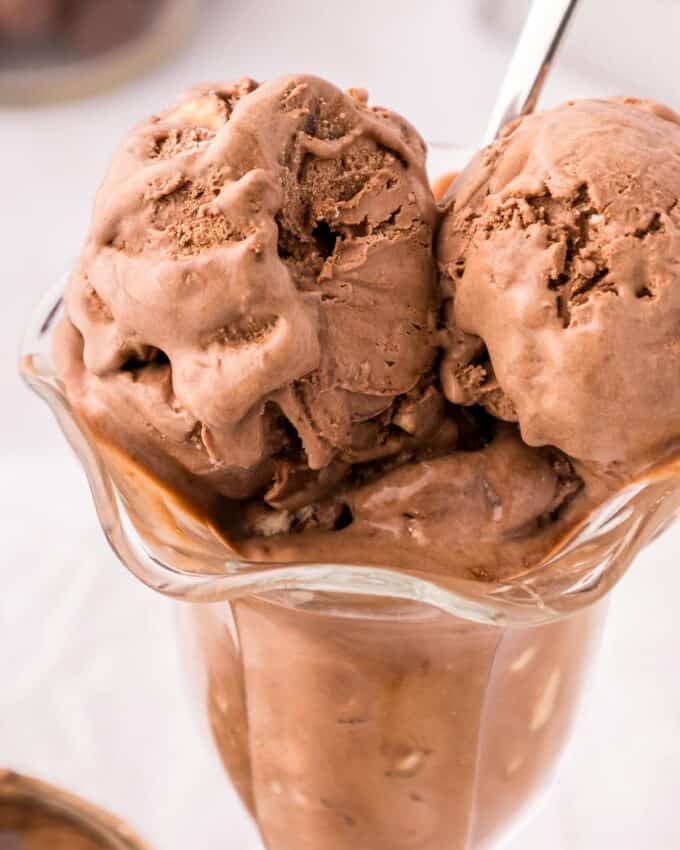
Although, I recommend letting it freeze overnight just to be sure it’s fully frozen.
Storage
Ice cream needs to be frozen in an airtight container, and will last for 2-3 months.
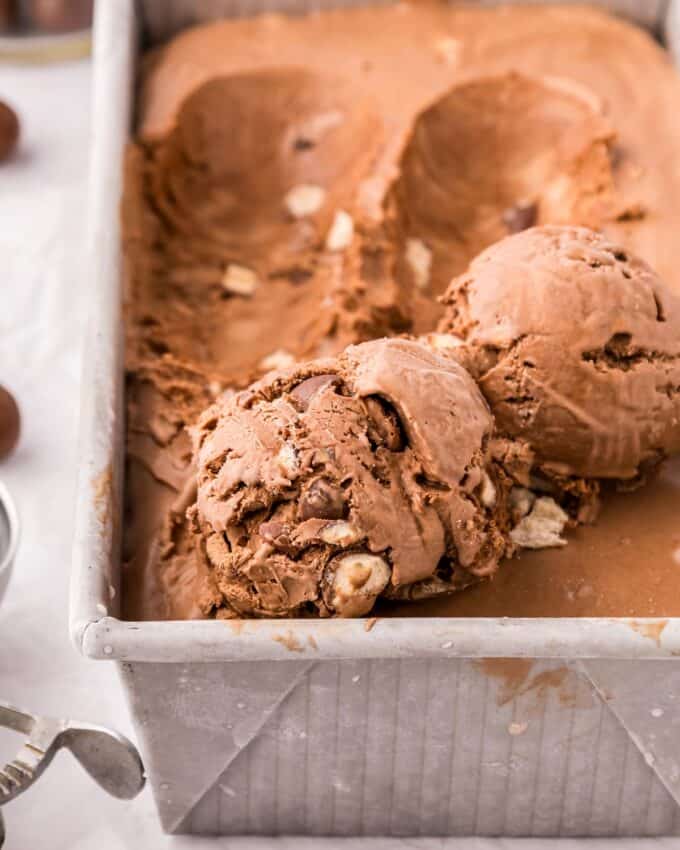
If you use a 9×5″ loaf pan (as depicted in these photos), cover it tightly with 2 layers of foil, or a lid (if it came with one).
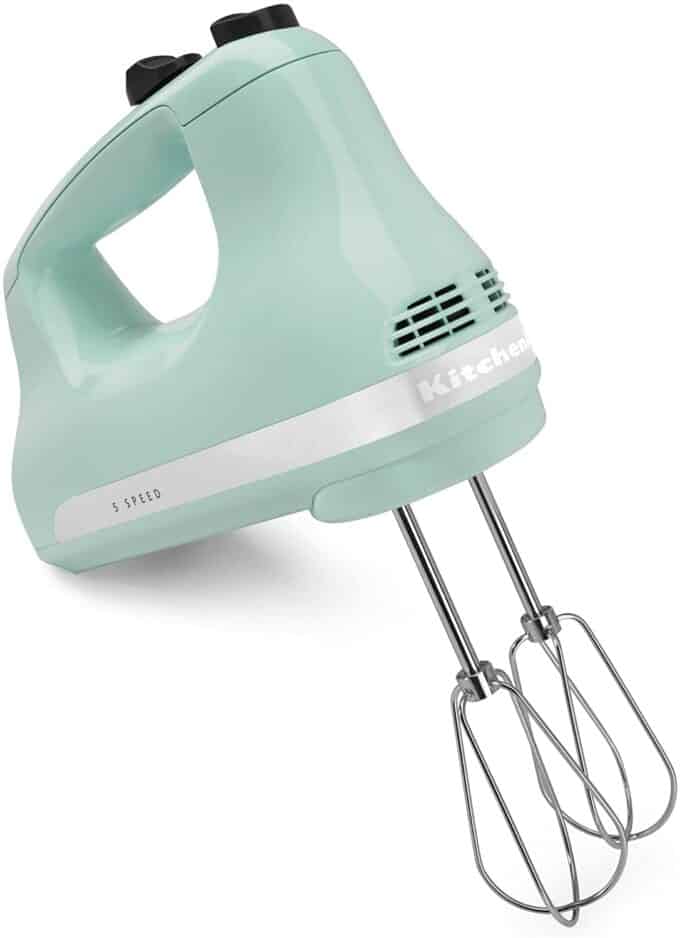
My Favorite Hand Mixer!
I’ve had this mixer for years, and it still works just as well as it did the day I got it. It’s perfect for making homemade no churn ice cream!
Did you make this? Be sure to leave a review below and tag me @the_chunky_chef on Facebook and Instagram!
Ingredients
- 2 cups heavy whipping cream cold
- 1/2 cup unsweetened cocoa powder
- 1/2 cup malted milk powder
- 1 tsp vanilla extract
- 14 oz can sweetened condensed milk
- 1 cup chopped malted milk balls (such as Whoppers)
Instructions
Prepare
- Set out a 9×5" loaf pan or silicone ice cream storage container.
Whip the cream
- Add the cold heavy whipping cream to a large mixing bowl, along with the cocoa powder and malted milk powder, and beat on MED-HIGH speed with an electric hand mixer until light and fluffy, and stiff peaks form. **see Chef Tips note #2 for more information on stiff peaks**
Combine
- Add the sweetened condensed milk, vanilla extract, and chopped malted milk balls, then gently fold together. This is most easily done with a rubber spatula and stirred gently in an over-under circular motion.
Freeze
- Pour the ice cream mixture into loaf pan, spreading it into an even layer.
- Cover tightly with 2 layers of aluminum foil or plastic wrap, and add to a freezer in a level spot. Freeze for at least 6-8 hours (12 hours or overnight is best though).
Serve
- Scoop and serve as desired. Store leftovers in a freezer-safe airtight container.
Want to save this recipe for later? Click the heart in the bottom right corner to save to your own recipe box!
Chef Tips
- Recipe makes approximately 1.5 – 2 quarts, which I’ve estimated is 12 servings (1/2 cup per serving). Of course, feel free to break this up into as many (or as little) servings as you’d like.
- Stiff Peaks – When you turn the mixer upside down (with it OFF), so the beaters are facing up, the cream will stand up in a peak (like a little mountain), and not fold over onto itself. This is a great visual guide from Taste of Home.
- For the best storage, I recommend a container like this one (amazon link).
- Exact time needed for freezing will depend on how cold your freezer is.
Nutrition Disclaimer
The Chunky Chef is not a dietician or nutritionist, and any nutritional information shared is an estimate. If calorie count and other nutritional values are important to you, we recommend running the ingredients through whichever online nutritional calculator you prefer. Calories can vary quite a bit depending on which brands were used.

April says
Delicious! Loved the added malt!
Catalina says
This Malted Chocolate Ice Cream is heavenly! The malted flavor adds such a unique twist, and it’s so creamy and delicious. My family can’t get enough of it!
Sandra says
My kids went crazy for this ice cream! It was so good, they couldn’t tell it was homemade!
Erin says
This ice cream was seriously one of the best I’ve ever had! Rich, creamy with the perfect malted flavor, and surprisingly easy to make! So glad I didn’t need an ice cream maker for this! Need to make a double batch next time!
Beth says
This is some of the best ice cream I’ve ever made. I love malts, and this really captures that flavor in an extra-refreshing package.