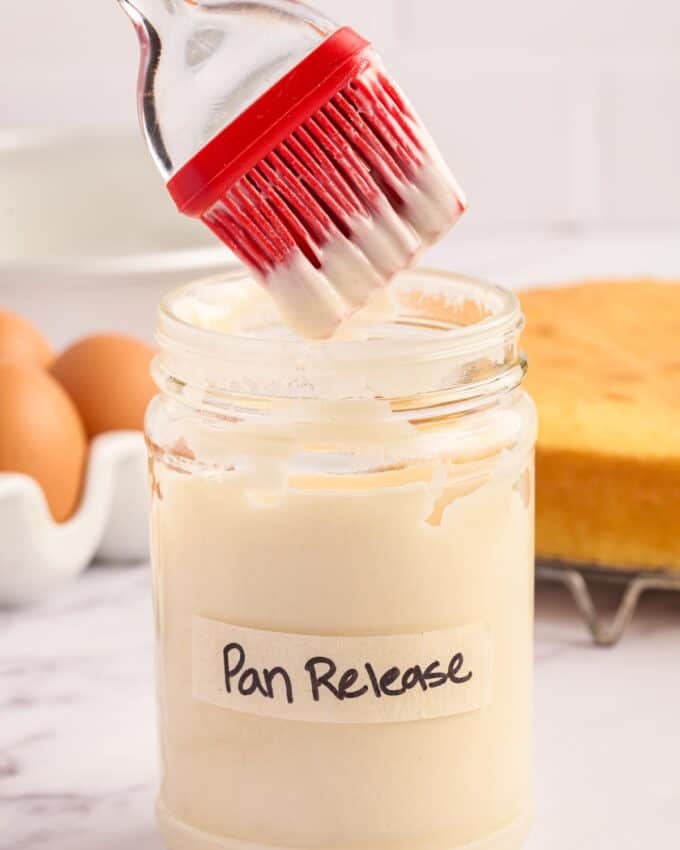
This simple and absolutely incredible pan release (aka cake goop) is made with just 3 ingredients, in 5 minutes or less, and is super affordable and budget friendly! Your cakes and baked goods will easily come out of their pans, each and every time! No need to buy baking spray ever again.
This is part of a series of recipes here on the site that I’m calling “Back to Basics“. In this series you’ll find recipes that are common building blocks for beginner cooks, as well as homemade versions of pantry/store-bought staples, such as cream of mushroom soup, pizza sauce, garlic bread, etc. With easy to follow instructions, detailed notes, and step by step photos, you’ll be on your way to being a master in your kitchen in no time!
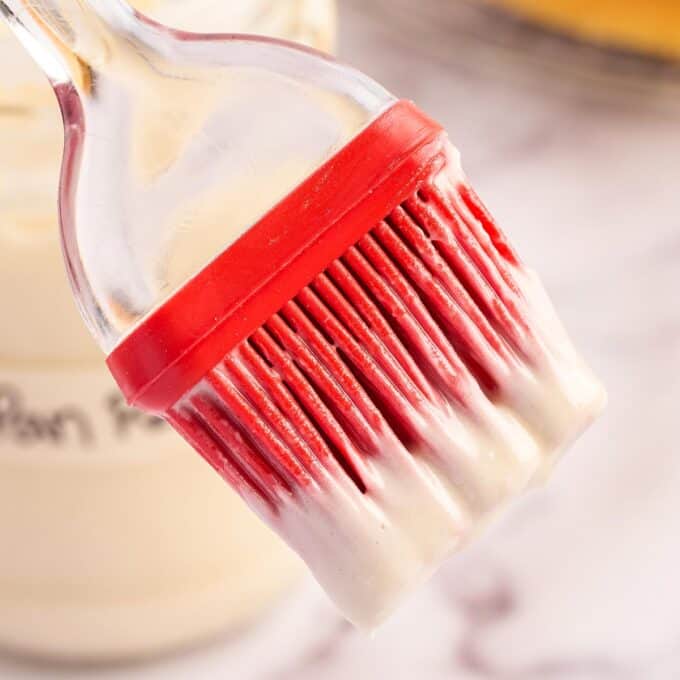
Have you ever baked a cake in one of those intricate bundt cake pans, with all the ridges and cool designs?
They look incredible, but it can be really hard to get your cake to release fully from the baking pan. Sometimes part of the cake ends up hopelessly stuck to the pan, and you’ve wasted your time, and your ingredients!
Until recently, I was a baking spray or “butter and dust with flour” kind of person. Which work well sometimes, but not all the time.
And they’re both messy right? The baking spray ends up getting all over the counter, your hands, and the nozzle is easily clogged. And if you use the butter and flour method, the flour ends up all over the counter as well.
That’s where this pan release comes in handy! It’s truly incredible, and so simple to make. Just 3 ingredients and 5 minutes of your time, and you have the perfect pan release.
I’ve made some really intricate cakes with this pan release, and it comes out perfectly, every time.
What do I need to make this recipe?
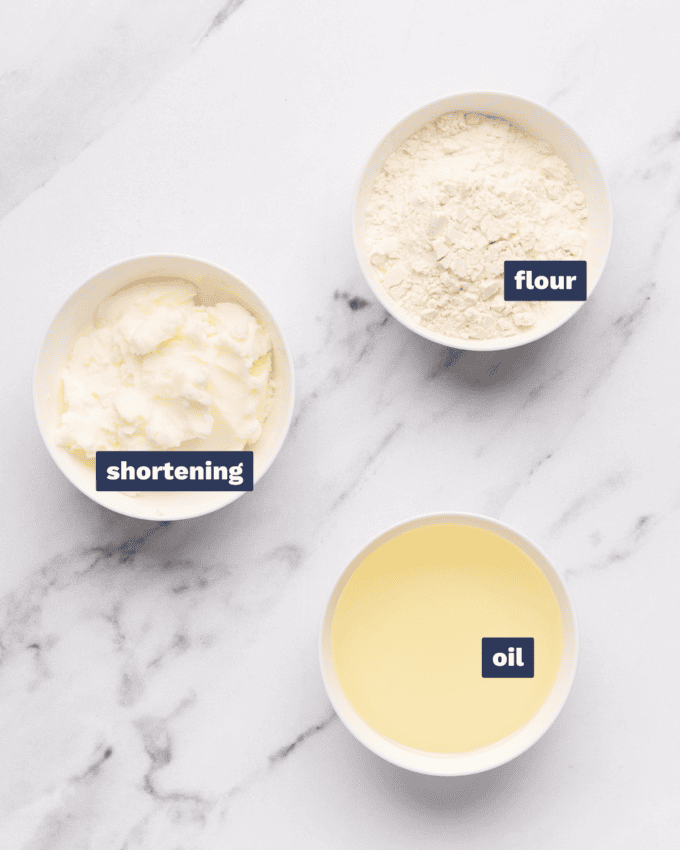
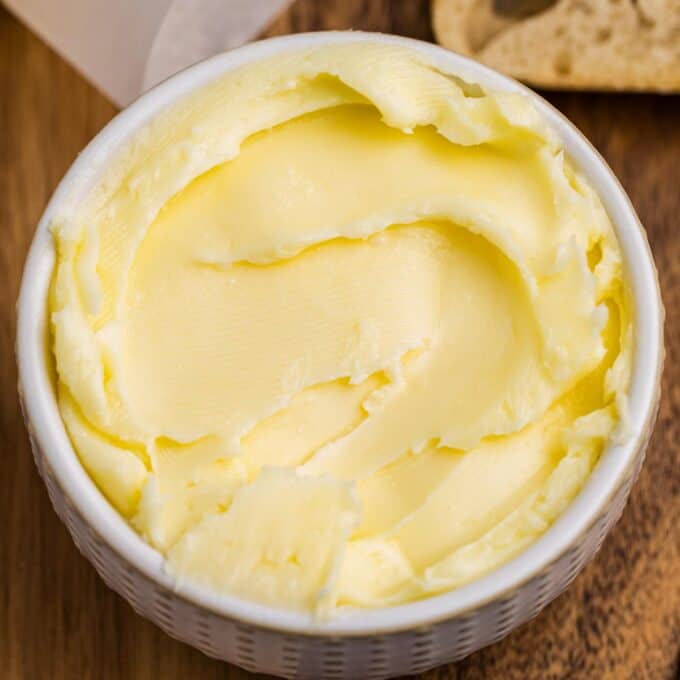
- Shortening – typically I use vegetable shortening, but butter-flavored will also work.
- Oil – vegetable oil is my preferred oil for this recipe, as it isn’t flavored and works really well.
- Flour – just regular all-purpose flour.
How to make pan release (aka cake goop/baking spray alternative)?
This is just an overview; the full ingredients and directions are in the recipe card toward the bottom of this post.
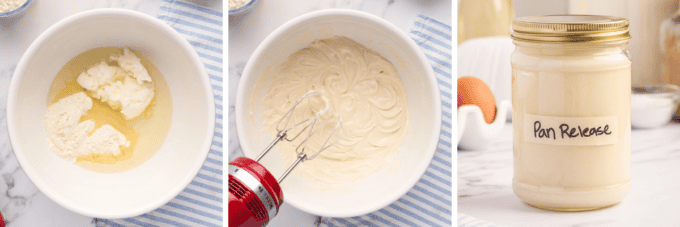
- Add to mixing bowl. No particular order is needed here, just add all three ingredients.
- Mix. You can use a hand mixer for a quicker recipe, or you can use a whisk and your arm muscles. Both work well!
- Store. I like to store mine in a glass jar or a plastic deli-style container.
Helpful Tip!
While this pan release recipe works incredibly well, there are some tips to help ensure your cakes and baked goods don’t stick to the pan.
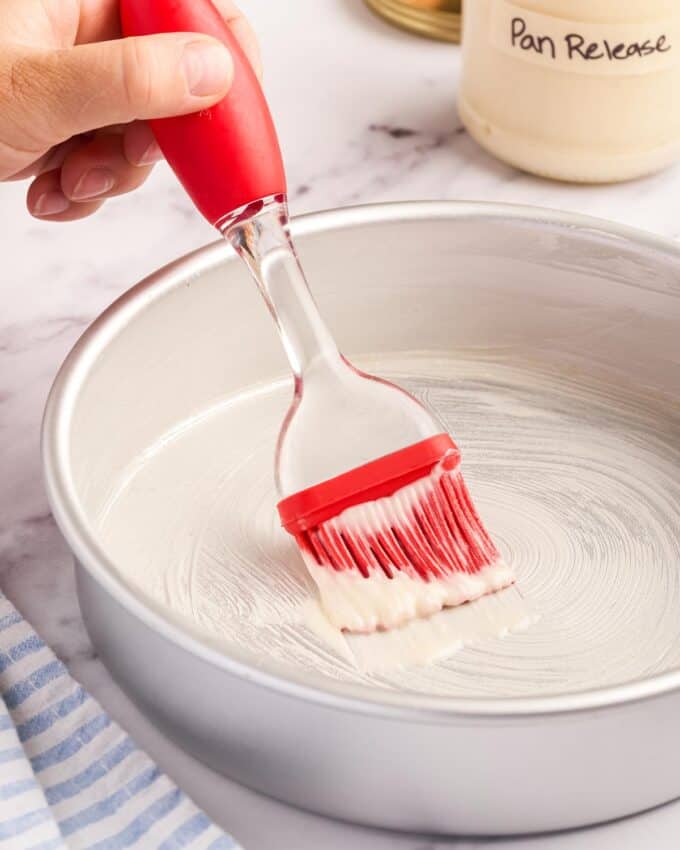
- Use enough pan release. Be liberal, but don’t have half an inch of the release in the pan).
- Don’t let your cakes cool in the pan. Once they’ve cooled for 5-7 minutes, remove the cake from the pan and let it cool on a wire cooling rack. If the cake stays in the pan the whole time it’s cooling, it just won’t come out in one piece most of the time.
- Use parchment. For cakes with a larger bottom surface area (like a 8″ or larger round cake), I recommend using the pan release on the sides of the cake pan, and a parchment paper round or silicone baking mat on the bottom.
Variations of this recipe
- Oil – this recipe should work well with other neutral-flavored oils, but I haven’t tested it.
- Shortening – butter flavored shortening will work just as well.
- Butter – I haven’t tested this recipe with butter instead of shortening, but butter does have a shorter shelf life, so it would reduce how long the pan release can be stored. Also, butter is hard straight from the refrigerator, so you may find it much harder to brush into the pans.
- Gluten-free – some of my gluten-free friends have made this with gluten-free flour with great results!
FAQ’s
You certainly can, but I prefer to make my own. That way I know what’s in it, there are no crazy added preservatives, and it only takes about 5 minutes and lasts me for 9 months.
I haven’t tested freezing this recipe, so I can’t say for certain. I feel like it would probably freeze well; but if you do some experimenting, I’d love to know how it turns out!
In general, any recipe that calls for “greasing and flouring” the baking pan, will work with this pan release. Cakes, quick breads, scones, etc. I wouldn’t use it for cookies, cobblers, etc.
Making pan release ahead of time
This recipe is great for making ahead of time! I like to have a container of this pan release in the refrigerator, so baking is a breeze.
Storage
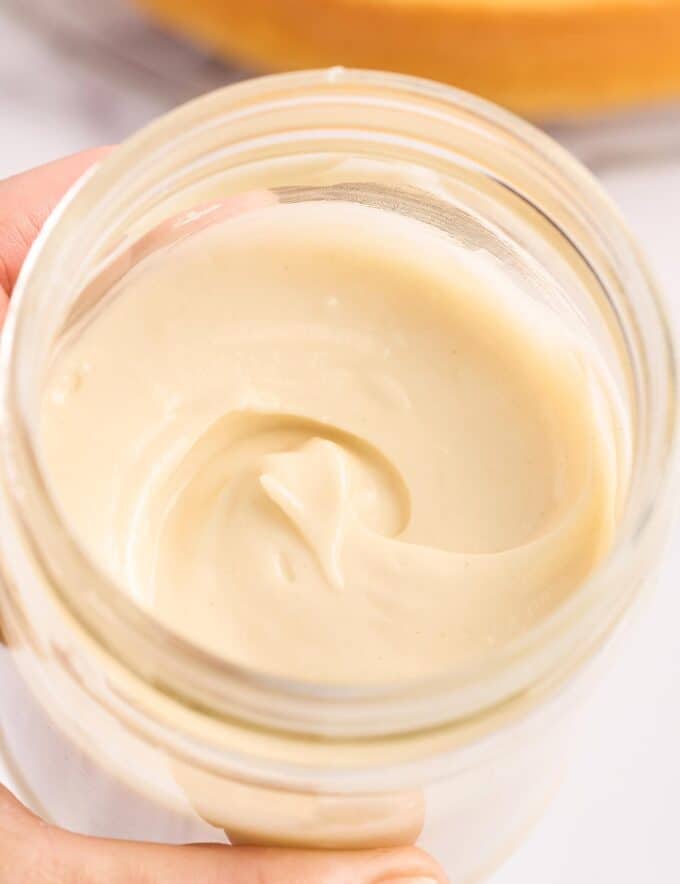
Pan release should be stored in an airtight container in the refrigerator and used within 9 months.
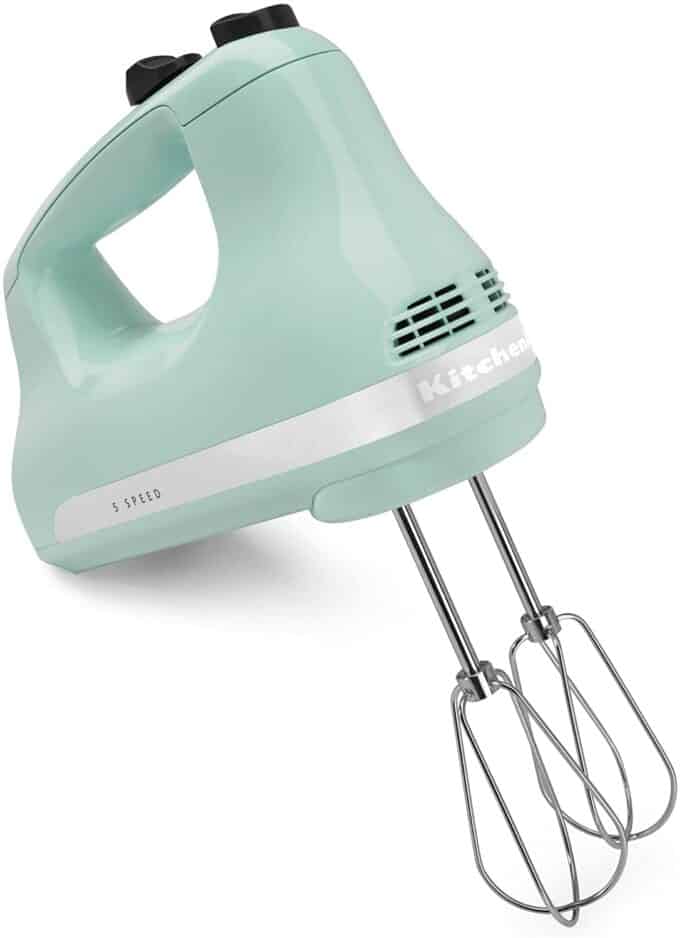
My Favorite Hand Mixer!
I’ve had this mixer for years, and it still works just as well as it did the day I got it. It’s perfect for making this pan release
Did you make this? Be sure to leave a review below and tag me @the_chunky_chef on Facebook and Instagram!
Ingredients
- 1/2 cup vegetable shortening
- 1/2 cup vegetable oil
- 1/2 cup all purpose flour
Instructions
Mix
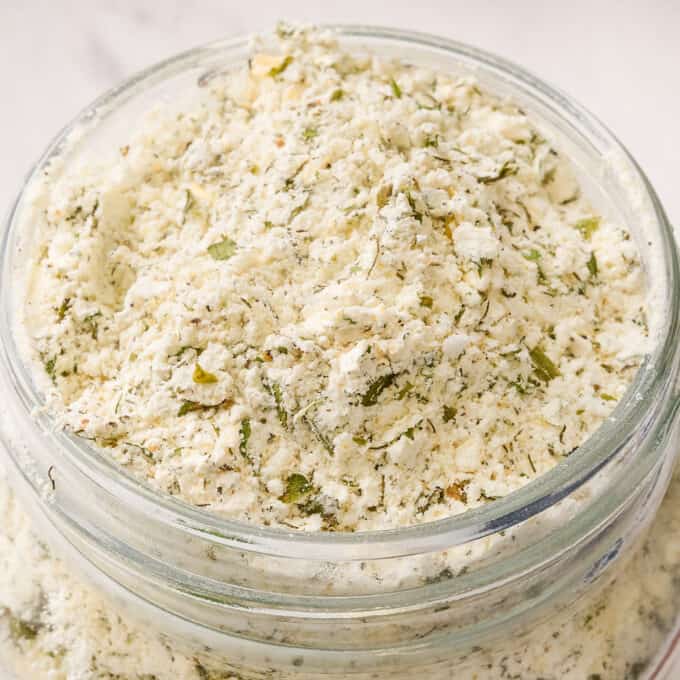
- Add all ingredients to a mixing bowl and use a hand mixer (or whisk) to beat until combined and smooth.
Store
- Transfer to a storage container and keep refrigerated for up to 6 months.
Use
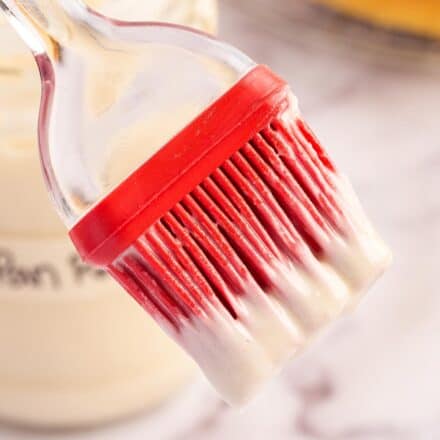
- To use, brush inside baking pan and bake your baked goods as directed.
Want to save this recipe for later? Click the heart in the bottom right corner to save to your own recipe box!
Chef Tips
- This recipe makes 1.5 cups of pan release, which you’re free to divide into as many servings as you’d like.
- Recipe is easily halved or doubled; just make sure there’s an equal amount of all three ingredients.
Nutrition Disclaimer
The Chunky Chef is not a dietician or nutritionist, and any nutritional information shared is an estimate. If calorie count and other nutritional values are important to you, we recommend running the ingredients through whichever online nutritional calculator you prefer. Calories can vary quite a bit depending on which brands were used.

Lisa says
Thanks for the tip! It works great!
Sandra says
Thank you so much for sharing this! I don’t have to deal on my cakes sticking especially the bundt pan! Such a game changer!
Erin says
This was one of the best baking hacks I’ve ever tried! It made such a different in my baking, my cakes come out perfectly every time! I’m never going back to baking spray again!
Jerilea says
Does this work on a yeasted bread? I bake a ton of bread every week and the egg washes are driving me nutter-butters.
Beth says
I tried this AS SOON as I saw it on your site. It works incredibly well. Last night was the first time in ages that my entire cake came out of the pan. LOL
Krystle Smith says
So quick and easy to make, and I love that I’m saving money by not buying expensive baking sprays anymore.
Rod says
Will this work for casseroles as well?
The Chunky Chef says
No this is made for baking recipes where you would butter and flour the pan before the batter is added. For casseroles I prefer to just butter the dish.
Dorie says
Yay!!! So glad to see this. My friend used this in her cast iron dutch oven to make a cake. Works beautifully and you don’t have over spray on your counters, floors ect. Thank you!!
Diane says
Thanks do much for this. I’m all for budget friendly alternatives.
Etta says
Don’t know where I heard of this recipe,but I’ve been making it for several years. It works great!
I sometimes teach a baking course at our church, and ALWAYS offer up this recipe. Thanks for spreading the word.
Now, here’s a hint I got from Cooks magazine years ago.
When you need a water bath for your cheesecake, put the cheesecake pan in a Reynolds roasting ba g and roll down the extra like a collar. NEVER leaks! 😊😊
Olivia Dugas says
This was a blast from the past for me! I took a Wilton Cake Decorating class at Montgomery Wards in the early 1970’s. The teacher taught us how to make this and use this, especially for those character pans so popular at the time. Enter Pam and Baker’s Joy and this became a lost art. I’m making a Bundt tomorrow and I will use this Release and keep it in my fridge from now on! I later went on to become the teacher of that class.
Diane says
Works great. No need to buy the stuff in the stores, it’s everything you have at home.
I keep mine in the refrigerator, it’s the only pan release I use.