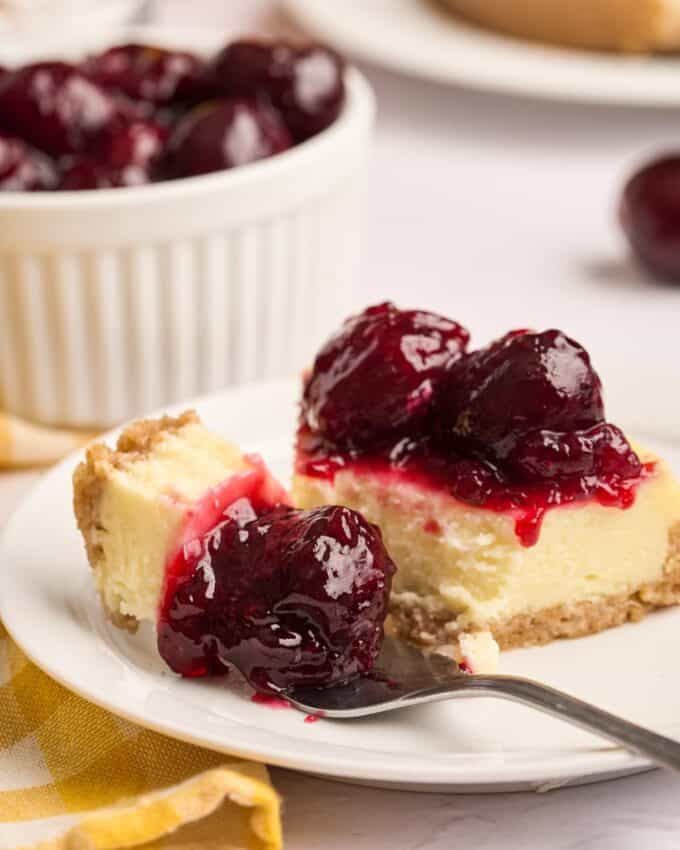
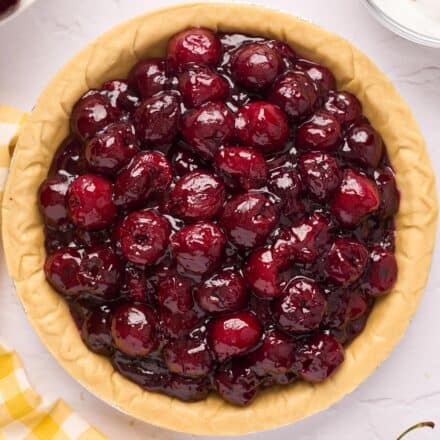
Homemade cherry pie filling is easy to make using sweet and juicy fresh cherries and simple everyday ingredients. Not only is it great to use to make a cherry pie, but pie filling is perfect on top of a cheesecake, ice cream, or just to eat with a spoon! So much better than the canned stuff.
This is part of a series of recipes here on the site that I’m calling “Back to Basics“. In this series you’ll find recipes that are common building blocks for beginner cooks, as well as homemade versions of pantry/store-bought staples, such as cream of mushroom soup, pizza sauce, garlic bread, etc. With easy to follow instructions, detailed notes, and step by step photos, you’ll be on your way to being a master in your kitchen in no time!

Pie filling is one of those incredibly versatile ingredients. Obviously it’s great for a pie, but it’s also delicious spooned over pastries and other baked goods, or on top of ice cream.
While a can of cherry pie filling is easy and convenient, and found right in the grocery store, it’s still nice to make some things from scratch from time to time!
Plus, when you make it yourself, you know exactly what’s in it, and you can control the quality of ingredients, what cherries are used, how sweet it is, etc. And with no added preservatives.
What do I need to make this recipe?
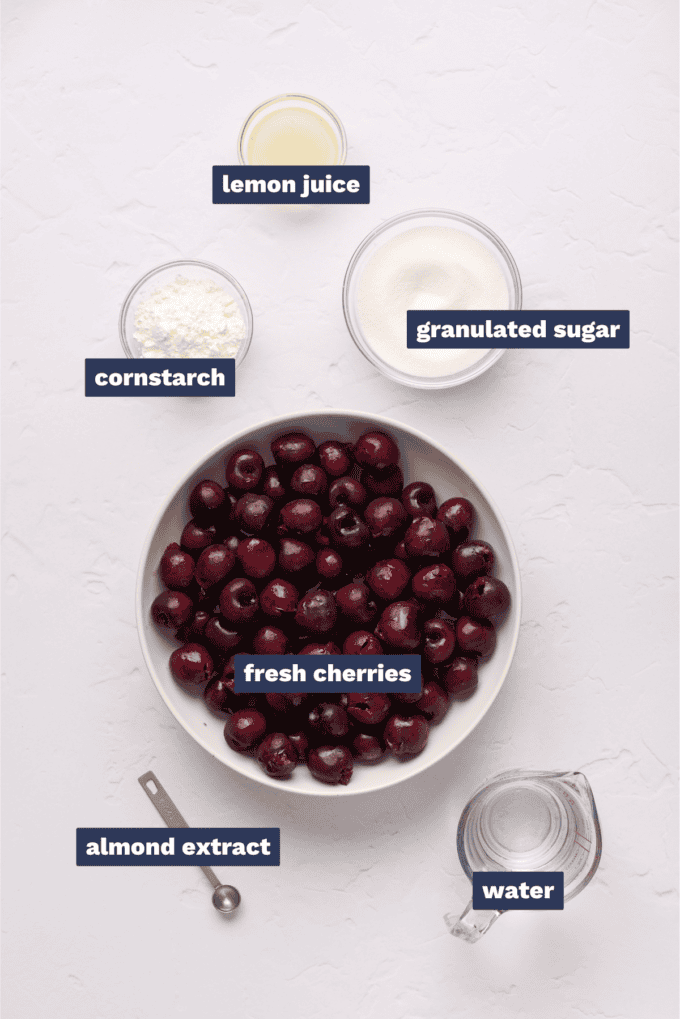
- Cherries – I prefer to make this recipe with sweet cherries, such as Rainier or Bing.
- Water – nothing fancy here, just whatever water you would drink.
- Lemon juice – for this recipe, I’ve found that both fresh lemon juice and bottle lemon juice work equally well.
- Granulated sugar – I’ve written this recipe with the amount of sugar that we prefer to use. I haven’t tested it with any sugar substitutes though.
- Cornstarch – this is used to thicken the mixture into a classic thick pie filling.
- Almond extract – optional but this adds a subtle warm flavor that works really well with the sweet cherries.
How to make cherry pie filling?
This is just an overview; the full ingredients and directions are in the recipe card toward the bottom of this post.
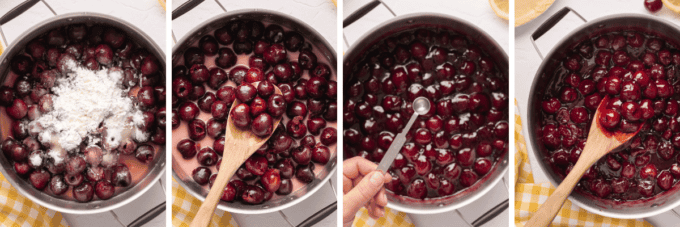
- Add ingredients to saucepan. All of the ingredients except the almond extract, if you’re using it.
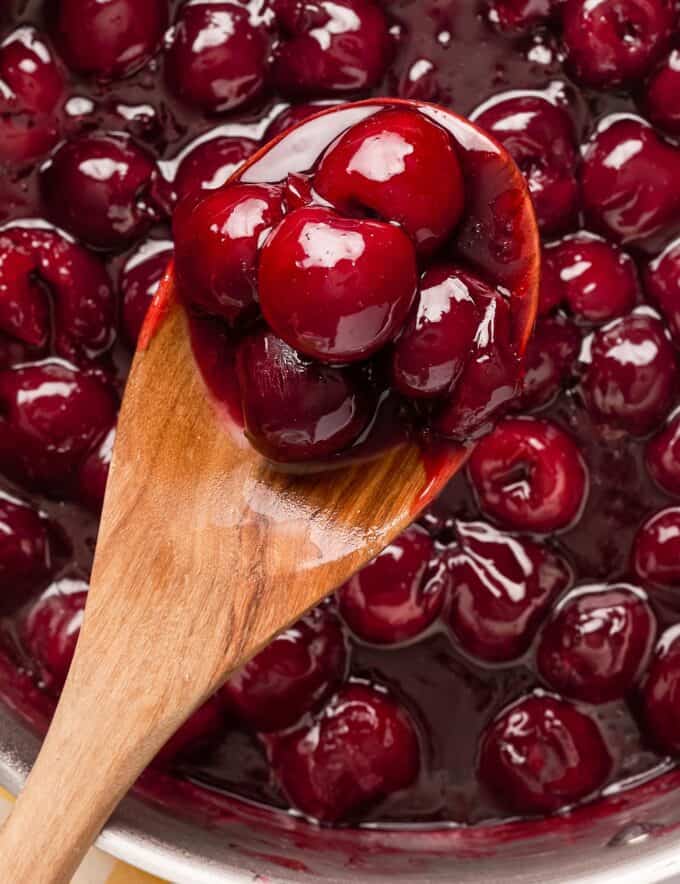
- Stir and bring to a boil. Once boiling, reduce the heat and simmer until thickened.
- Add extract. This is best added off the heat.
- Stir and use/store. The filling should be cooled before you use it.
Helpful Tip!
This recipe is a lot easier if you own a cherry pitter, but you can pit cherries without one. This article by Bon Appétit gives you plenty of options. My advice would be to wear some disposable gloves and/or wear an apron though, as cherry juice can stain pretty badly. If you do want to pick up a cherry pitter, this is the one I have (click on the words “cherry pitter” above – it’s a link), and it works really well!
Variations of this recipe
- Cherries – if you prefer to use sour cherries, you certainly can. You may want to adjust the amount of sugar though, to account for the cherries not being sweet.
- Frozen – during some parts of the year, it may be tough to find fresh cherries, so you can definitely make this recipe using frozen cherries. Just be sure they’re pitted, but there’s no need to thaw them for this recipe.
- Sugar – please feel free to adjust the amount of sugar to your tastes.
- Extract – almond extract adds a nice subtle warmth of flavor, but it is optional. You could also use vanilla extract if you’d like.
- Larger batch – if you do a lot of baking, you may want to double this recipe, and keep it in the freezer. This recipe is scaled up easily, just make sure to double all the ingredients.
FAQ’s
I don’t have any experience or expertise with canning, so I couldn’t possibly say if it can be canned or not. However, I believe cornstarch doesn’t hold up well during the canning process, so if you wanted to experiment with canning, you’d have to modify the recipe (using your discretion, as I haven’t tested any of this and can’t tell you what to do).
I can’t say for certain, as I’ve only tested this recipe with cornstarch. The cornstarch thickens the mixture, and gives the filling a glossy look, very similar to canned pie filling. If you do some experimenting with other thickeners, I’d love to know how it goes!
Making homemade pie filling ahead of time
This recipe is great to make ahead of time, so when you’re in a baking mood, you’re ready to go!
Freezing
For longer storage, pie filling can be frozen! Add filling to freezer-safe containers and freeze for up to 3 months.
Thaw in the refrigerator, then use as desired.
Storage
Since this is a homemade recipe, it doesn’t have all the preservatives that a can of pie filling has, so it won’t have the same shelf life, unfortunately.
Leftover pie filling should be stored in an airtight container in the refrigerator and enjoyed within 3 days.
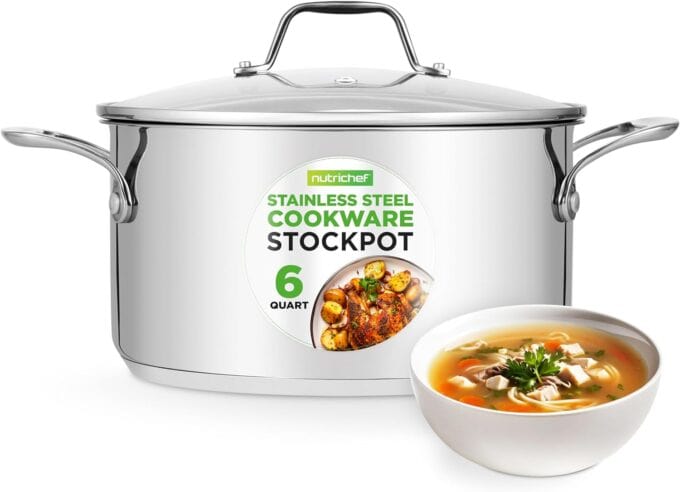
My Favorite Stockpot!
You don’t need to use this specific stockpot/saucepan, but I this one and really like it! It’s also not super expensive, which is a definite plus!
Did you make this? Be sure to leave a review below and tag me @the_chunky_chef on Facebook and Instagram!
Ingredients
- 6 cups fresh cherries such as Rainier or Bing
- 1 cup water
- 2 Tbsp lemon juice fresh or bottled
- 3/4 cup granulated sugar
- 1/4 cup cornstarch
- 1/4 tsp almond extract optional but recommended
Instructions
Prepare
- Pit fresh cherries, discarding the pits and adding the cherries to a large saucepan.
Boil
- To the saucepan with the cherries, add water, lemon juice, granulated sugar, and cornstarch.
- Stir to combine, then heat over MED HIGH heat until mixture comes to a boil.
- Once boiling, reduce the heat to MED LOW and simmer for 9-10 minutes, stirring occasionally.
- You'll know the filling is done simmering when the liquid in the saucepan is no longer cloudy and pink, but it deep red, and the mixture has thickened.
- Remove the saucepan from the heat, and stir in almond extract (if using).
Cool and serve
- Set aside to cool to room temperature, then use in a recipe, or store in an airtight container in the refrigerator for up to 5 days.
- Pie filling can also be frozen for 3 months.
Want to save this recipe for later? Click the heart in the bottom right corner to save to your own recipe box!
Chef Tips
- Recipe makes approximately 6 cups or so of pie filling, which you’re free to divide into as many servings as you’d like.
- For the 6 cups of cherries required, you should need about 2 lbs. of fresh cherries.
- Frozen pitted cherries can be used in place of fresh cherries. Use an equal amount, but there’s no need to thaw them before making this recipe.
Nutrition Disclaimer
The Chunky Chef is not a dietician or nutritionist, and any nutritional information shared is an estimate. If calorie count and other nutritional values are important to you, we recommend running the ingredients through whichever online nutritional calculator you prefer. Calories can vary quite a bit depending on which brands were used.





Joan Hume says
This has become a family favorite. 🙂
Kris Kaberle says
Wonderful recipe, so easy to make!!
Jaye says
Very good and so tasty! I always use this recipe!
Robin Rawson says
Simple and does not disappoint.