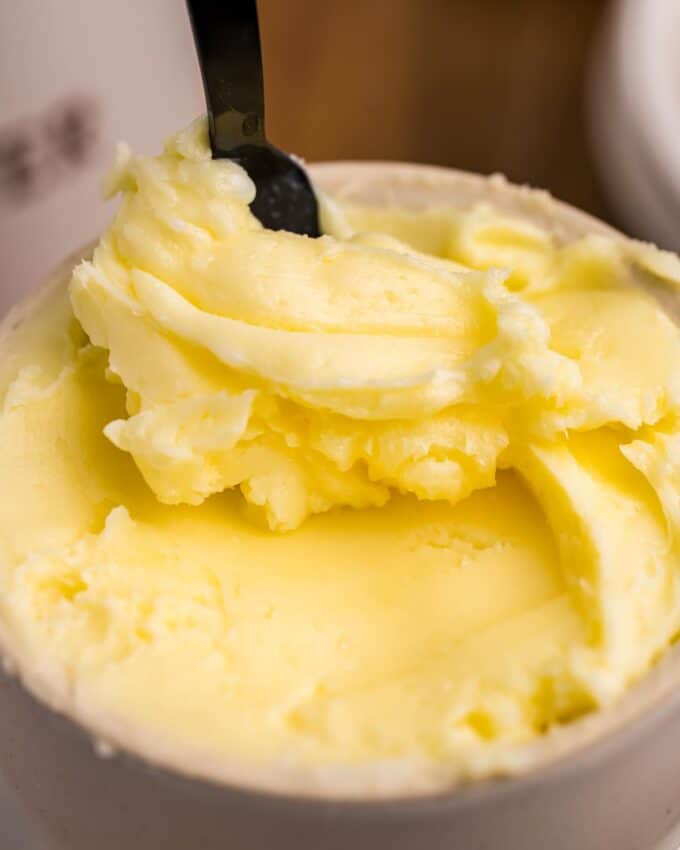
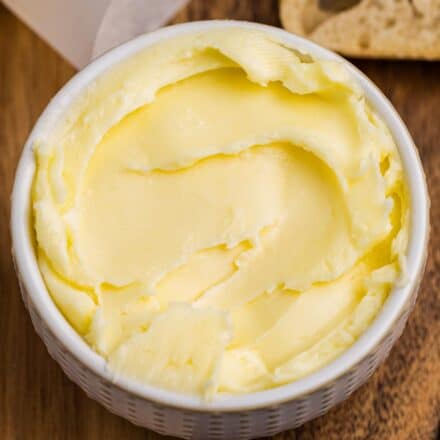
This recipe for simple and creamy homemade butter is made with just 1-2 ingredients (depending on if you want to make salted or unsalted butter), plus ice water. Who knew making butter could be so easy!
This is one of my Pantry/Kitchen Basics recipes I know you’ll want to keep on hand! These recipes are great homemade alternatives to store-bought items.
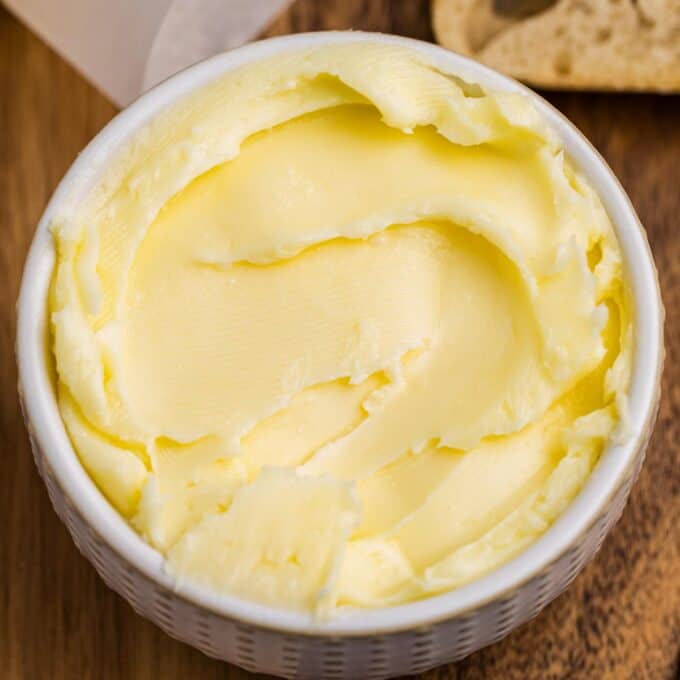
Sharing this recipe with you today, it feels like I’m stepping back in time. Back to the days where people churned their own butter, and people lived on homesteads instead of in neighborhoods.
Even though we’re removed from that time period, for the most part, it’s still nice to make some things from scratch from time to time!
Making homemade butter is actually much easier than you may think. And it really only needs 1-2 ingredients (plus water), and is ready in about 30 minutes!
What do I need to make this recipe?
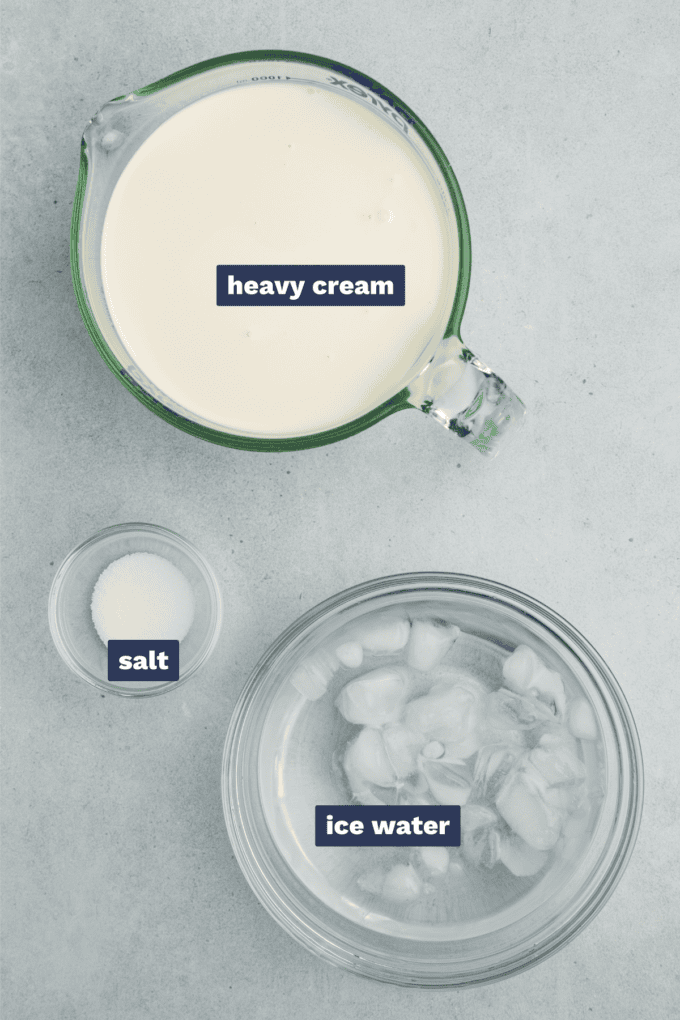
- Heavy cream – this may be labeled as heavy whipping cream, and is located in the dairy aisle by the milk and half and half.
- Salt – I like to use sea salt, but you can use kosher or table salt if you’d like.
- Ice water – this is optional, but something I like to do to help firm up the butter. Nothing fancy, just cold water and ice cubes.
How to make homemade butter?
This is just an overview; the full ingredients and directions are in the recipe card toward the bottom of this post.
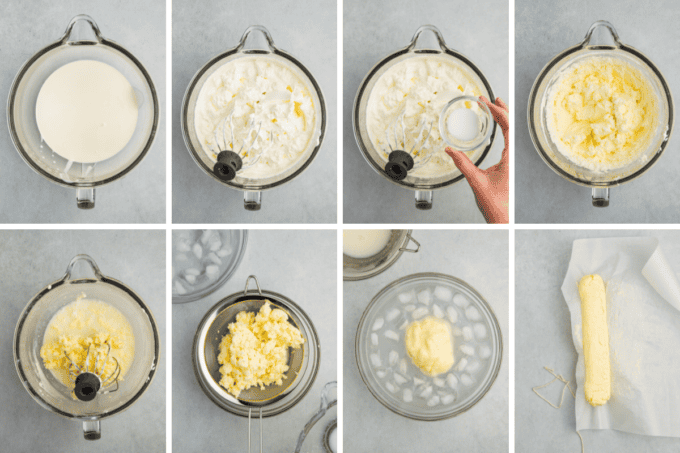
- Get a stand mixer. Or a hand mixer, with a whisk attachment (preferably). You could try to use just a whisk and arm muscles, but it’s going to take a LONG time.
- Mix cream. This will take several minutes.
- Add salt. If you’re making salted butter, once the cream has reached the stiff peaks stage, you can add it.
- Keep mixing.
- Look for separation. The butter will separate from the buttermilk in the bowl. The butter will stick to your whisk attachment, while the buttermilk will be the liquid at the bottom of the bowl.
- Strain. Strain the butter over a strainer that’s been placed over a bowl, so the butter stays in the strainer and the buttermilk passes down into that bowl.
- Squeeze, water bath, squeeze again. Squeeze out liquid, then dip in the ice water bath. Squeeze again.
- Wrap and chill. The butter should go into the refrigerator to firm up all the way.
Helpful Tip!
Normally I like to give alternate ingredients, but this is one recipe where you really can’t substitute. Heavy cream (or heavy whipping cream) is what’s needed to make butter. I like to use the highest quality heavy cream, since it’s the star ingredient.
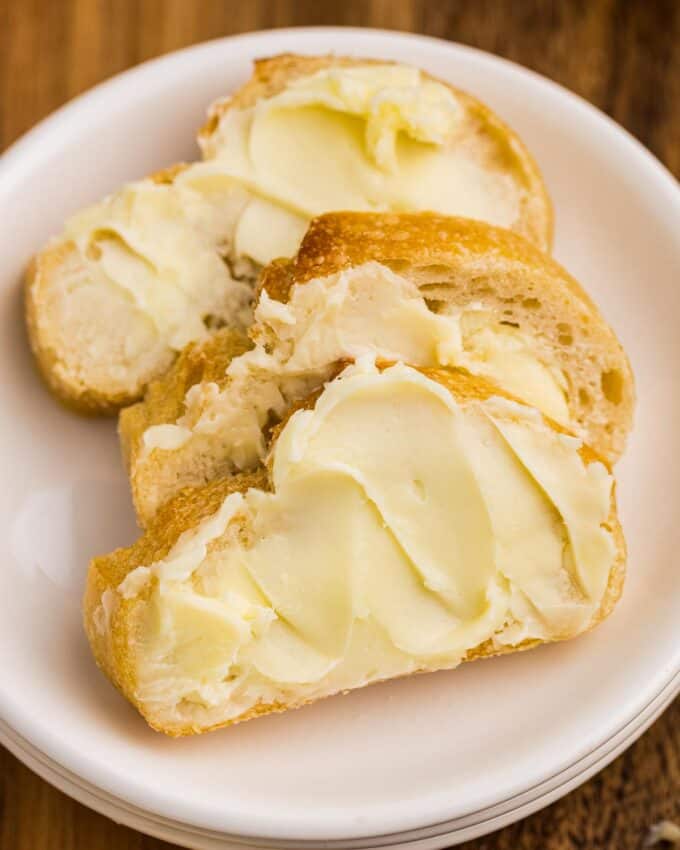
Variations of this recipe
- Unsalted butter – if you prefer unsalted butter, all you have to do is omit the salt from the recipe. The butter will still whip up with no problems.
- Types of salt – sea salt is what’s called for in the recipe, but if you’d like to use a different kind, such as kosher salt, that will also work. Feel free to adjust the amount of salt to your tastes as well.
- Larger or smaller batch – this recipe makes 1 lb. of butter, but feel free to halve or double the ingredients to make a smaller or larger batch. The exact timing of the mixer may vary, so go by the visual cues to know when it’s done being mixed (the butter separating from the buttermilk, etc).
- Add-ins – if you’d like to flavor your butter, feel free to stir in some minced garlic, herbs, honey, etc, after the butter has been put in the ice bath. Add it back to the mixer and stir in any flavorings you’d like.
FAQ’s
That answer will vary quite a bit since butter and heavy cream prices vary all over the country/world. In general, I find it’s not necessarily cheaper, but I enjoy churning my own butter because I know exactly what’s in it, and can control the salt level.
No, homemade foods typically don’t keep as long as store-bought foods, since they don’t contain nearly as many preservatives. However, butter (both homemade and store-bought) freezes very well for longer storage!
Making butter ahead of time
Butter is a great recipe to make ahead, as it lasts a long time! Plus having the butter in the refrigerator gives it extra time to firm up.
Storage
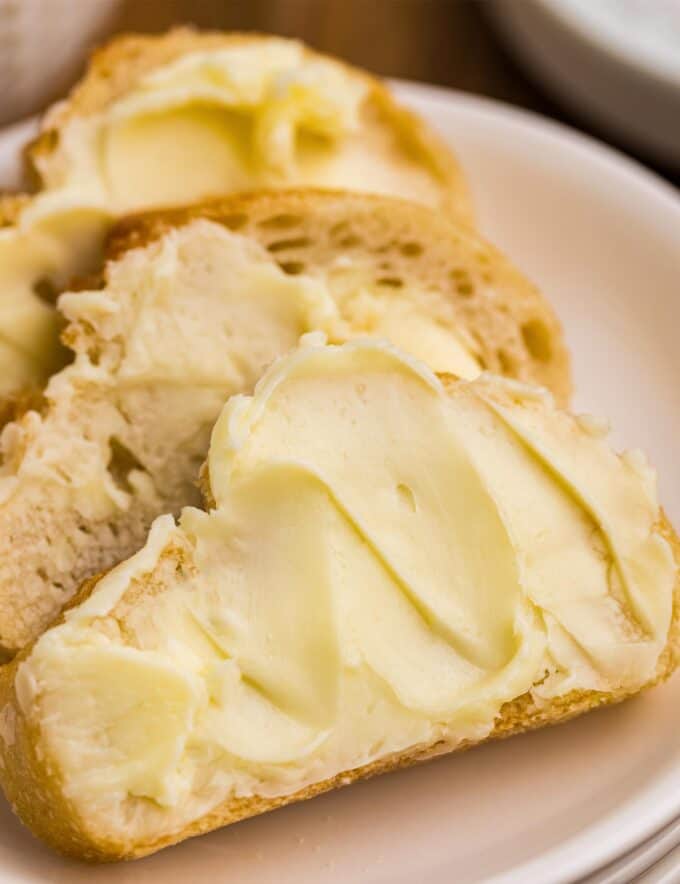
Homemade butter will last in the refrigerator in an airtight container for up to 3 weeks.
Freezer
Butter can be stored in an airtight container in the freezer for up to 9 months.
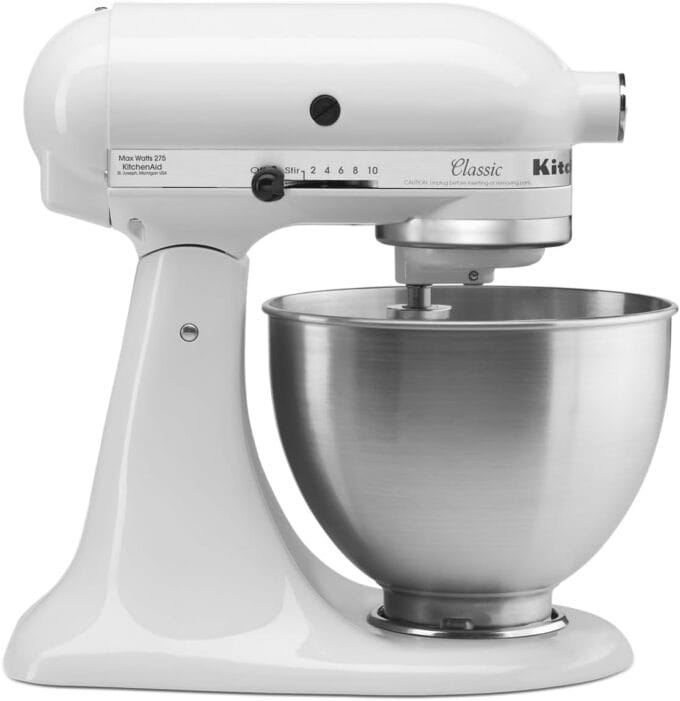
My Favorite Mixer!
I really love using a stand mixer for this recipe, so you can be hands off as the cream is being beaten. However, I understand that stand mixers are definitely pricey, so a great alternative is to use a hand mixer with a whisk attachment.
Did you make this? Be sure to leave a review below and tag me @the_chunky_chef on Facebook and Instagram!
Ingredients
- 4 cups heavy whipping cream
- 2 tsp sea salt optional (if you want salted butter)
- ice water
Instructions
Prepare
- Get out a stand mixer and fit it with the whisk attachment. Alternately, you can use a large mixing bowl and a hand mixer (with a whisk attachment if you have one).
- The heavy cream will expand as it's whipped, so make sure the bowl you're using can accommodate that.
Whip heavy cream
- Add the heavy cream to the bowl of the stand mixer (or mixing bowl to use with a hand mixer), and whisk on MED speed for about 10 minutes (the exact time may vary).
- Once you start to see stiff peaks (here's a good guide if you're not sure what you're looking for: https://www.tasteofhome.com/article/soft-peaks-stiff-peaks/), you can add the salt (if you're using it).
- Keep whisking on MED speed. What you're looking for is for the butter and buttermilk to separate in the bowl. The butter will stick to the whisk, and the buttermilk will be the liquid in the bowl.
- While you're waiting for that to happen; get out a smaller mixing bowl and set a mesh sieve over the top of it. Get out another bowl and fill it with cold water and ice cubes.
Strain
- Carefully pour the contents of the stand mixer bowl over the mesh sieve or strainer, so the butter stays in the sieve and the buttermilk strains into the bowl underneath.
Squeeze
- Pick up the butter and try to squeeze the remaining liquid out.
- Dip the butter into the bowl with the ice water, then squeeze again to remove excess liquid.
Store
- Place the butter onto a piece of parchment or wax paper and form it into a log or a cube/rectangle (similar in shape to when you buy a box of 4 sticks of butter from the store).
- Wrap the paper around the butter, and tie the ends with kitchen twine or any string/bread ties you have around. I like to go one extra step and add the wrapped butter to a resealable plastic bag as well.
- Alternately, you can slice the butter into 4 equally sized sticks and wrap each stick individually.
Chill/store
- Place the wrapped butter in the refrigerator, so it can firm up a bit more.
- Butter should stay fresh for up to 3 weeks, or it can be frozen for up to 9 months.
Want to save this recipe for later? Click the heart in the bottom right corner to save to your own recipe box!
Chef Tips
- This recipe makes approximately 1 lb of butter, which is equivalent to 4 sticks of store-bought butter. I’ve estimated that will yield 32 Tbsp (8 Tbsp per 1/2 cup stick).
- The heavy whipping cream can’t be substituted for this recipe.
Nutrition Disclaimer
The Chunky Chef is not a dietician or nutritionist, and any nutritional information shared is an estimate. If calorie count and other nutritional values are important to you, we recommend running the ingredients through whichever online nutritional calculator you prefer. Calories can vary quite a bit depending on which brands were used.






Alli Tivanian says
Amazing! Thank you!
Megan says
Is it safe to store this butter out of the fridge for any amount of time to allow for room temp butter for toast or other recipes?
The Chunky Chef says
With no preservatives like store-bought butter, I’m not sure if it would be safe at room temperature for more than an hour or so. You might be safe, but without testing it, I can’t say for certain.
Linda says
Made this again using a different heavy cream, still no buttermilk. Beat it for 30 minutes. Still tastes good.