A collection of food photography tips and tricks, as well as equipment and book recommendations to help you up your food photography game!
Set yourself apart from the food blog competition with these easy and practical food photography tips, helpful equipment lists, inspirational books, and more!
Being in the food blogging “biz” for over 3 years, there’s one subject I get asked about a lot… food photography! Honestly, I can attribute a lot of the growth of my blog to my growth in photography.
The food blogging world is a very saturated market, with hundreds of new blogs started every minute… so okay-ish photos just aren’t going to cut it.
You need something that will lure your readers in, make them instantly hungry, and set yourself apart from the competition! I’m by NO means an expert… and I feel like each time I shoot, I learn something new.
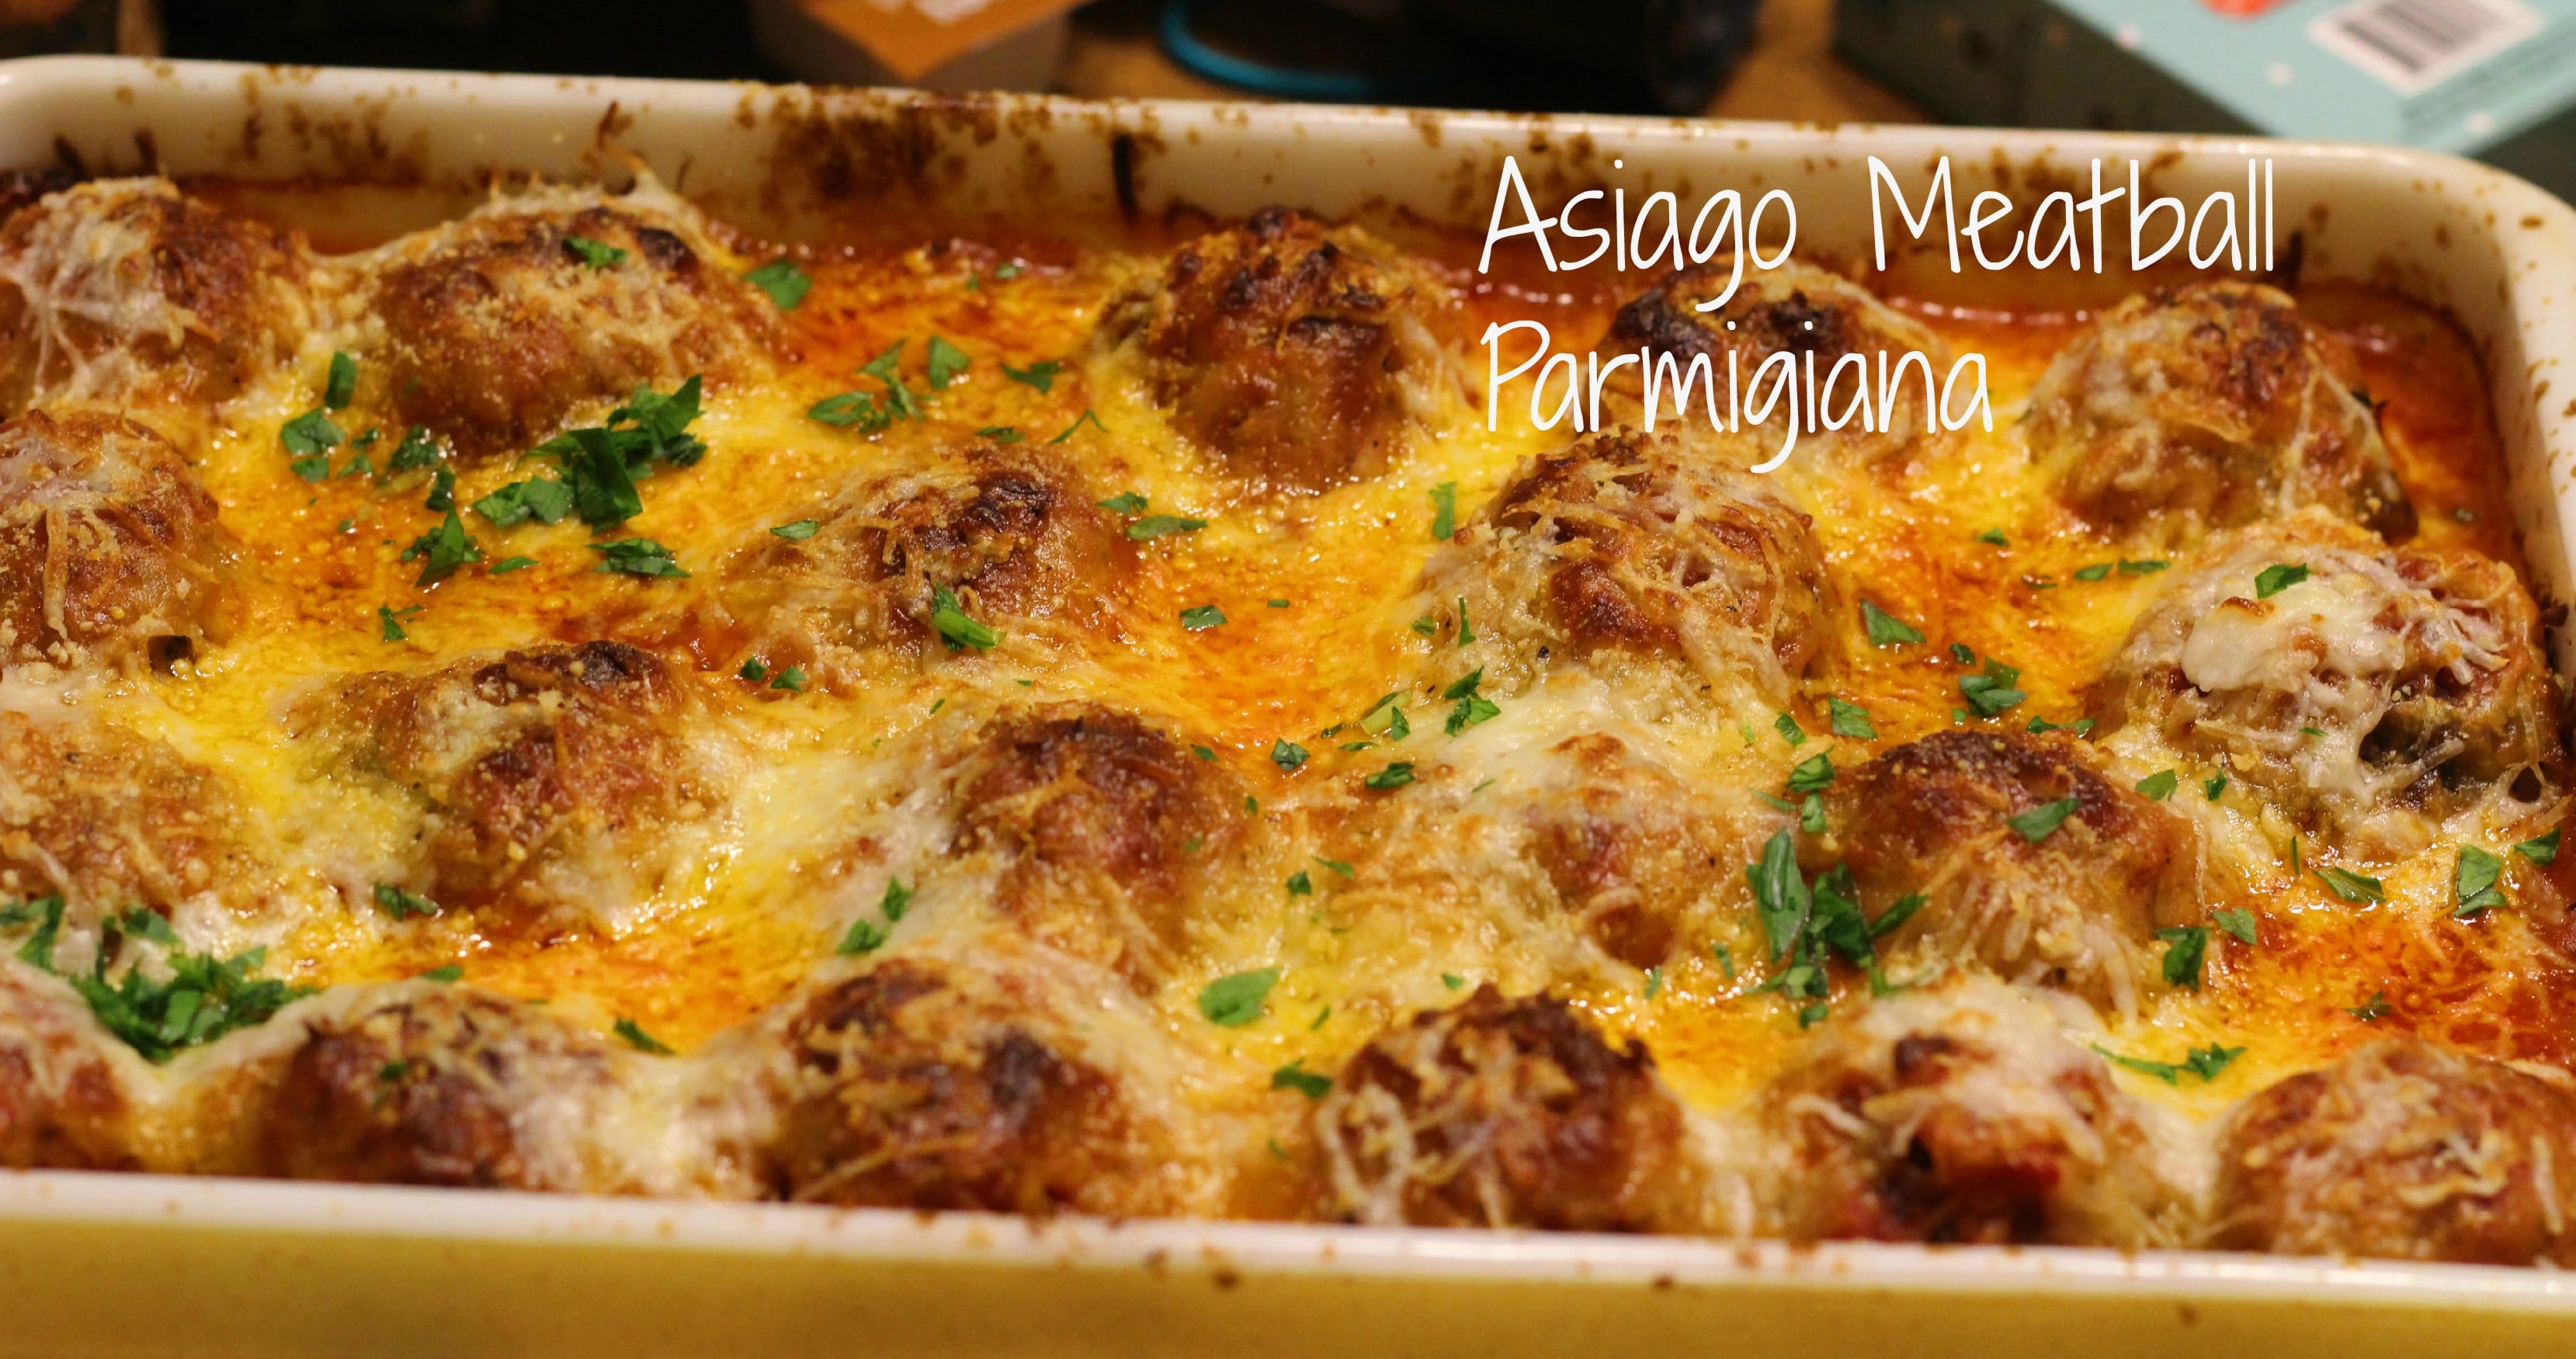
But as an example, the following is the very first photo I ever shared on the blog…
Wow. The focus isn’t sharp, depth of field is all wrong, and I took the picture under the incandescent kitchen lights…. oh dear! It’s a shame, since this Meatball Parmesan Bake is a delicious recipe! I’ve since re-shot this recipe, you can check it out here.
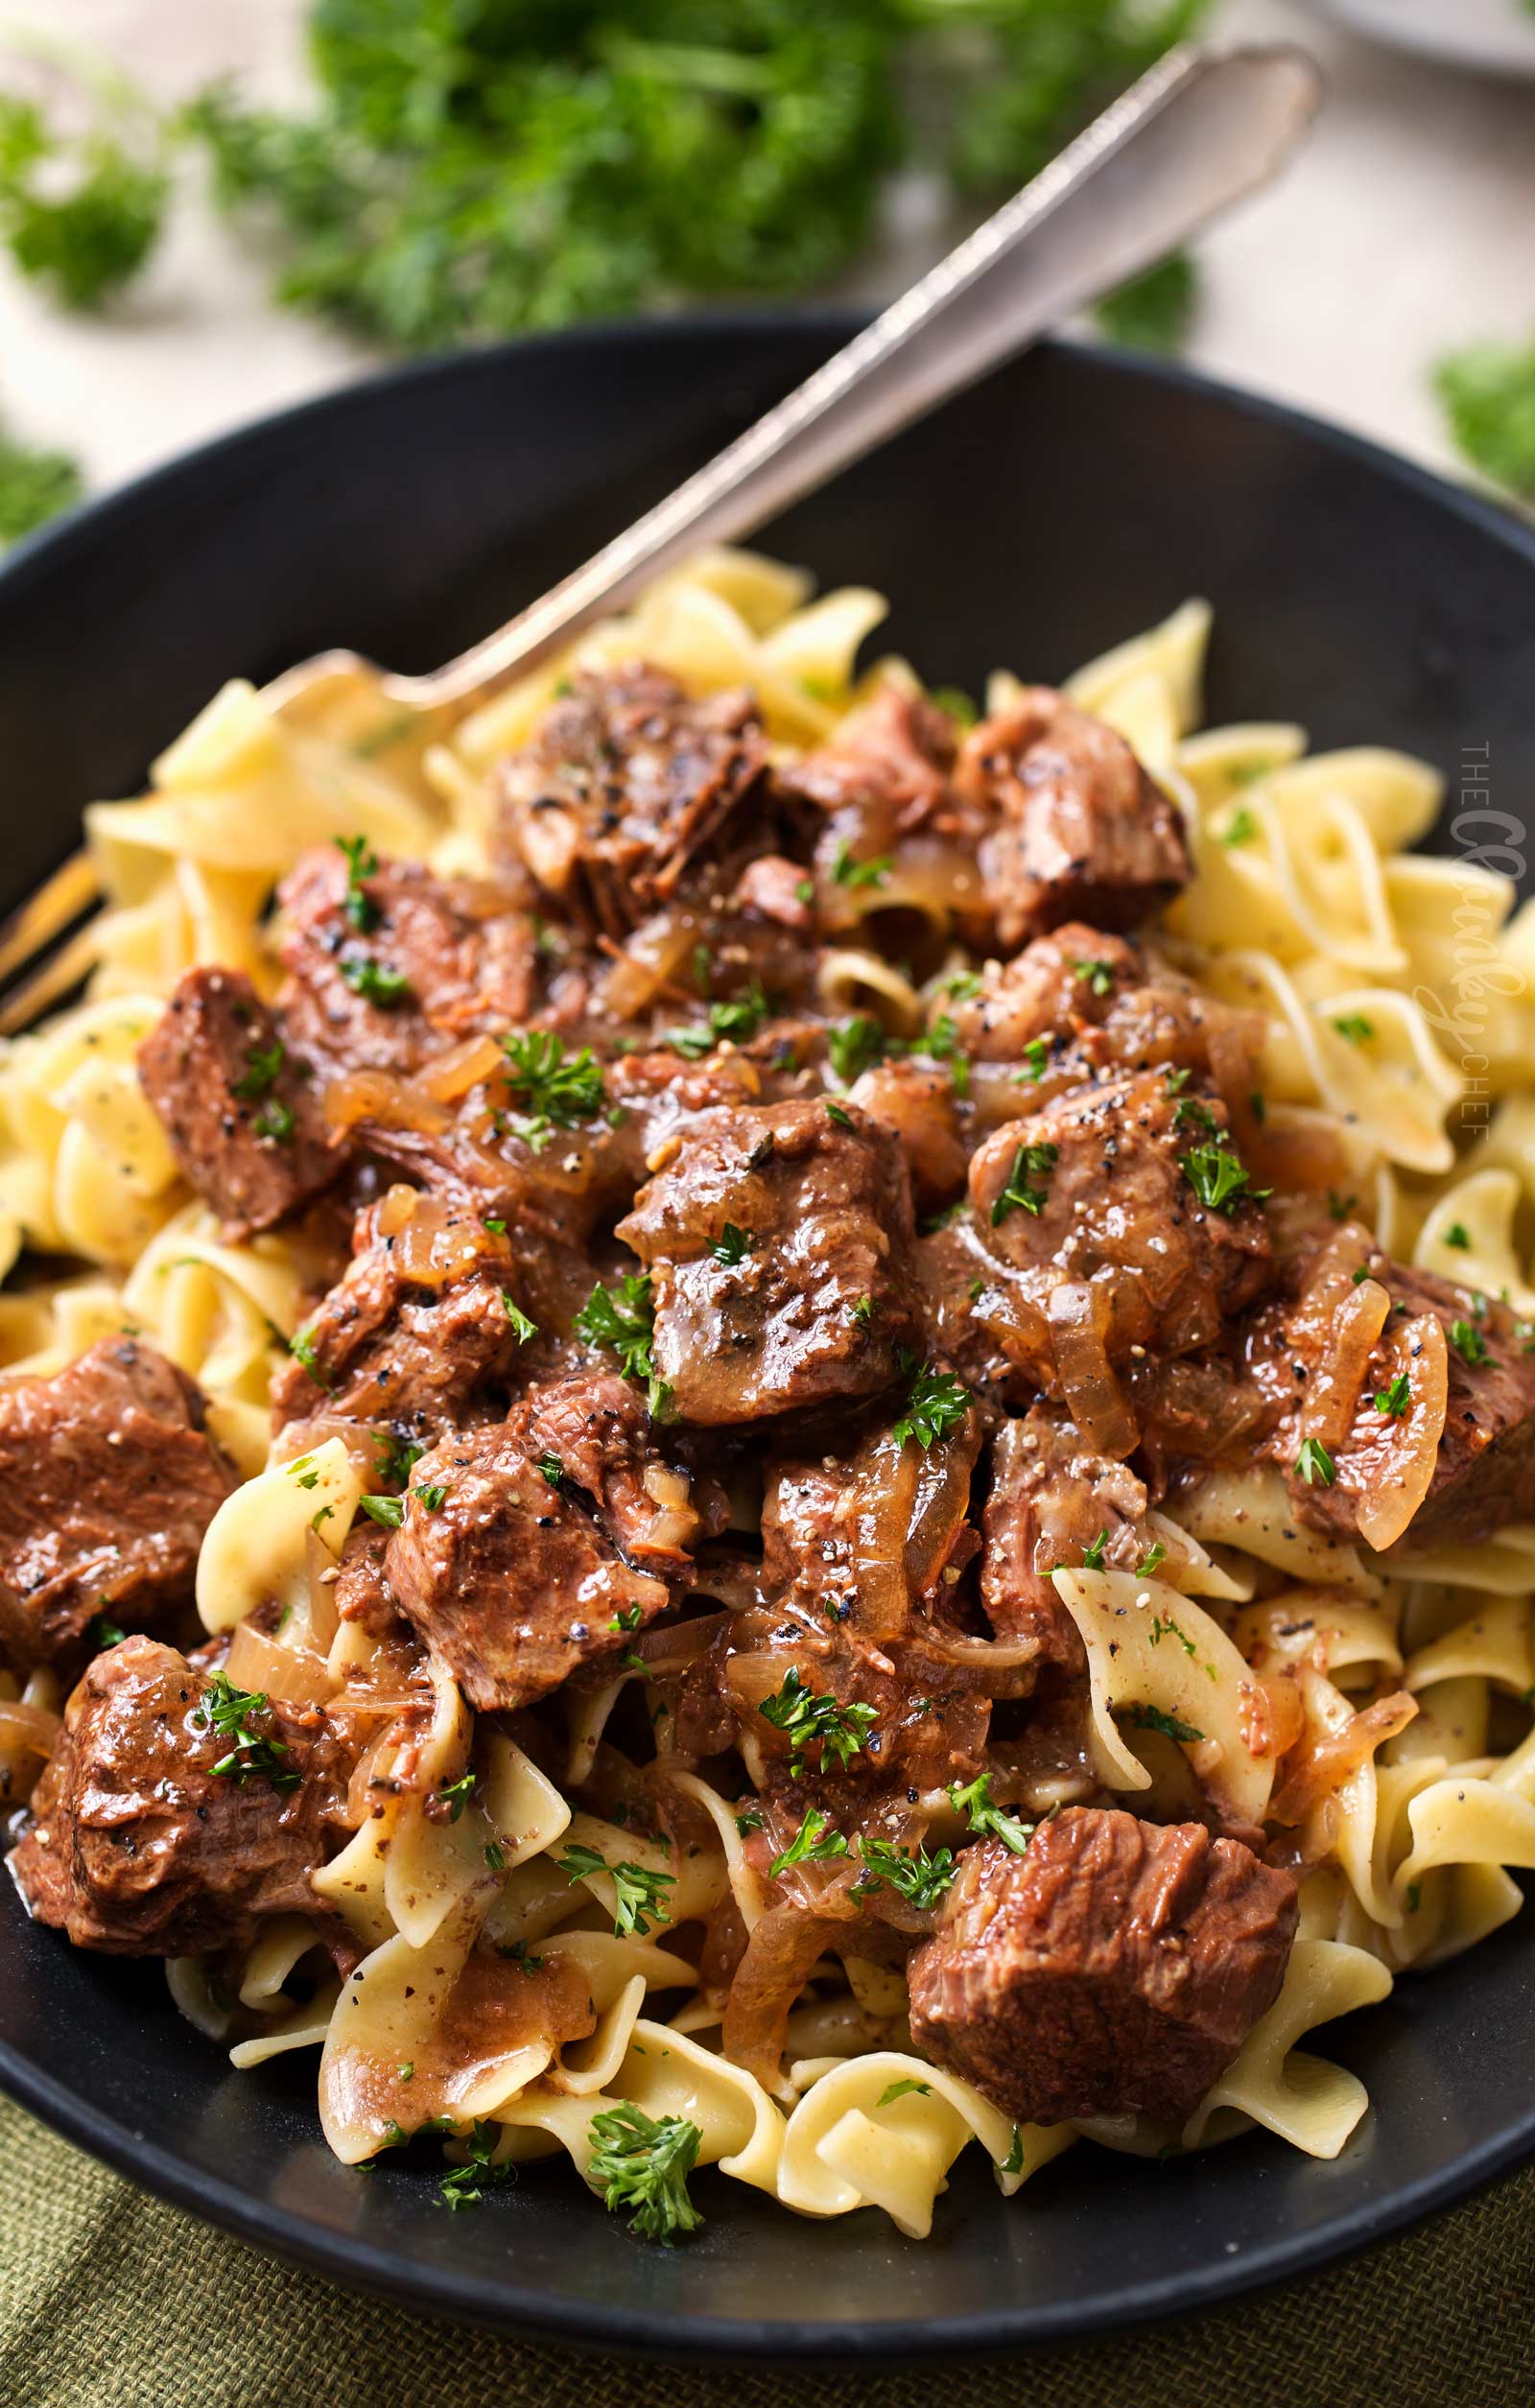
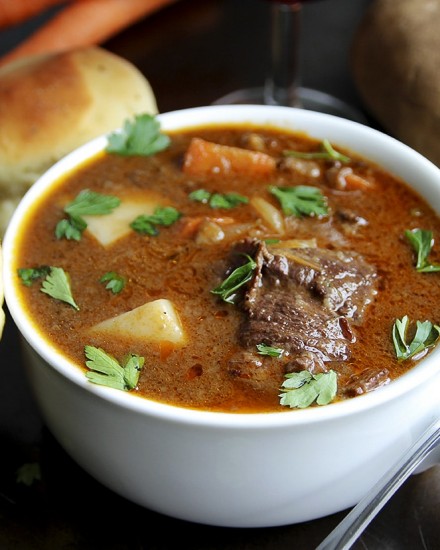
Flash forward 3+ years, and this is the most recent photo I’ve taken:
A lot more visually enticing right? This Drunken Slow Cooker Beef Stew is every bit as delicious as it looks!
If you’d like to transform your food photography, I’m here to share several tips to make your food look positively mouthwatering, as well as a list of my personal equipment that I use for just about every photo I take, and some of my favorite food photography books and tutorials!
BASIC FOOD PHOTOGRAPHY TIPS:
-
- Don’t be discouraged! Taking photos of food is a lot more challenging than you’d think. When we look at a plate of food with our eyes, we can see the whole picture, in 3D, as well as using our other senses to get an idea of that food in our minds. When looking at a photograph of food… well, a lot of times it just looks flat. The colors don’t pop, the details of the food that make it awesome don’t always show through, and it’s difficult to make it look as appetizing as it truly is! Even if you have a good “eye” for photography, just know that there is a learning curve with food photography and don’t give up 🙂
- Back away from the built-in flash! Even in dark situations… don’t use that pop-up flash on your camera. It will make your food look super unappetizing!
- Use Natural Light! Food shot in natural light will really make your mouth water! Most of my photos are taken with natural light, usually lit from the side or back/side. This works for me since I’m home during the day, and I’ve done tests to find the best location in my home and the best time of day to shoot. However, if natural light isn’t possible, see Tip #4.
- Use Artificial Light Made to Mimic Natural Light! There was a time that a lot of my recipes were shot with my artificial lights, but you wouldn’t be able to tell, since they are made to mimic the natural light 🙂 I find artificial light to be liberating to use, as you’re not at the mercy of the weather. Rainy, cloudy day? No big deal, you can still get a great shot! It can be tricky to set up, so expect a learning curve. These are a great option!
- Use a Tripod! This one can be a bit “controversial”, as some photographers prefer to shoot handheld and have the freedom to move around. Honestly, I used to miss that freedom. But once I started using a tripod, my shots became SO much sharper and clearer. Not to mention I didn’t need to take as many photos, since I knew the shots I was getting, were quality shots! I now find using a tripod to be liberating, since I can get through a photoshoot in under 20 minutes since I don’t need to take 15 shots to make sure one is usable.
- Don’t Be Limited in Your Photography Space! While it’s natural to shoot in your kitchen (it is FOOD photography after all), experiment in your house and see where you get some great light. I typically shoot in either my kitchen or my living room. I push a coffee table over to a big window and set up my shooting space!
- Diffuse Diffuse Diffuse! I almost ALWAYS diffuse my lighting, even on a cloudy day. No need for a fancy diffuser, I actually use a white bed sheet that I hang over the window where I’m shooting. For my artificial lighting shots, I drape a white t shirt or two over the light to soften it. Harsh lights are a bad thing!
- Use Smaller Plain Dishes to Shoot on! Typically a smaller portion of food looks more appetizing than a giant plate. Plus, it creates a story, like you’re inviting the viewer to join you for a plate 🙂 I picked up some plain white dishes a local grocery store for just a few dollars. They’re more of an appetizer plate size, perfect for food photography! It’s tempting to go for pretty patterns and fun designs, but they are difficult to use and not overpower the food. Using patterns takes a lot of skill, so to make things simple… try to use plain white, grey, or black dishes. Matte finishes are best if you can find them!
- Shoot RAW if Possible! If you have a DSLR camera, odds are, you have the ability to shoot in RAW format. The reason this is preferable is that you have MUCH more control over the editing of your photos in RAW. It will take your good photography and make it great! The quality of the image stays intact as you edit, so there’s no degrading of the image if you need to edit it quite a bit. The downside of this is that you’ll need software that has the ability to handle RAW files… such as Adobe Lightroom or Adobe Photoshop. I believe there are various free software programs available online as well, such as GIMP. Below these tips there’s an example of why I shoot RAW.
- Focus on the BEST Part of the Food! My favorite of the food photography tips! What I mean by this is, think of what your favorite part of the dish is, and focus and plan your shot around that. Is it the crunchy texture? Is it the glossy sauce? Maybe it’s how cheesy the dish is. Think of how you would describe the food to someone, and focus on that. Whatever it is, make that the star of your shot, and you’ll have a great shot every time!
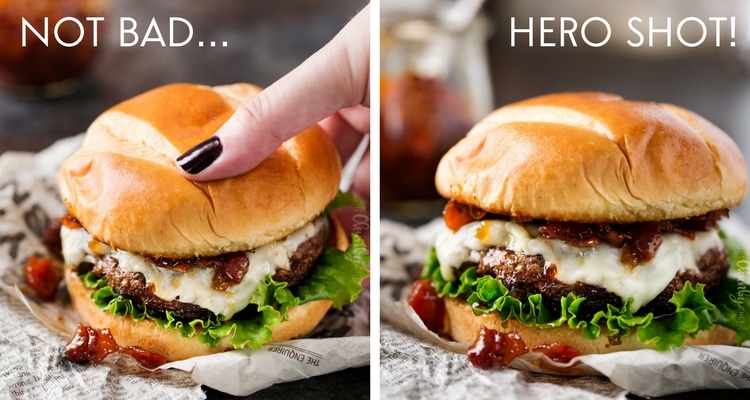
- Know Your Angle! Generally, for food photography, overhead shots and a 45 degree angle are the standard formats. But certain foods look better with certain angles. A burger, for example, is best to shoot straight on, to showcase the layers and emphasize how big it is. If you shoot a burger overhead or at a 45 degree angle, all you’ll really see is the bun. Here’s a comparison:
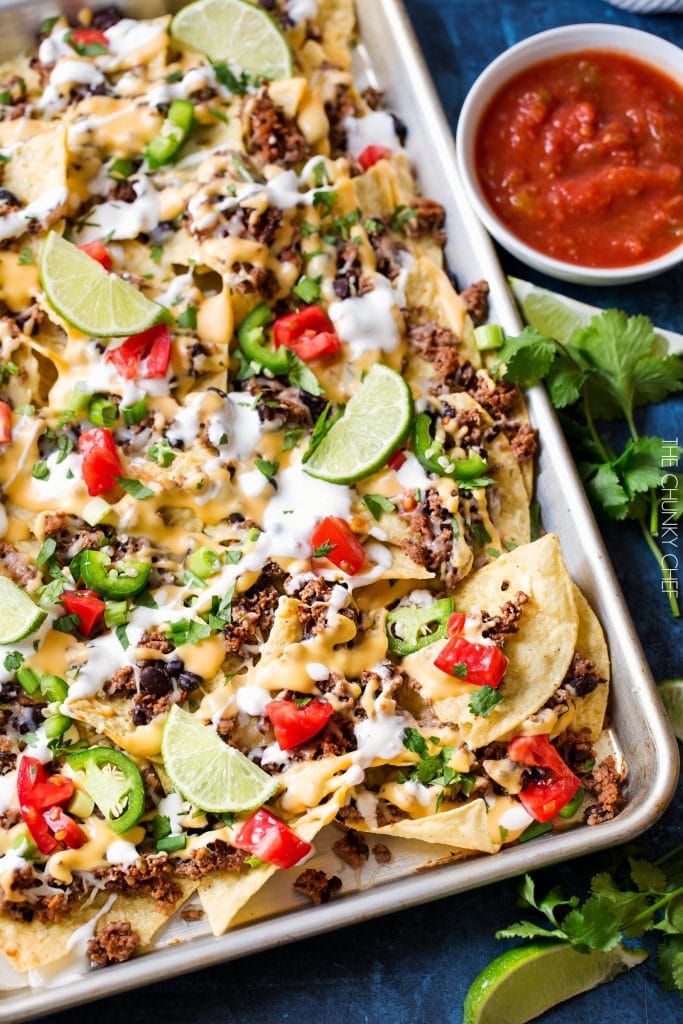
EXAMPLE OF RAW PHOTOGRAPHY:
I was shooting these nachos on a partly cloudy/partly sunny day and right as I pushed the shutter button, the sun came zooming out from behind a cloud and my image was SO overexposed, it was nearly completely white! Because I shoot in RAW, I was able to edit the image without degrading the quality and ended up with an image that you’d never guess was so horribly overexposed:
PHOTOGRAPHY EQUIPMENT:
You don’t necessarily NEED to have a fancy camera to take great photos… after all, it’s the photographer that creates a great shot, NOT the camera 😉 However, quality equipment in the right hands can equal some truly amazing images.
With DSLR cameras, there are two main types. Crop sensor and full frame.
HOW DO I KNOW WHICH TYPE OF DSLR CAMERA IS RIGHT FOR ME?
I would say that all depends on your skill level and how comfortable you are with food photography (or photography in general). If you’re just starting out, keep your camera on Auto mode, and are NOT shooting in RAW format, I would highly suggest starting with a crop sensor. For most food photographers, crop sensor cameras are more than enough.
However, if you’re shooting in Manual mode, have a great sense of light and composition, shooting in RAW, etc… then if your budget is open to it, you might be ready for a full frame camera body.
ADVANTAGES AND DISADVANTAGES OF CROP SENSOR/FULL FRAME CAMERAS:
CROP SENSOR
Advantages:
- Less expensive
- Less heavy
- Great for beginners
Disadvantages:
- Not that great in low light
- When buying lenses, you have to deal with the crop factor (explained below)
- Can be limited in terms of quality
FULL FRAME
Advantages:
- Amazing in low light (you can get up to a really high ISO before you see noticeable grain)
- Quality is superb
- No crop factor to deal with
Disadvantages:
- Heavy
- More expensive
- Can be overwhelming for beginners
I started The Chunky Chef using a Canon Rebel SL1, which is an extremely entry level crop sensor DSLR camera. I used it for about a year or more, and love how easy it was to use! After that I upgraded to a Canon 7D Mark II which is a top of the line crop sensor camera. If you don’t want to make the leap to full-frame, I HIGHLY recommend the 7D Mark II.
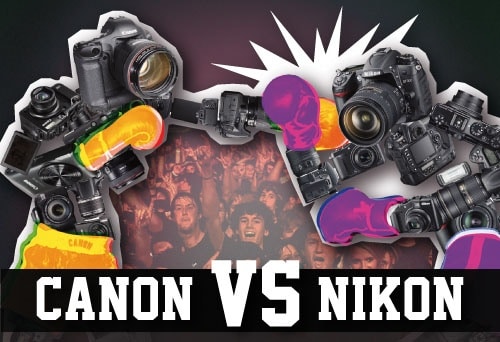
The Canon vs. Nikon debate is pretty null and void in food photography. I think it all comes down to a personal preference, as there are barely any differences in quality between the two brands. This post is centered around Canon products, as that’s what I use and am familiar with. My advice would be to go to a local camera store and hold cameras from both brands. See which feels good to you!
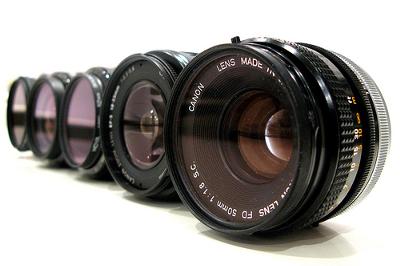
With a DSLR camera, you’ll need to have a lens as well. These can range from $100 – $5000 or more. If you have a full frame camera, if you like the look of a 50mm focal length… get a 50mm lens. Easy peasy. But for a crop sensor camera, there’s more to it.
Basically the sensor on a crop sensor camera isn’t a 35mm full frame, it’s cropped down. Entry level DSLR’s and non-professional cameras all have crop sensors. Canon has a crop factor of 1.6x, which means there’s a little math involved. Let’s say you love the look of the 100mm focal length (this is hugely popular in food photography). So…
100mm / 1.6 = 62.5mm
Well, there’s no 62.5mm lens, but Canon makes a 60mm macro, which works out to be 96mm with the crop factor (60mm x 1.6), which looks verrrrrry similar to the 100mm. So you can see that crop sensor cameras can be a little tricky when it comes to lenses.
This is a common complaint in the food photography world:
I have a Canon Rebel and a 100mm lens, but I have to stand like 8 feet away to get everything in the shot!
Well, it’s because with the crop factor, your operating with a functional 160mm focal length! The larger the focal length, the more up close the view will be (which means you’ll have to be farther back to get everything in view).
Here’s a little preview of what the same photo looks like from different focal lengths, as well as an in depth post by Christina Peters of the Food Photography Blog:
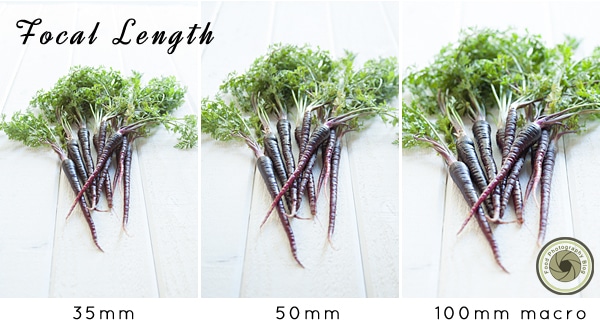
Incidentally, the site where that photo comparison came from is a FANTASTIC food photography resource, I highly encourage you to check it out!!
MY CURRENT PHOTOGRAPHY EQUIPMENT
Camera: Canon 5D Mark III
Lens #1 (my go-to): Canon 100mm macro L
Lens #2 (great for overheads): Canon 24-70mm L
Lens #3 (love it, but usually use the #2 lens above instead): Sigma 50mm
Tripod (with overhead arm): Vanguard Alta Pro with this ball head
Remote shutter: SMDV
SD Card: SanDisk 128gb
Editing with: Adobe Photoshop
MY PICKS FOR ENTRY TO MID-LEVEL FOOD PHOTOGRAPHY/BLOGGING:
Camera: Canon Rebel (any), or Canon 7D Mark II if your budget is flexible
Lens #1: Canon 60mm macro
Lens #2: Canon 35mm OR Canon 40mm STM (more budget friendly)
Tripod: Vanguard Alta Tripod Kit (comes with the ball head and has the overhead arm) OR if you don’t want the overhead arm… this kit is a bit cheaper
Remote Shutter: probably not necessary, but if you want to try shooting with one, the one linked above is economical
SD Card: SanDisk 64gb
Editing with: Adobe Photoshop/Adobe Lightroom/GIMP
FOOD PHOTOGRAPHY BOOKS/RESOURCES:
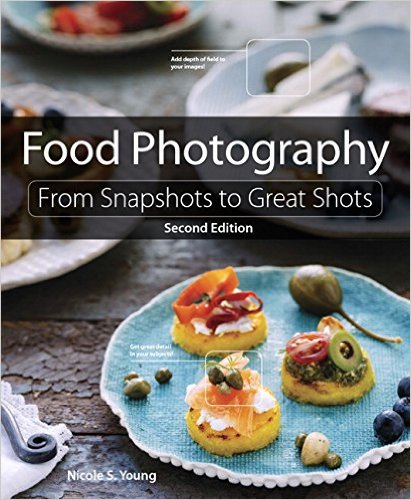
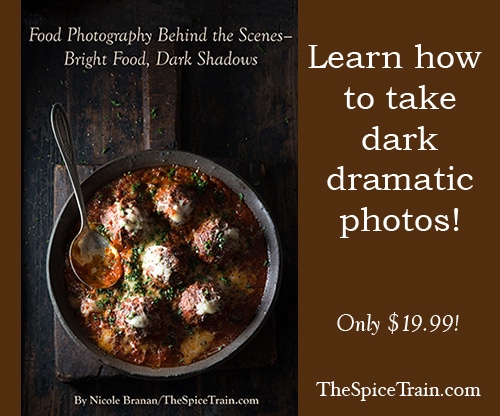
I’m a total book nerd, and I immerse myself in learning as much as possible… the following are some ahhhhh-mazing food photography books that will teach you SO much!! I highly recommend them! Each image is clickable and will take you to the respective websites (in a new tab).
This book was given to me by my husband and I poured through it in just about one sitting! The amount of practical tips is amazing and her section on photoshop tutorials was SUPER helpful!
If you love the dramatic look of the “dark food photography” movement, which, let’s face it, is pretty perfect for the Fall and winter comfort foods… Nicole’s book is perfect for you!! Until reading her book, I would look at the moody, dramatic photos and just wish I had ANY clue how to make my photos look like that. Now, they’re one of my favorite styles of photos to take! Nicole goes over everything in this book, from how to create a story with your photos, how to set up your shot, how to use light (both natural and artificial), and how to edit your photos. Check out The Spice Train to see her beautiful photography!!
Whew, this post has been a bit of a narrative lol. I hope you all have found it helpful! Food photography is a work in progress for us all and I can’t wait to see your photos!!


John says
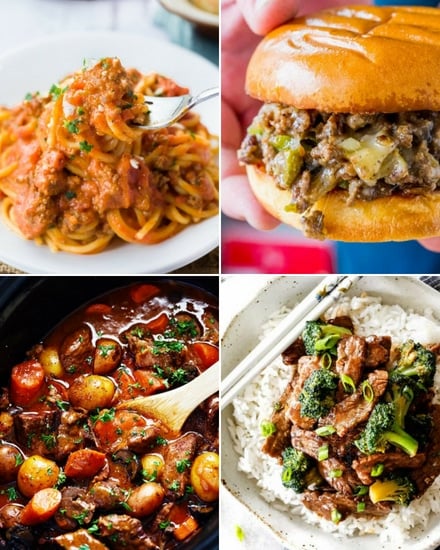
Hi, Amanda! Excellent post with lots of great tips! I really liked the way you captured the noodles dish it literally made me hungry! LOL AWESOME POST!
Ann says
Really helpful post Amanda! I have the same camera and am wondering which flash you use?
The Chunky Chef says
Thank you Ann! I actually don’t use any flash at all… all my photos are taken with natural light or my lowel EGO artificial lights 🙂
Ramakant@Photography Tutorials says
Nice article about food photography. Very detailed, easy and helpful.
The Chunky Chef says
Thank you so much Ramakant! 🙂
Sandhya says
Amanda,
Very informative post. thanks for sharing!
The Chunky Chef says
Thank you Sandhya!! 🙂
stef says
Thanks for the photography tips!!! they are awesome and so is everything on your blog!! xx
The Chunky Chef says
Thank you Stef!! 😀
Liz says
Thanks for the tips, my photography definitely could use some improvement. I’ve been using my IPhone 6 but may need to invest in a camera.
The Chunky Chef says
Thank you Liz! I wish they were less expensive, but I keep looking at it as just like you mentioned, an investment 🙂
Suchitra says
Congratulations on the first anniversary of your blog! You are doing a phenomenal job! Thanks very much for these food photography tips! That is one area where I am slowly getting better.
The Chunky Chef says
Thank you Suchitra!! It’s definitely a learning curve, I still learn something new each time I shoot 🙂
Cynthia says
I can never take good food photos and I would think that I would be able to do so by now since I’ve been food blogging for a while now but I can never get them right. Plus living in a gloomy rainy city doesn’t help either so I can never really use natural lighting and can’t get the hang of artificial ones…hopefully I will be able to take better ones with your tips and tricks! Thank you so much for sharing them! Happy FF and hope you have a great weekend!
The Chunky Chef says
Thank you Cynthia!! You know, food photography is one of the trickiest things I’ve attempted. You wouldn’t think it would be, but it’s just HARD to make food look super appetizing!
Loretta says
Welcome to Fiesta Friday Amanda, and thanks so much for bringing us so much information on photography and cooking. Wow! there’s a wealth of information there. Just love your before and after shots, what a difference a day makes eh? (kidding)!. I just have a basic digital point and shoot camera, it’s hit or miss with me. I’m trying to get more accustomed to the manual setting, but I’ve yet to figure out DOF, and all the other settings. What do you use for your artificial lighting? Thanks again, enjoy your weekend!
The Chunky Chef says
Thank you so much Loretta!! Lol, some days, it seems like just yesterday I started blogging 😉 I use Lowel EGO lights (I have two), and I really love them! Yeah DOF is tricky on a point and shoot, unfortunately. Hope you’ve enjoyed your weekend as well!
Dean says
Great tips and photos. Of all the tips I found this one to be most important: “Use Artificial Light Made to Mimic Natural Light!” I will have to go find similar lighting now. Thanks!
The Chunky Chef says
Thank you Dean!! Artificial lighting really changed my photography life 🙂
nicole (thespicetrain.com) says
What a great post, Amanda! Thank you so much for including my stuff in it. I’m a big fan of your photography, that skillet lasagna photo is beautiful. It’s absolutely incredible that you’ve been at this for only one year!! Hope you have a wonderful Thanksgiving. 🙂
The Chunky Chef says
Thank you so SO much Nicole!! You’re such a talented photographer… I’ve always drooled over your photos 😀 I hope you enjoy your Thanksgiving as well!