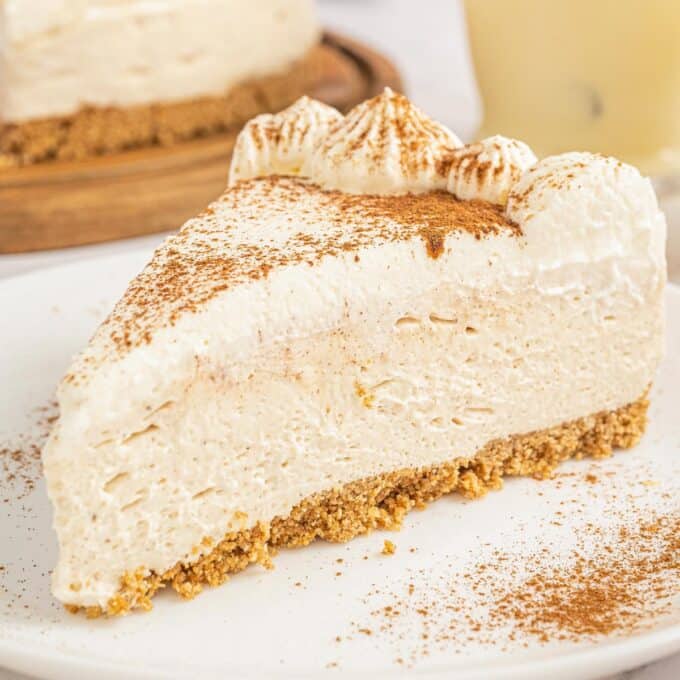
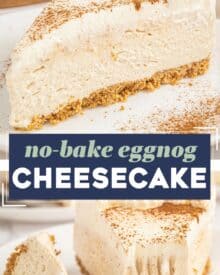
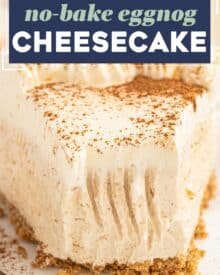
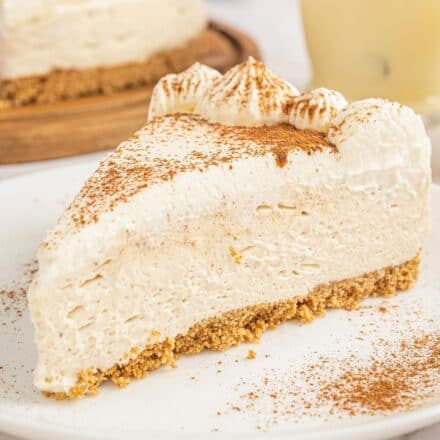
This no-bake cheesecake is smooth and creamy, and full of eggnog flavor! It’s a great way to enjoy eggnog in an alcohol-free treat, which is perfect for the holiday season!
This is one of my No Bake Dessert recipes I know you’ll want to keep on hand!
Well, Christmas is almost here! Do you have all your baking done, or planned?
If not, I have one more thing you might want to squeeze in… and it doesn’t even involve baking!
This time of year, things are busier than ever, and I’m always looking for delicious treats that look impressive, but are actually super easy.
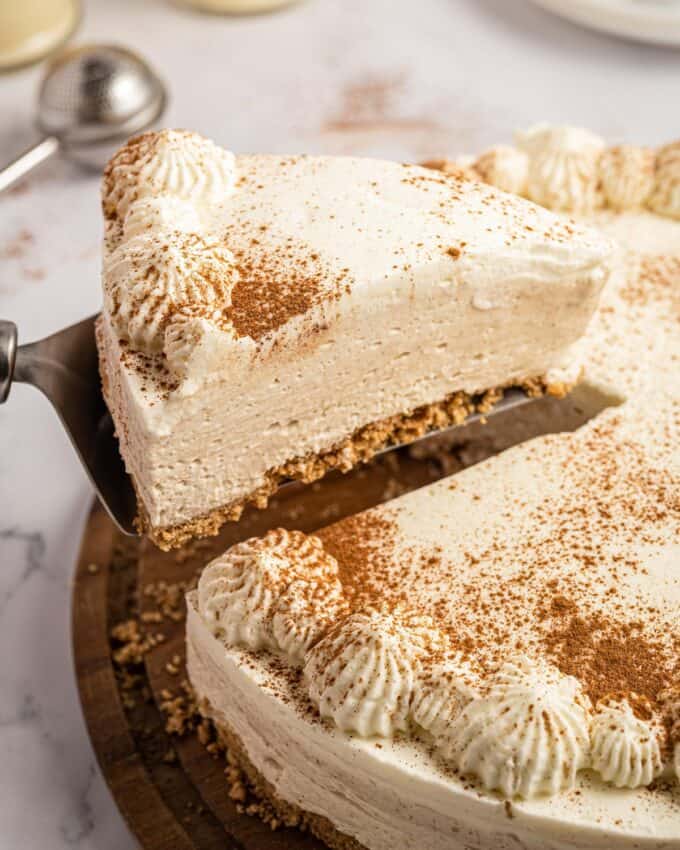
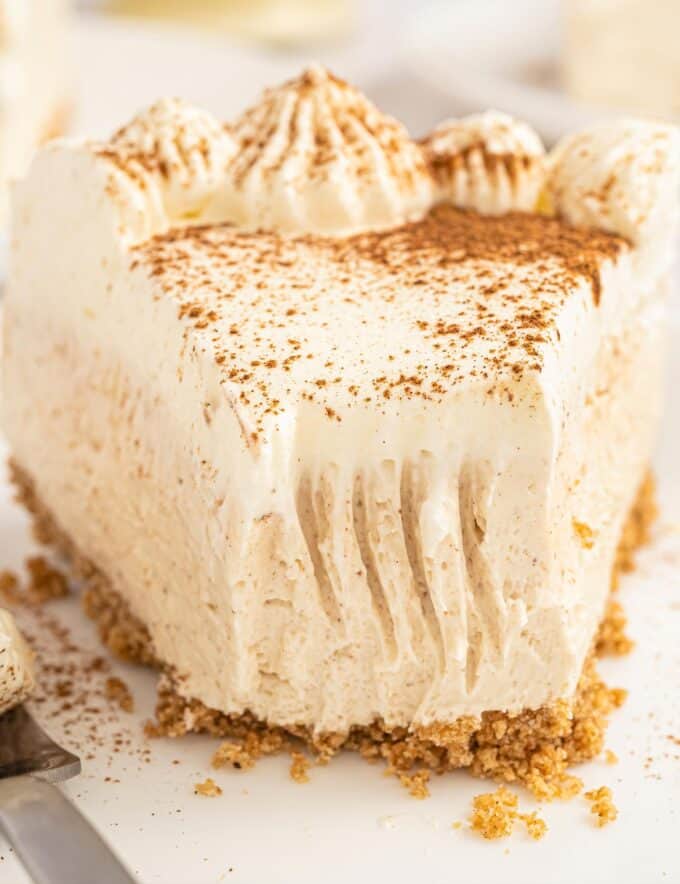
Not just a no-bake cheesecake, but a silky eggnog no-bake cheesecake topped with eggnog whipped cream and a dusting of cinnamon!
What do I need to make this recipe?
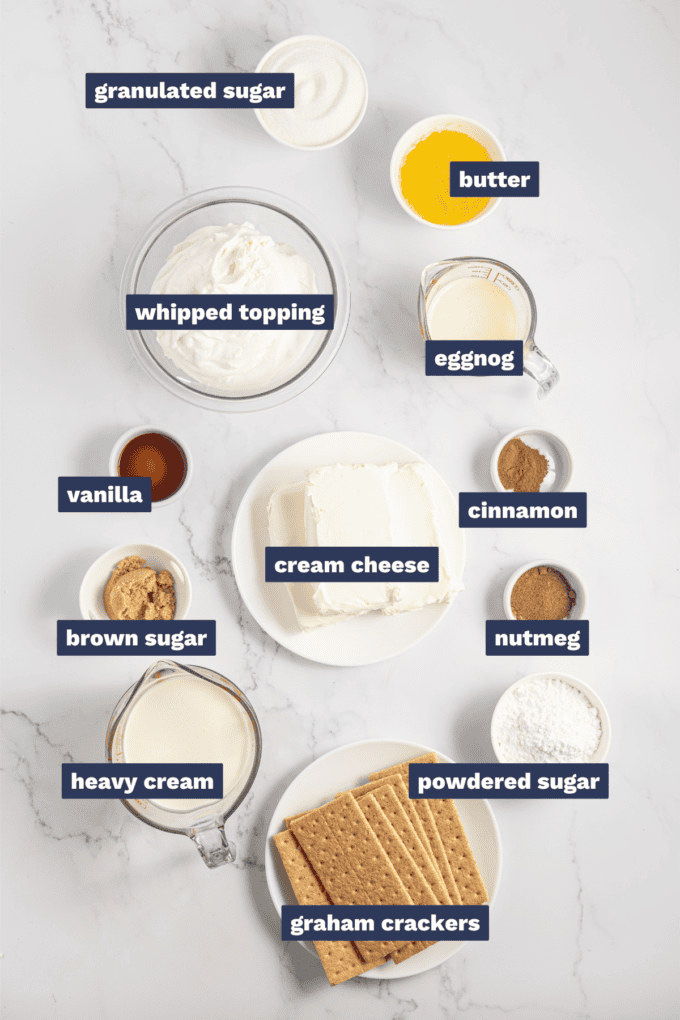
- Graham crackers – this forms the base of the crust. You can grind up whole crackers (a food processor is perfect for this), or purchase graham cracker crumbs.
- Nutmeg – using nutmeg in the filling and crust enhances the flavor of the eggnog.
- Cinnamon – ground cinnamon is used in the crust, filling, and dusted on top (if you’d like).
- Brown sugar – I like to use brown sugar in the crust as it adds a subtle molasses-y flavor.
- Butter – the crust uses melted butter to bind the crushed graham crackers and seasonings/sugar together.
- Cream cheese – no cheesecake would be complete without cream cheese! I’ve only tested this recipe with full fat cream cheese.
- Granulated sugar – this sweetens the filling.
- Vanilla – I prefer to use real vanilla extract, rather than imitation. Vanilla bean paste is another great option.
- Eggnog – I like to use store-bought eggnog for this recipe since it has a thicker consistency and yields a consistently smooth cheesecake.
- Whipped topping – Cool Whip is a brand of frozen whipped topping, just thaw it for this recipe.
- Heavy cream – the heavy whipping cream is used to make a homemade whipped cream for the topping.
- Powdered sugar – this sweetens the whipped cream.
How to make eggnog no bake cheesecake:
This is just an overview; the full ingredients and directions are in the recipe card toward the bottom of this post.
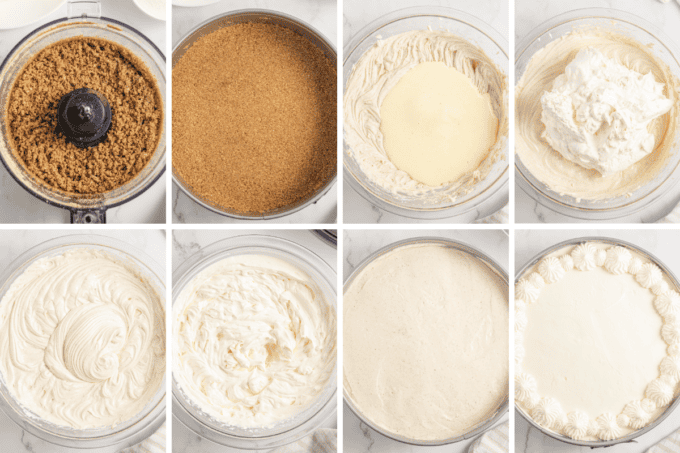
- Make crust. For the most uniform crumbs, you’ll want to use a food processor if you have one. If not, I would buy graham cracker crumbs from the store.
- Press into pan. For this recipe, the crust is only on the bottom, not up the sides, so make sure you’re firmly packing the crust down.
- Make filling. A hand mixer is super helpful here. You could also use a stand mixer, and possibly just a whisk, but you’ll likely have a sore arm!
- Fold in whipped topping. This should be done with a rubber spatula, so it stays light and airy.
- Set aside. Set the filling aside for now.
- Whip cream. Making whipped cream is easier than you may think, it just takes a little time.
- Assemble. Add the filling to the prepared crust, smoothing it into an even layer.
- Add whipped cream. I like to add half of it in a smooth layer, then pipe the rest on top with decorative swirls for a fun presentation.
Helpful Tip!
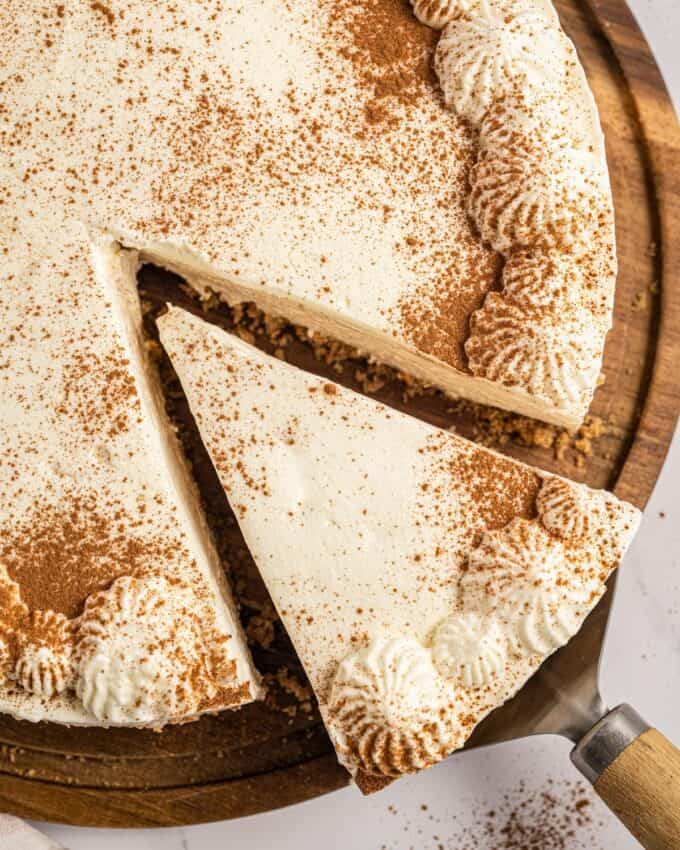
I know it’s tempting to want to dig right into this cheesecake after you make it, but in order for it to properly set up and have a creamy, yet firm, consistency, you need to let it chill. You’ll need at least 6-8 hours, but I usually prefer to let it chill overnight.
Variations of this recipe
- Gingersnaps – instead of graham crackers, try using an equal amount of gingersnap cookies!
- Biscoff – just like with the gingersnaps, you can use biscoff cookies for a fun flavor twist!
- Unsalted butter – I like to use salted butter for the crust, as the slight amount of salt brings out the sweet flavors, but you can use unsalted if you’d prefer.
- Eggnog – if you’d prefer to use a homemade eggnog, you definitely can.
- Rum extract – try adding 1 tsp of rum extract (or a spiced rum for an adult treat) for a more authentic eggnog flavor.
- Topping options – in addition to the ground cinnamon, I like to sometimes add a dusting of gingersnap or biscoff cookie crumbs, or a drizzle of melted white chocolate.
FAQ’s
This recipe uses two things to make sure the cheesecake is firm and not too soft. The whipped topping stabilizes the cake, and chilling it really allows it time to set up well.
Absolutely! Just divide the ingredients evenly among the small springform pans, and chill as directed.
Making no bake cheesecake ahead of time
This eggnog cheesecake is great to make ahead!
It can be made entirely, then stored (covered) in the refrigerator for a day or so.
It’s also naturally a make-ahead recipe, since it has to chill for at least 6 hours.
Freezing
No-bake cheesecakes can be frozen, which is a great make ahead option!
I prefer to freeze it before adding the eggnog whipped cream, then cover it completely with plastic wrap, then add to a freezer-safe airtight container and freeze for up to 2-3 months.
Thaw in the refrigerator, make and add the whipped cream, then serve!
Storage
Leftover cheesecake should be refrigerated in an airtight container and enjoyed within 3 days.
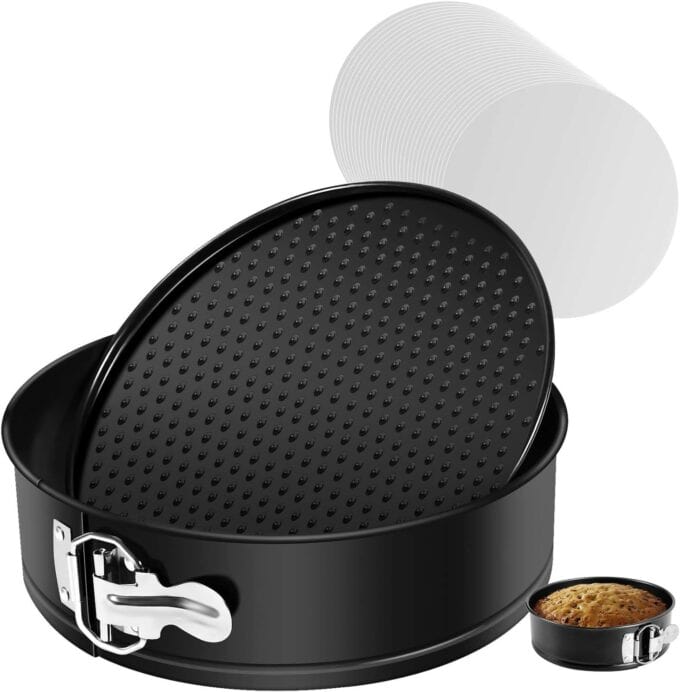
My Favorite Springform Pan!
This springform pan is nonstick, leakproof, and it comes with pre-cut parchment rounds, making your baking easier!
Did you make this? Be sure to leave a review below and tag me @the_chunky_chef on Facebook and Instagram!
Ingredients
Graham cracker crust
- 9 graham crackers 9 full size rectangles
- 1/2 tsp ground nutmeg
- 1/2 tsp ground cinnamon
- 2 Tbsp packed light brown sugar
- 7 Tbsp salted butter melted (unsalted may be used instead)
Eggnog cheesecake filling
- 24 oz cream cheese softened
- 1 cup granulated sugar
- 2 tsp ground nutmeg
- 1 tsp ground cinnamon
- 1 tsp vanilla extract
- 1/2 cup eggnog store-bought or homemade
- 8 oz frozen whipped topping thawed (Cool Whip)
Eggnog whipped cream
- 1 cup heavy whipping cream cold!
- 1/4 cup powdered sugar
- 3 Tbsp eggnog store-bought or homemade
- ground cinnamon for dusting (optional)
Instructions
Prepare
- Lightly grease a 9" springform pan with butter (or shortening if you prefer). Set aside for now.
Make crust
- To a food processor, add all the crust ingredients except the butter (the graham crackers, nutmeg, cinnamon, and brown sugar). Pulse until the graham crackers are fine crumbs.
- ** If you don't have a food processor, I recommend buying graham cracker crumbs from the store, you'll need about 1.5 cups. Then just stir in all the other ingredients, and stir in the melted butter. **
- With the food processor running, slowly stream in the melted butter until everything is coated. ** If your food processor doesn't have the capability to stream in liquids while it's running, you can dump the contents in a bowl and stir in the butter. **
- Add the crumbs to the prepared springform pan, and firmly press them into the base of the pan.
- Add pan to the freezer for about 15-20 minutes.
Make filling
- To a large mixing bowl, add the cream cheese, granulated sugar, nutmeg, cinnamon, and vanilla. Use a hand mixer to beat until smooth.
- Add eggnog and beat again until smooth and creamy. Add whipped topping (Cool Whip), and use a rubber spatula to gently fold it into the cream cheese mixture. Set aside for now.
Make whipped cream
- In a separate mixing bowl, add all whipped cream ingredients (heavy whipping cream, powdered sugar, and eggnog), and beat with hand mixer on MED speed until stiff peaks are formed. ** See Chef Tips note #2 for more information on stiff peaks. **
Assemble
- Remove the pan with the crust from the freezer, and spread the cheesecake filling evenly over the crust.
- Spoon about half of the whipped cream over the top, smoothing it into an even layer.
- Add remaining whipped cream to a piping bag fitted with a large star tip (or your preferred tip), and pipe swirls of whipped cream around the top.
- Cover, then place pan in the refrigerator for at least 6-8 hours, but overnight is best.
Serve
- Carefully run a thin knife around the outside of the cheesecake, then release the outer ring of the springform pan.
- Dust with ground cinnamon if desired, then slice and serve.
Want to save this recipe for later? Click the heart in the bottom right corner to save to your own recipe box!
Chef Tips
- This recipe makes one 9″ cheesecake, which you’re free to divide into as many servings as you’d like. I’ve estimated about 8 slices.
- Stiff Peaks – When you turn the mixer upside down (with it OFF), so the beaters are facing up, the cream will stand up in a peak (like a little mountain), and not fold over onto itself. This is a great visual guide from Taste of Home.
- If you’d rather not pipe the whipped cream, you can skip that step and just smooth all of it into a layer on top of the cheesecake.
Nutrition Disclaimer
The Chunky Chef is not a dietician or nutritionist, and any nutritional information shared is an estimate. If calorie count and other nutritional values are important to you, we recommend running the ingredients through whichever online nutritional calculator you prefer. Calories can vary quite a bit depending on which brands were used.
Leave a Comment