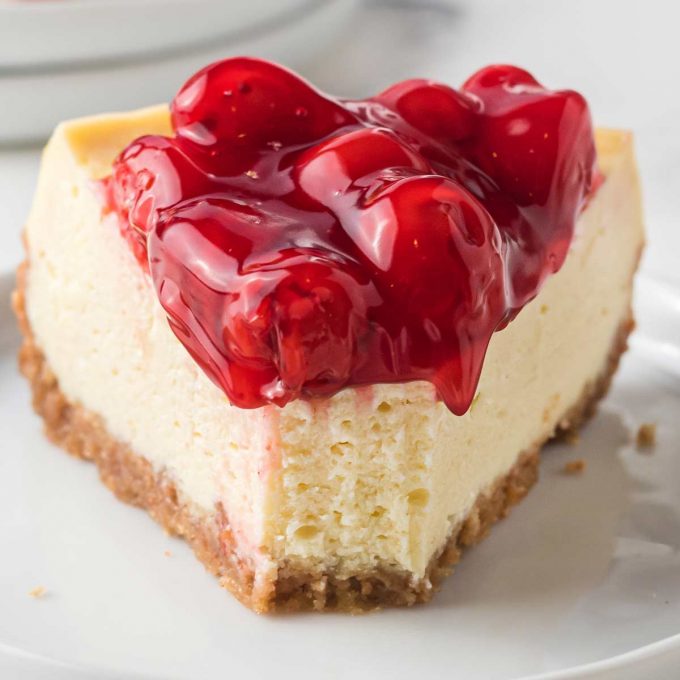
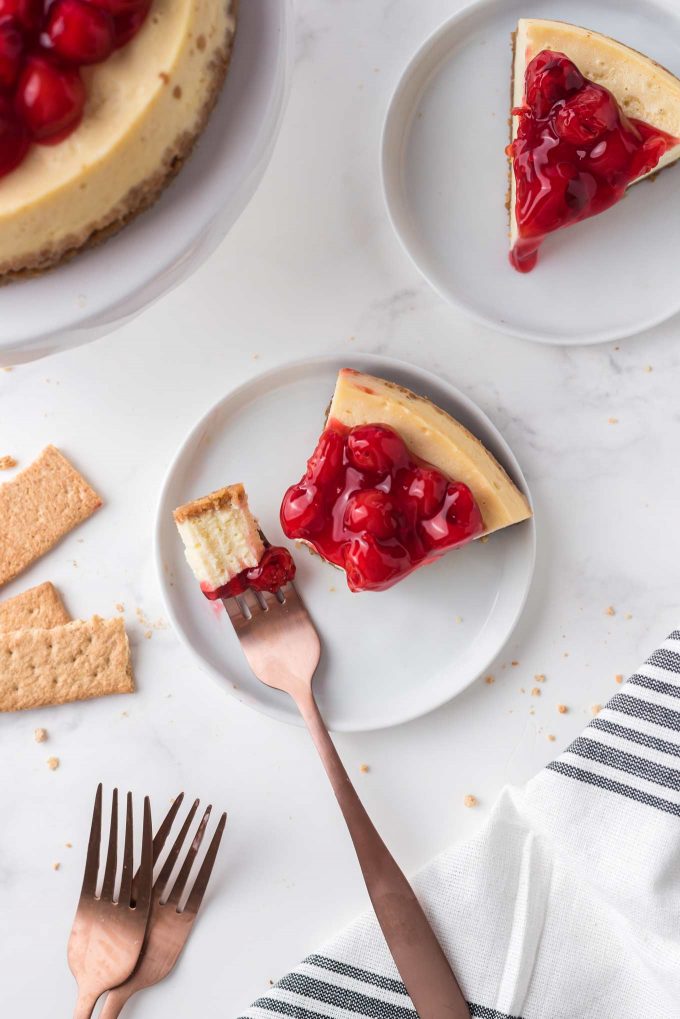
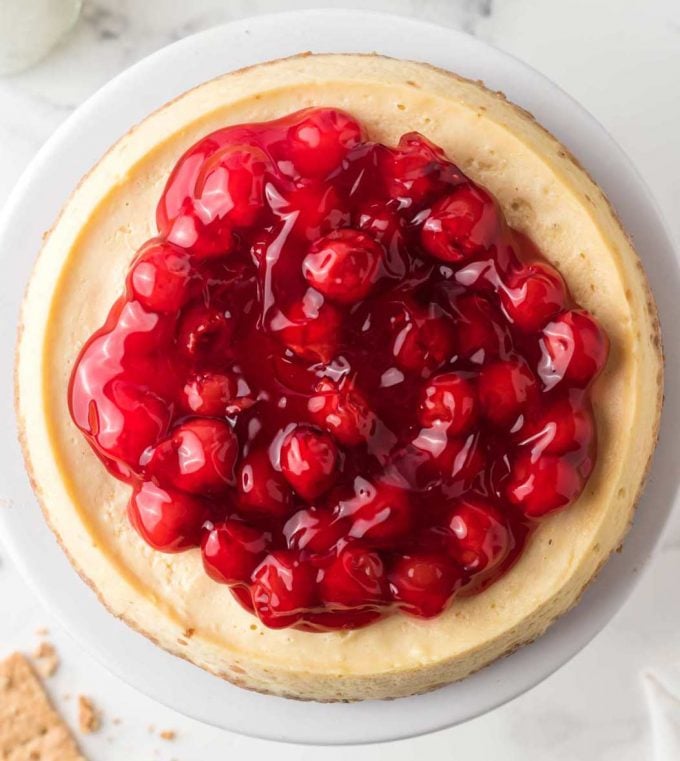
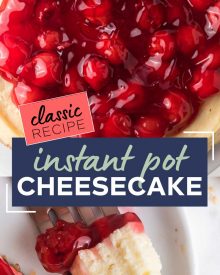
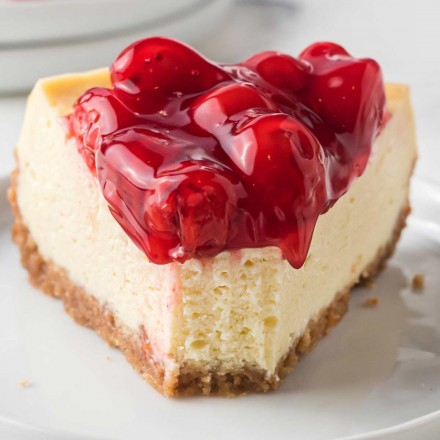
This easy Instant Pot Cheesecake is the perfect dessert recipe! Classic vanilla cheesecake comes out so creamy and rich, with a buttery graham cracker crust, and topped with classic cherry pie filling!
This Instant Pot Cheesecake is such a fun dessert, and SO delicious! We love classic desserts that are easy to make, like my Apple Crisp, and Old Fashioned Donuts. This is one of my Dessert recipes you’ll definitely want in your collection!
CHEESECAKE RECIPE
A great cheesecake is such a classic dessert. So smooth and creamy, yet dense and rich at the same time! And with so many endless flavor combinations. But I figured I’d start with the OG, the original vanilla cheesecake.
I’ve got plenty of other flavored and holiday inspired cheesecake recipes planned, but I really wanted you guys to see that a great cheesecake isn’t impossible to make. It’s actually fairly easy!
You’d never know it, from all my steps and tips listed down below, but those are just so you have all the information and I wanted to be super clear and helpful. I promise, you can do this!
I love to use my Instant Pot, since it naturally cooks with a moist heat, which perfectly mimics the effects of a water bath (which is what traditional baked cheesecakes are cooked in). Plus there’s no need to boil the water, wrap the pan, or let it sit in the oven for an hour after baking.
The pressure cooker does all that for you!
HOW TO MAKE CHEESECAKE IN THE INSTANT POT
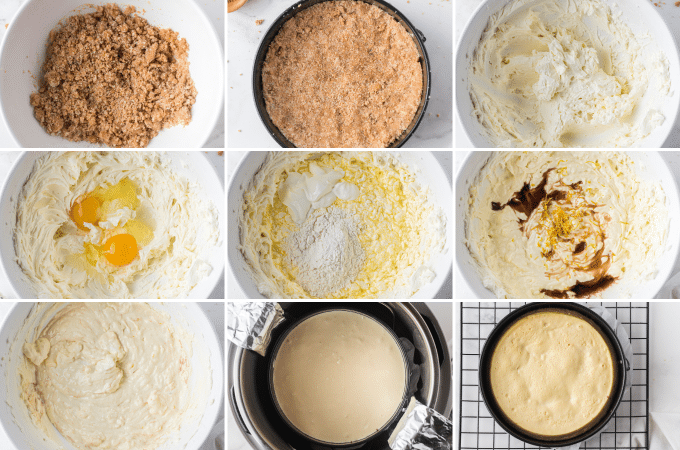
- Prepare Instant Pot and pan. Add water and trivet to Instant Pot. Add parchment to bottom of springform pan. Create a foil sling to help you remove the pan after cooking (see bottom middle photo above).
- Make the crust. Mix crust ingredients and press into pan in an even layer. Freeze.
- Whip cream cheese. Beat cream cheese with a hand mixer for about 30 seconds. Add sugar and beat until combined.
- Add eggs. Beat in eggs.
- Add flour/sour cream. Beat in with mixer.
- Stir in vanilla. Use a rubber spatula to stir in vanilla and lemon zest (if using).
- Pour batter into pan. Remove pan with crust from freezer and pour batter on top of the crust. Tap pan gently on the counter to eliminate air bubbles.
- Add pan to Pot. Add pan to pot, on top of the trivet and foil sling, making sure the sides of the sling come up and out of the pot.
- Pressure cook. Pressure cook on high for 30 minutes. Let pressure release naturally.
- Remove lid and blot liquid. Use a paper towel to gently blot away excess condensation that dripped onto the cheesecake.
- Let cheesecake rest. Leave the cheesecake in the pot (make sure it’s turned OFF) for 5-10 minutes.
- Transfer to cool. Let cake cool completely.
- Chill. Place cheesecake, covered, in the refrigerator for at least 6 hours, or preferably, overnight.
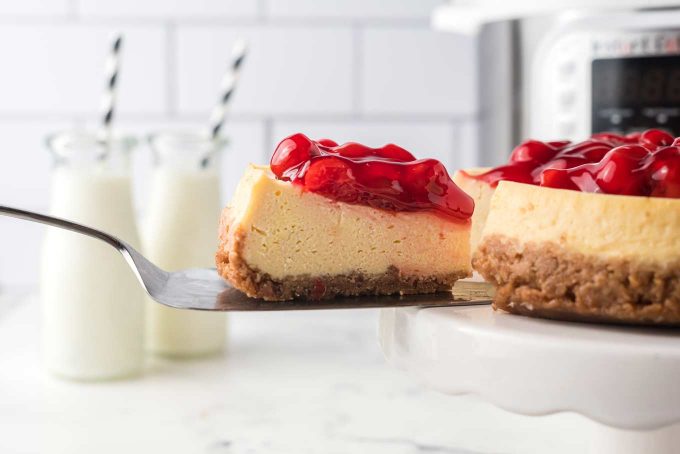
- Top cheesecake. Top cheesecake as desired and serve.
ADDITIONAL COOKING TIPS
- ROOM TEMP INGREDIENTS – for the best results when baking this cheesecake, your cold ingredients (like cream cheese, butter, sour cream, and eggs) should be at room temperature so they can incorporate fully into the batter. This is true with most baking recipes, but for cheesecakes, it’s especially important, as it prevents lumpiness in the cake.
- USE REAL BUTTER – this isn’t the time to use shortening or margarine. Those perform differently in baking recipes, and this recipe was only tested using real butter.
- CAREFUL NOT TO OVERMIX – overmixing the cheesecake batter can whip too much air into it, and can cause an almost souffle-like consistency, as well as cracks in the surface of your cheesecake.
- TO COVER OR NOT TO COVER – some recipes call for you to cover the cheesecake pan with foil to keep condensation from dripping on top of the baked cake. Dimples in the top of the cooked cheesecake are usually due to liquid dripping onto the cake. But this method can have it’s faults, as your cheesecake can stick to the foil and you’ll destroy your cake when you take the foil off! Personally dimples and dents don’t bother me, since I generally top my cheesecakes with something that ends up covering up those imperfections. If you choose to cover with foil, you’ll need to add 5 minutes or so to the pressure cooking time. For a perfectly smooth cheesecake, head over to Amy and Jacky’s website and check out tip #9! They’re such geniuses!
- PAN STICKAGE – sometimes, despite our best efforts, the cheesecake can be a little stuck to the outer ring of the springform pan. A thin knife run gently around the outside can help loosen things, or you can gently heat the outside of the pan with a hair dryer. The sticking is likely from the crust… from the butter hardening after being chilled. You can also run a thin strip of parchment paper around the inside of the pan before adding your crust and batter.
VARIATIONS OF THIS RECIPE
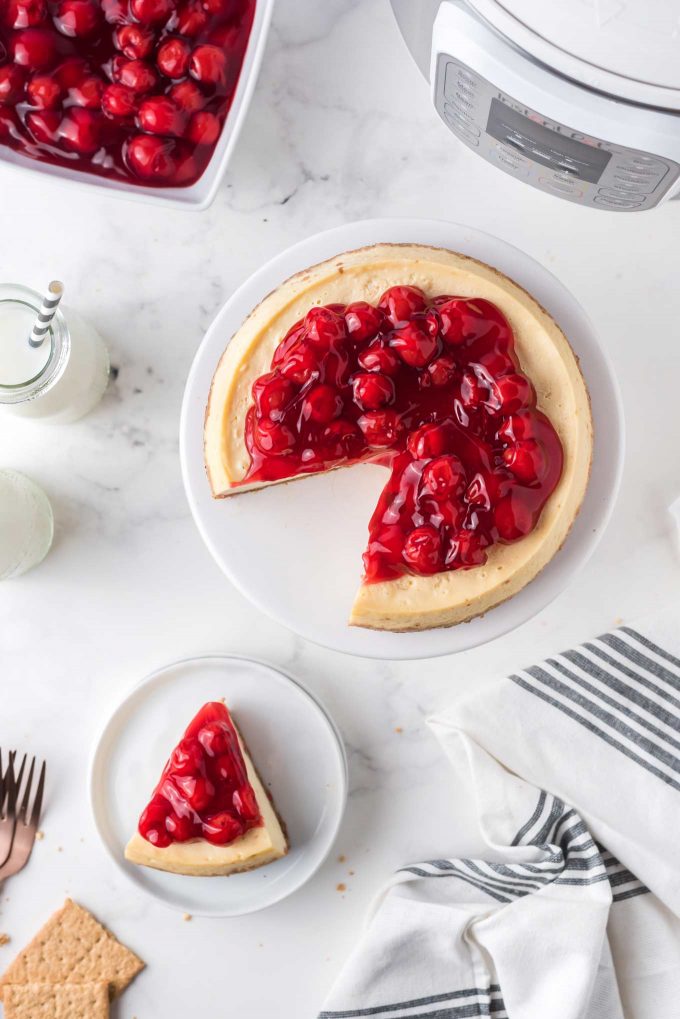
- PIE FILLINGS – you can use any pie filling you like for the topping! Apple, strawberry, blueberry, etc.
- OTHER FRUIT – fresh fruit is always an elegant topping choice, but in the Fall, my favorite thing is to double the filling for these Apple Turnovers, and use that filling (once it’s cooled), as a topping for this cheesecake.
- SOUR CREAM – mix together 1 1/2 cups sour cream, 1/4 cup powdered sugar and 1/2 tsp vanilla extract. Chill until ready to serve cheesecake and slather it over the top. This is the traditional “New York” style cheesecake topping.
- OTHER CRUST FLAVORS – instead of plain graham crackers, you can use cinnamon ones, Oreo cookies (remove the filling), pecan sandies, gingersnaps, Biscoff cookies, etc.
- CHOCOLATE – for a chocolate cheesecake, use 2-3 oz of your favorite melted chocolate to the batter. I like to use Oreo cookies (with the filling removed) in place of graham crackers to make a to die for chocolate crust!
- CARAMEL – try swirling some salted caramel sauce into the batter!
MAKING CHEESECAKE AHEAD OF TIME
Cheesecakes are a great make ahead dessert, since they’re designed to chill for several hours, or even overnight! They really need that time to fully set and for the flavors to develop and meld together.
STORAGE
Leftover cheesecake should be refrigerated in an airtight container and consumed within 5 days. Make sure you are using an airtight container, as the cheesecake can absorb other odors from inside the refrigerator.
SPECIAL EQUIPMENT FOR THIS RECIPE
The following links are affiliate links.
The Chunky Chef, LLC is a participant in the Amazon Services LLC Associates Program, an affiliate advertising program designed to provide a means for sites to earn advertising fees by advertising and linking to amazon.com. For more information regarding this program and what it means for you, please see my Privacy page.
- Instant Pot – I recently upgraded to this model and I love it!
- 7″ Springform Pan – the classic pan used to make cheesecakes, in a size that fits great in a 6 quart Instant Pot.
- Pan with Remove-able Bottom – another option for a cheesecake pan, this is really popular in the pressure cooker world.
- Hand Mixer – this model is a true workhorse in my kitchen!
BE SURE TO SCROLL DOWN TO CHECK OUT OTHER READERS’ COMMENTS FOR TIPS AND REVIEWS.
AND DON’T FORGET, IF YOU’VE MADE THIS RECIPE, LEAVE A COMMENT AND PLEASE GIVE IT A STAR RATING LETTING ME KNOW HOW YOU ENJOYED IT!
Did you make this? Be sure to leave a review below and tag me @the_chunky_chef on Facebook and Instagram!
Ingredients
CRUST
- 1 cup graham cracker crumbs
- 2 tsp granulated sugar
- 1/4 tsp kosher salt
- 1/8 tsp ground nutmeg
- 1/4 cup unsalted butter melted
CHEESECAKE
- 16 oz cream cheese softened to room temperature
- 1/2 cup granulated sugar
- 2 large eggs at room temperature
- 3 Tbsp all purpose flour, or cornstarch
- 1/4 cup sour cream
- 1 1/2 tsp vanilla extract
- 1 tsp lemon zest (optional)
TOPPING
- 1 - 1 1/2 cups cherry pie filling
Instructions
- Add trivet into the inner pot of Instant Pot, then add 1 1/2 cups water to the bottom.
- Add parchment round to bottom of 7” springform pan.
- Fold a length of aluminum foil over itself longways a few times to make a long strip of foil about 3 inches wide. This will act as a sling and will help you remove the pan from the Instant Pot when needed. Add the sling to the top of the trivet, so that the long ends of the sling come up and out of the pot.
MAKE THE CRUST
- To a mixing bowl, add all crust ingredients (graham cracker crumbs, sugar, salt, nutmeg and melted butter), and stir together until combined.
- Add to the bottom of prepared springform pan and press into a flat, even layer over the bottom and about halfway up the sides of the pan. You can use the bottom of a flat bottomed glass, measuring cup, or just your fingers.
- Transfer pan with crust to the freezer while you prepare the cheesecake batter.
MAKE THE CHEESECAKE BATTER
- In another mixing bowl, add cream cheese and beat with hand mixer for 30 seconds or so. Add sugar and beat until well combined.
- Add eggs and mix on low speed until JUST combined.
- Add flour and sour cream and mix until JUST combined again.
- Add vanilla extract and lemon zest and stir in with a rubber spatula.
- Remove pan with crust from the freezer and pour cheesecake batter over the crust. Gently pick up pan and tap it down a few times on the counter to bring any air bubbles to the surface. Poke the air bubbles gently with a toothpick or tines of a fork to remove them.
PRESSURE COOK
- Transfer pan carefully to trivet, placing it on top of the foil sling. Fold down the long sides of the sling so the foil doesn’t fall into your pan as the cheesecake cooks.
- Secure Instant Pot lid and set valve to “sealing”. Select “manual” or “pressure cook” and set to cook on high pressure for 30 minutes.
- When pressure cooking is finished, let the pressure release naturally. When the pin has dropped, remove lid, being careful not to let too much condensation drip onto the cheesecake top.
- Use a paper towel to very gently blot away any condensation that did drip or build up.
- Press “Cancel” to turn Instant Pot off. Let cheesecake sit in the Instant Pot for 5-10 minutes, then use foil sling to remove pan from Instant Pot.
- Transfer pan to wire rack. Gently run a knife between the pan and the outside of the cheesecake, but do NOT release the pan. Let cheesecake cool completely, then cover and transfer to the refrigerator to chill for at least 6 hours, or preferably, overnight.
TO SERVE
- Gently run a knife between the pan and the outside of the cheesecake, then release the springform pan. Slide a long, thin knife underneath the parchment to loosen the cheesecake from the bottom of the pan, then slide it onto serving plate/cake stand.
- Top cheesecake with pie filling in center, leaving about a 1/2” to 1” border.
- Slice cheesecake, cleaning knife after each cut for clean cut slices.
Want to save this recipe for later? Click the heart in the bottom right corner to save to your own recipe box!
Nutrition Disclaimer
The Chunky Chef is not a dietician or nutritionist, and any nutritional information shared is an estimate. If calorie count and other nutritional values are important to you, we recommend running the ingredients through whichever online nutritional calculator you prefer. Calories can vary quite a bit depending on which brands were used.


Toni Dash says
This is so hard to resist!! Everyone at my house loved it!
kerri says
I’m not sure why but Instant Pot Cheesecakes have always intimidated me. But, this looks so good and you make it sound pretty easy. Adding my necessary items to my shopping list!
katerina @ diethood.com says
mmm..I would love a slice of this cheesecake! It looks amazing!
Sandi says
This was absolutely delicious…the directions were great.
Erin | Dinners,Dishes and Dessert says
This Instant Pot Cheesecake is looks absolutely delicious! Yummy!
Dorothy Reinhold says
Cheesecake is my favorite! I haven’t tried any desserts in the IP. Can’t wait to try this recipe!
Beth says
My daughter and I love cheesecake! It’s one of our favorite desserts! I will definitely be making this soon! I’m so excited!