Classic Oreo cookies, completely coated in silky tinted white chocolate, then decorated with colorful and fun sprinkles and drizzles of more chocolate. This simple no-bake dessert recipe uses minimal ingredients, is easy enough for kids to make, and can be decorated for any holiday or event!
This is one of my No Bake Dessert recipes I know you’ll want to keep on hand!

Chocolate covered Oreos are such a fun, decadent treat! The combination of the sweet and silky outer layer, mixed with the crunchy cookie inside is just irrestistible.
Plus they’re so easy to make. I mean, I hesitated to even post this recipe because it’s that easy. But the photos looked way too beautiful to not share.
Obviously these are decorated for Valentine’s Day, but this recipe can easily been adapted for any holiday or event. Use red and green for Christmas, black and orange for Halloween, and so on.
This is also a recipe that if you have kids, they’ll be begging to help with. They’re genuinely fun to make!
How to make easy chocolate covered oreos?
This is just an overview; the full ingredients and directions are in the recipe card toward the bottom of this post.
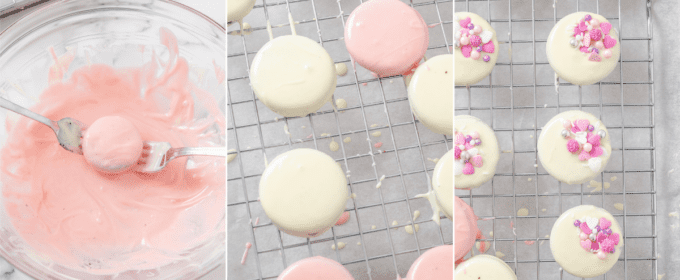
- Melt chocolate. You can do this however you would like; double boiler or microwave.
- Add food coloring. If desired, divide the melted chocolate in multiple bowls and use food coloring to create desired color.
- Dip Oreos. This is best done one at a time, otherwise the chocolate will have hardened on the Oreo before you can add decorations.
- Let Oreo sit on cooling rack. This helps the excess chocolate drip off.
- Decorate. Add sprinkles or drizzle with more chocolate.
Helpful Tip!
If the appearance of these Oreos is super important to you (maybe you’ll be gifting these or making for a party), you may want to double dip the Oreos if you’re using white chocolate. That way the dark Oreo cookie won’t show through. Make sure the first layer has completely hardened before dipping again.
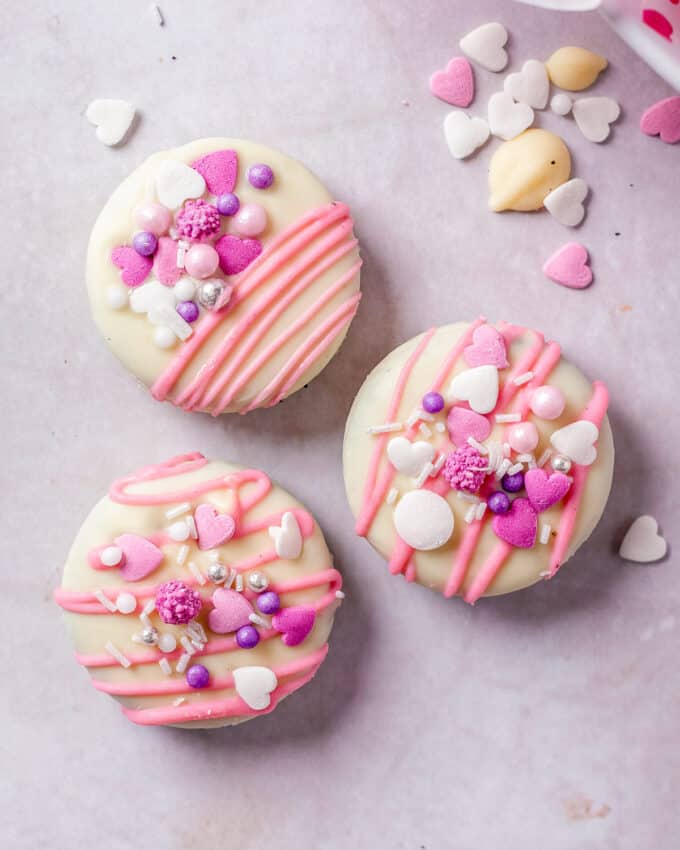
Variations of this recipe
- Chocolate type – this recipe will work with any type of chocolate. White, milk, semi-sweet, dark, you name it.
- Candy melts – to get vibrant colors without using food coloring, feel free to use colored candy melts.
- Holiday – one thing I love about this recipe is that it will work for any holiday or event! Just use sprinkles and drizzles in the colors/themes for that holiday and you’re good to go!
- Easy melting – to help your chocolate melt smoothly and without problems, try adding about 2 tsp of coconut oil/vegetable oil to the chocolate before you melt it.
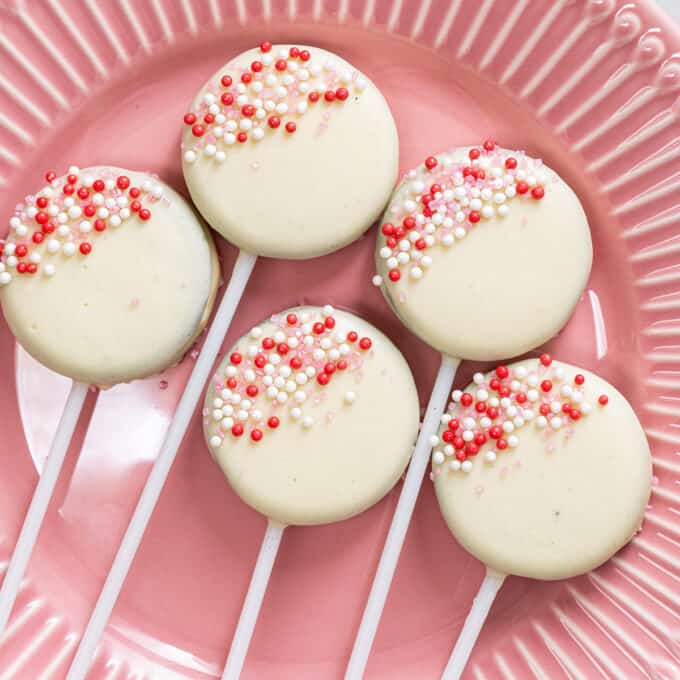
- Oreo pops – to make chocolate covered Oreo pops, there’s a few extra steps. I’ll describe the whole process down in the “Chef Tips” section below the recipe.
FAQ’s
You can use any chocolate you’d like to make chocolate covered Oreos. My only advice is to use high quality chocolate, as this will yield the smoothest coating, and be easier to melt. Personally, I love to use Guittard or Ghirardelli.
Absolutely! I’ve chosen traditional for the photos in this post, but feel free to go for double-stuffed, golden, or any of the flavored varieties you love most.
The trick to getting sprinkles to stick is to add them when the chocolate is wet. Once it’s hardened, nothing will stick to it. I advise dipping one cookie at a time, then as soon as the cookie is on the cooling rack, add the sprinkles.
Making chocolate covered oreos ahead of time
This no bake dessert is great to make ahead of time, since the Oreos will keep for up to 2 weeks!
Storage
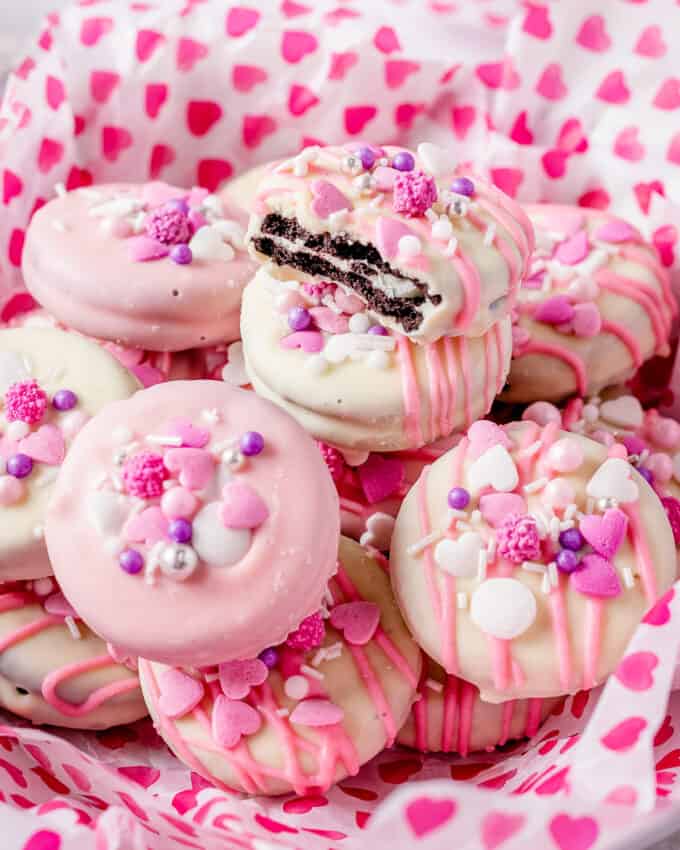
Chocolate dipped Oreos should be stored in an airtight container in the refrigerator and should stay fresh for 2 weeks.
Freezing
I don’t advise freezing this recipe, as the Oreos can get a little wet and soggy during the thawing process.
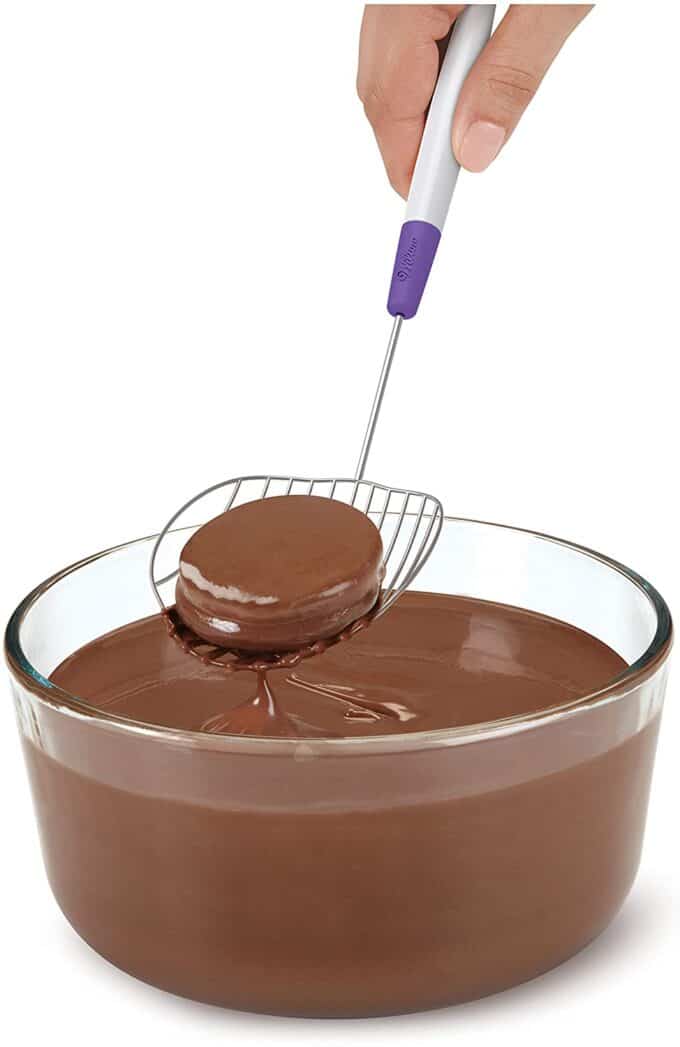
My Favorite Chocolate Dipping Tool!
This little tool is perfect for dipping Oreos, truffles, pretzels and more! You can also get a 5 pack of different dipping tools here.

Tips for Perfectly Melted Chocolate!
Melting chocolate seems super easy, but sometimes it goes awry and we don’t understand what happened. Here are my top tips for getting perfectly melted chocolate, every time!
- Use a double-boiler. A double boiler is an actual type of pot, but most people don’t have one on hand, so I make my own makeshift one. It’s easy, I promise! Add a bit of water to a sauce pan and place a heat-resistant bowl on top (I use a glass bowl) so it just rests on the sides of the pan, but doesn’t touch the water. Heat the water on LOW heat and add chocolate to the bowl on top. Stir often and you’ll see the chocolate start to melt. Keep stirring, and once you see tiny lumps of chocolate remaining, remove the bowl from the top of the pan. Stir, and the residual heat will melt those last little lumps and you’ll have perfectly melted chocolate.
- Don’t cook on full power. Set your microwave to half power (or medium). This lessens the chance of the chocolate heating too quickly and “seizing”.
- Heat slowly. Melt the chocolate in 20-30 second intervals for the first minute, then in 15 second intervals after that, stirring after each cooking interval. It takes longer, but trust me, it’s worth it.
- Add a bit of oil. One of my favorite tricks is to add a little bit (depending on the amount of chocolate, use about 2 tsp or so) of vegetable oil to the chocolate before melting. I don’t think I’ve ever had seized or scorched chocolate when following the microwave tips and this one!
Troubleshooting seized chocolate!
When melting chocolate have you ever had it go from luxuriously smooth and silky, to a thick, grainy paste? It seized up on you, and it’s incredibly frustrating! Chocolate will do that for one of two reasons.
- First, a bit of water got into your chocolate. Water is the enemy of melted chocolate and will turn it into a gluey paste, very quickly.
- Secondly, it can be overheated and scorched. This often happens when chocolate is cooked at too high of a temperature, and/or for too long.
Did you make this? Be sure to leave a review below and tag me @the_chunky_chef on Facebook and Instagram!
Ingredients
- 20 Oreo cookies any variety
- 10 oz package white chocolate melting wafers or white chocolat chips
- desired food coloring
- holiday sprinkles
Instructions
- Line a baking sheet with parchment or wax paper, then top it with a cooling rack
- Melt chocolate in whichever way you prefer (see my tips for perfectly melted chocolate in the green tip box right above the recipe).
- If making multiple colors, divide chocolate between 2 or more bowls and stir in food coloring as desired.
- Using dipping tools, or two forks, dip the Oreo cookies one at a time into the chocolate. Transfer cookie to the prepared cooling rack and top with sprinkles while chocolate is still wet. Repeat with remaining Oreo cookies.
- Let set for about 30 minutes, or until hard. This can be done at room temperature, or in the refrigerator.
- If drizzling the cookies, use either a fork to drizzle, or transfer melted chocolate to a piping bag (or ziploc) and snip a very small corner off. More sprinkles can be added on top of the drizzles if desired.
- If at any point your melted chocolate starts to harden, it can be melted again.
- Sprinkles and drizzles are beautiful, but optional, so feel free to make these however you desire.
- Store in the refrigerator for up to 2 weeks in an airtight container.
Want to save this recipe for later? Click the heart in the bottom right corner to save to your own recipe box!
Chef Tips
- Recipe makes 20 chocolate covered Oreo cookies, and can easily be halved or doubled.
Chocolate Covered Oreo Pops
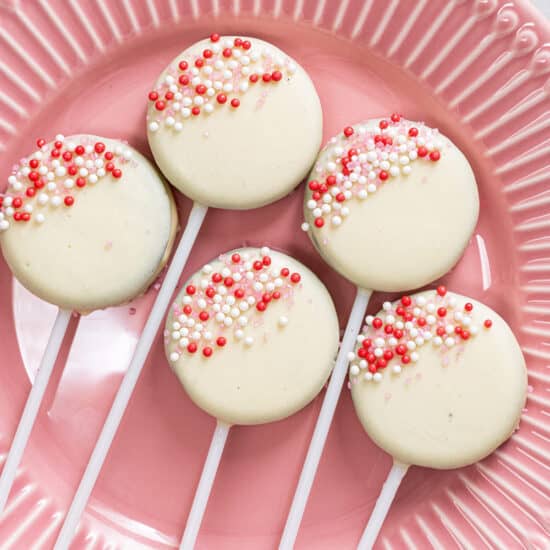
- Twist and remove top half of the Oreo cookie. Add a lollipop stick to the cream. Drizzle a little melted chocolate on top of the stick, then cover with the other half of the cookie.
- Holding the stick, dip the Oreo in chocolate, then transfer to cooling rack.
- Sprinkle with sprinkles and let chocolate set.
- Once set, you can drizzle more chocolate over the Oreo.
- Store in an airtight container in the refrigerator for up to 2 weeks.
Nutrition Disclaimer
The Chunky Chef is not a dietician or nutritionist, and any nutritional information shared is an estimate. If calorie count and other nutritional values are important to you, we recommend running the ingredients through whichever online nutritional calculator you prefer. Calories can vary quite a bit depending on which brands were used.





Lisa B. says
I’ve been making these for years. Here is my tip: Once you separate the halves of the Oreo, take the end of one lollipop stick and, starting from the center, drag it through the icing to the edge of the cookie. Make a little trough. Then dip the end of a clean lollipop stick in a generous amount of melted chocolate and lay it into the trough. Then close up the Oreo. The stick will hold better and you’re much less likely to break the Oreo when you squeeze it back together.
Cathy says
YES! These are one of our favorites!
Amanda says
I’ll be making these for every holiday! They’re so cute and so easy!
Erin | Dinners, Dishes and Dessert says
I need one of these Classic Oreo cookies! Yum!
Beti | easyweeknightrecipes says
These are so pretty! I bet they taste amazing!
katerina @ diethood.com says
WOW! These are gorgeous!! A must try!
Sandra says
I love how fun and festive these are! My kids enjoyed making AND eating these!!
Beth says
These are so great! They look beautiful, and who doesn’t love chocolate covered Oreos?
Erik says
These are legit too cute!