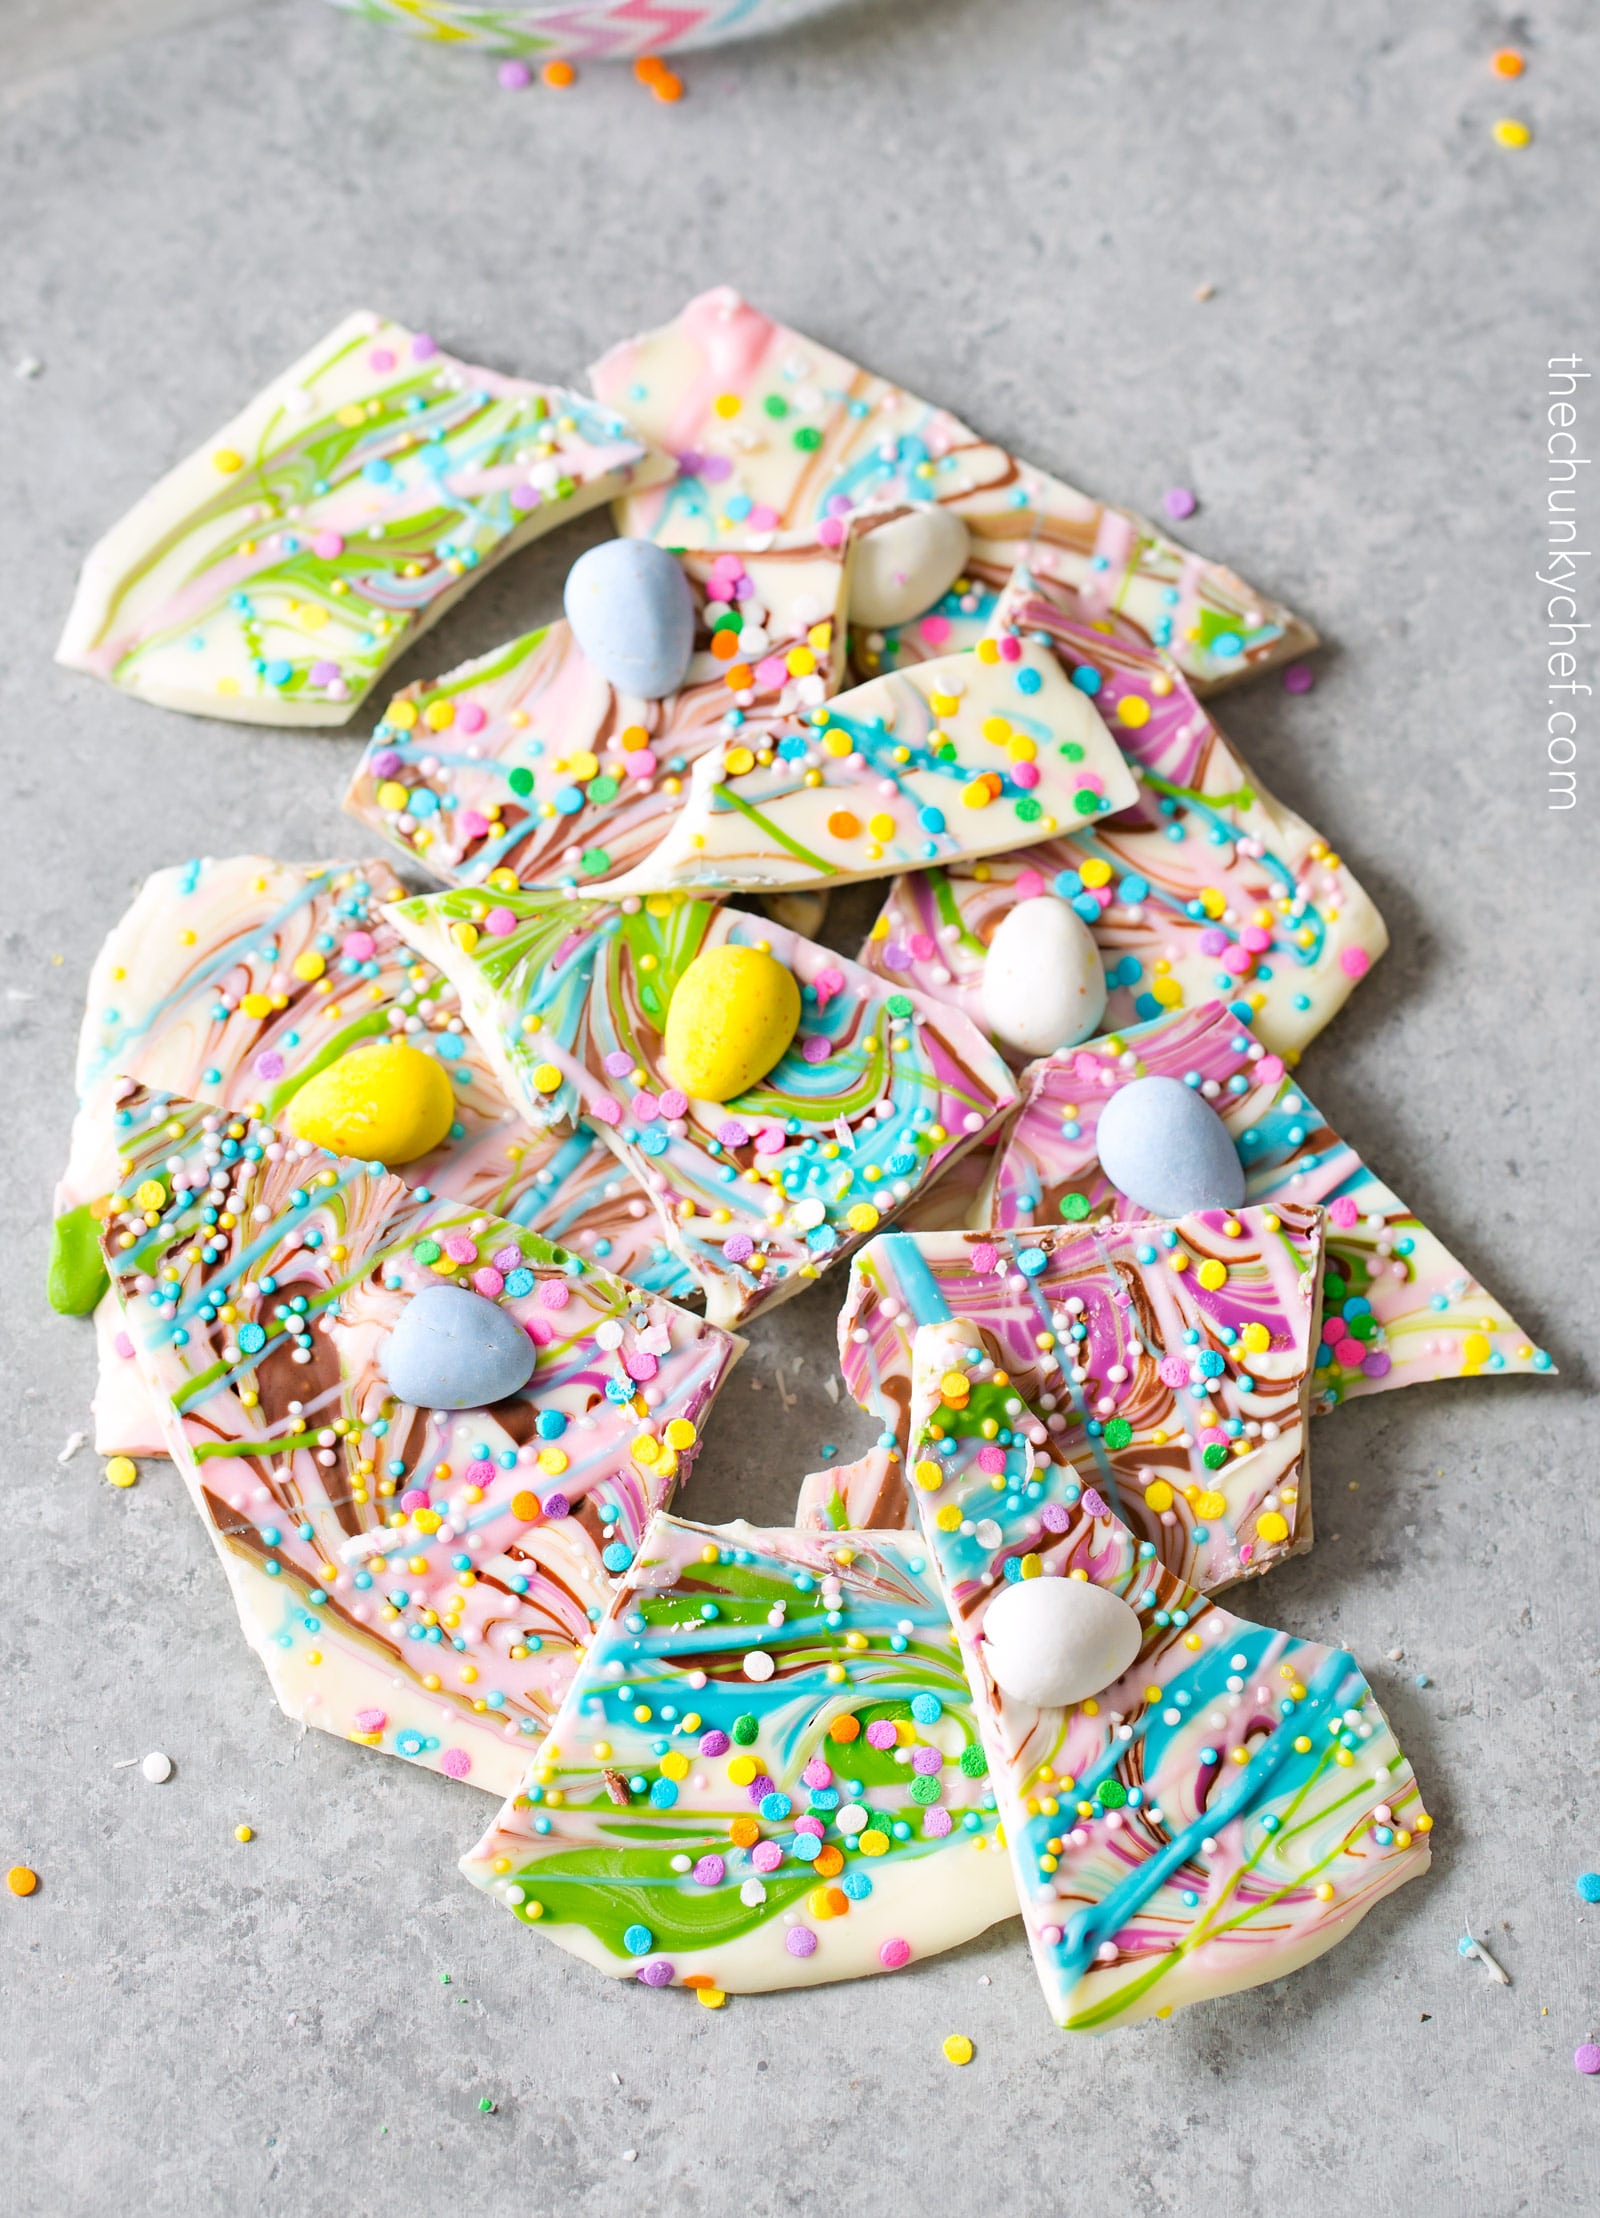
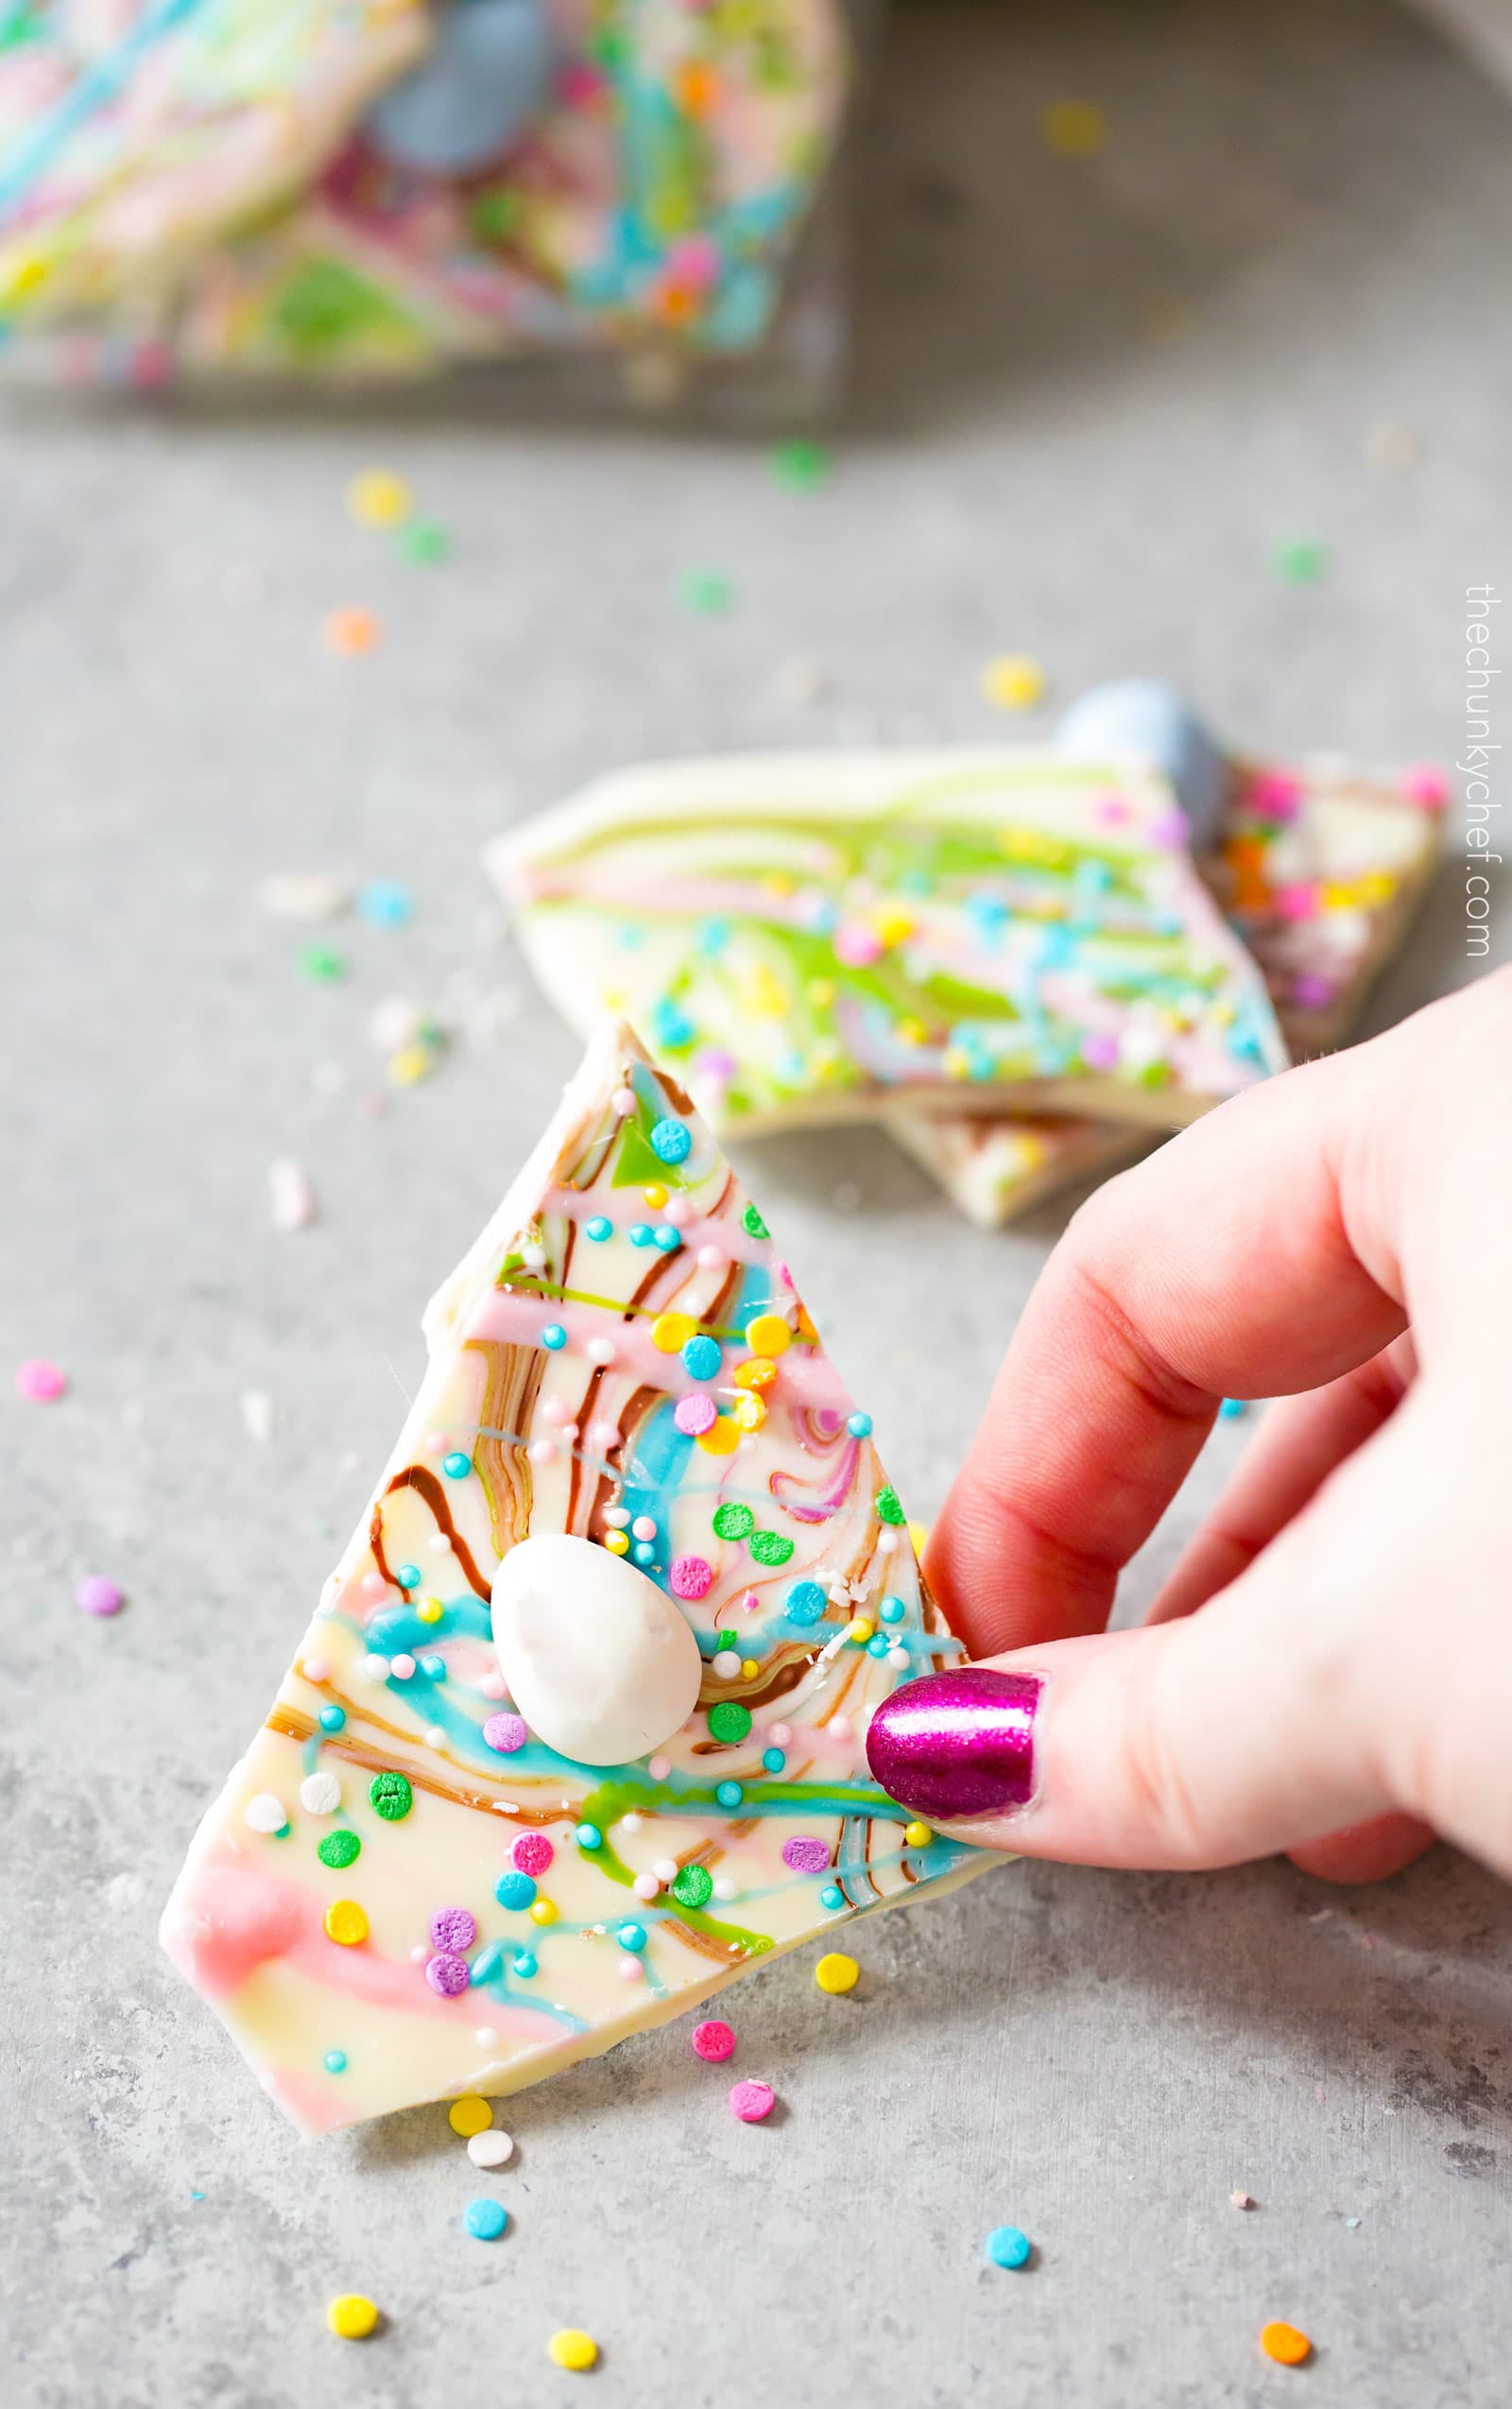
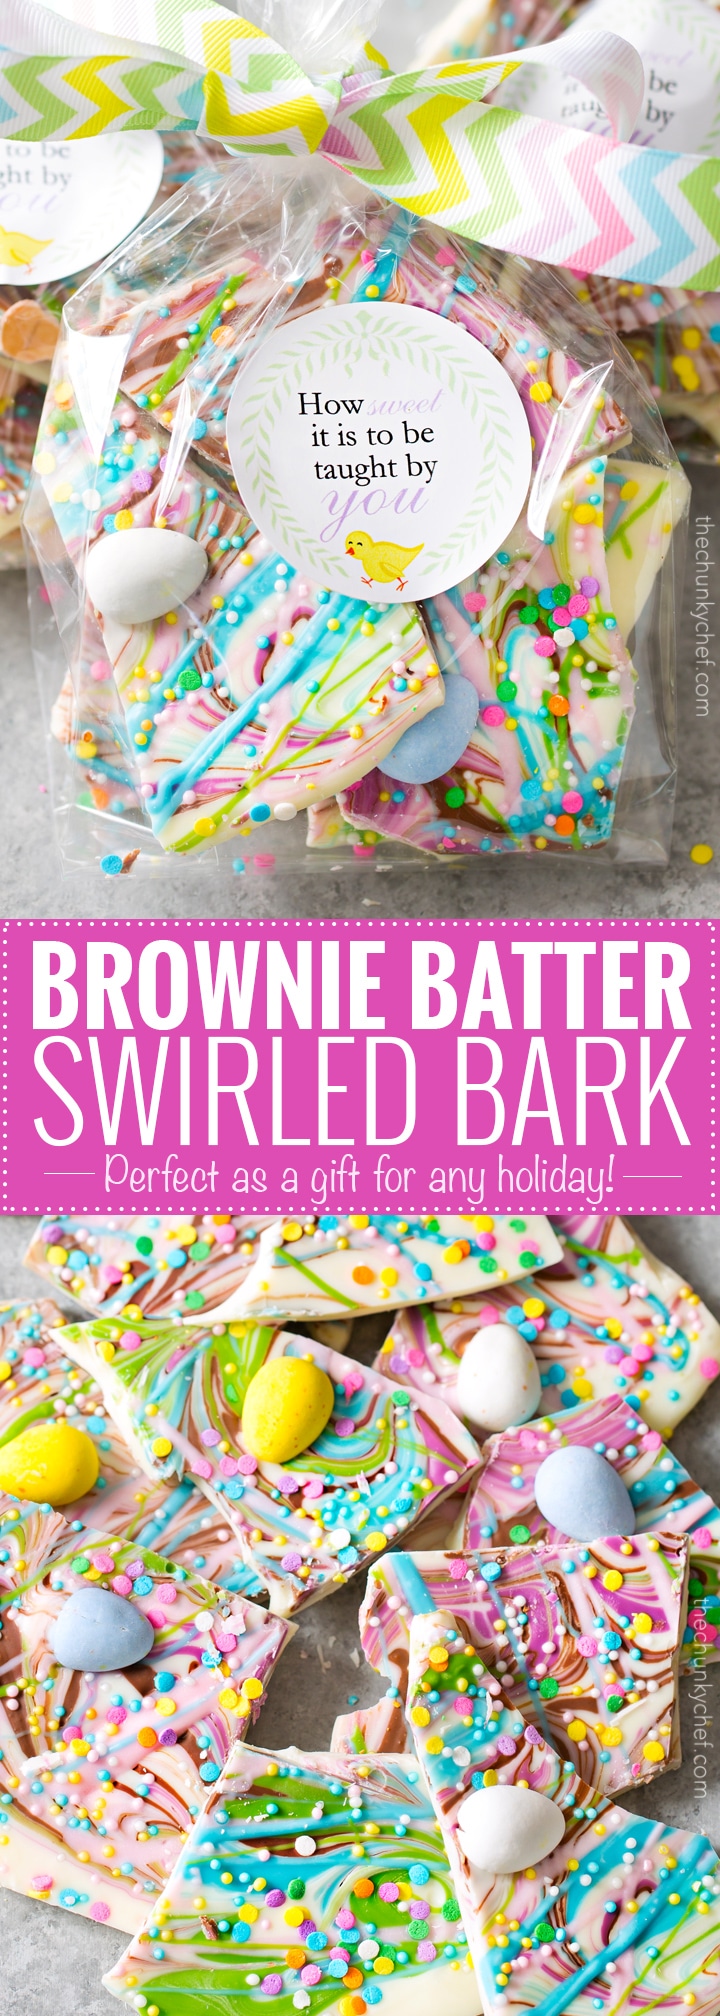
Rich, no bake white chocolate bark, swirled with milk chocolate brownie batter and decorated in fun Spring colors! This bark makes a perfect homemade gift!!
This fun, no bake treat tastes amazing, yet takes hardly any effort to make! Easy to customize to any holiday or color combination, and brownie batter white chocolate bark makes a wonderful homemade gift!
This post is sponsored by StickerYou. All opinions expressed are my own.
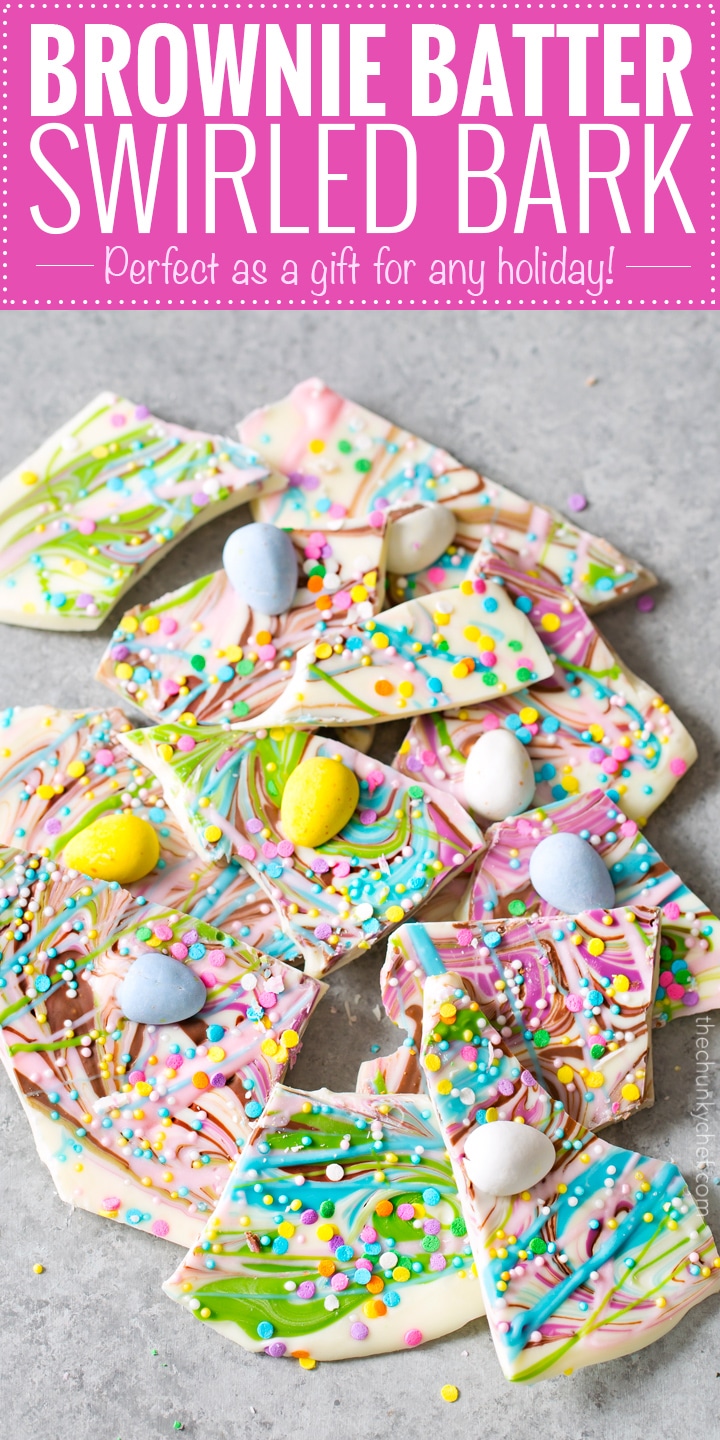 I know it isn’t officially Spring yet (less than a week to go!), but I just can’t wait! I’ve been playing with different white chocolate bark ideas ever since you all went crazy for this Red White and Blue Bark last summer… and I just knew I wanted to do one with fun Spring colors!
But, as much as I love white chocolate, I also wanted to bring a little extra flavor to the table, so I also swirled in some melted milk chocolate mixed with a little brownie batter! This extra layer of chocolatey flavor is just irresistible!
The colors here are going to be totally up to you… so it’s easily customizable to any holiday or occasion. One thing I also wanted to do with this batch of white chocolate bark, was give some away as gifts!
First of all, nothing says thank you or I love you like a homemade treat, and secondly… I just don’t need any extra sweets hanging around the house, or I’ll need a new pair of pants with a stretchier waistband lol.
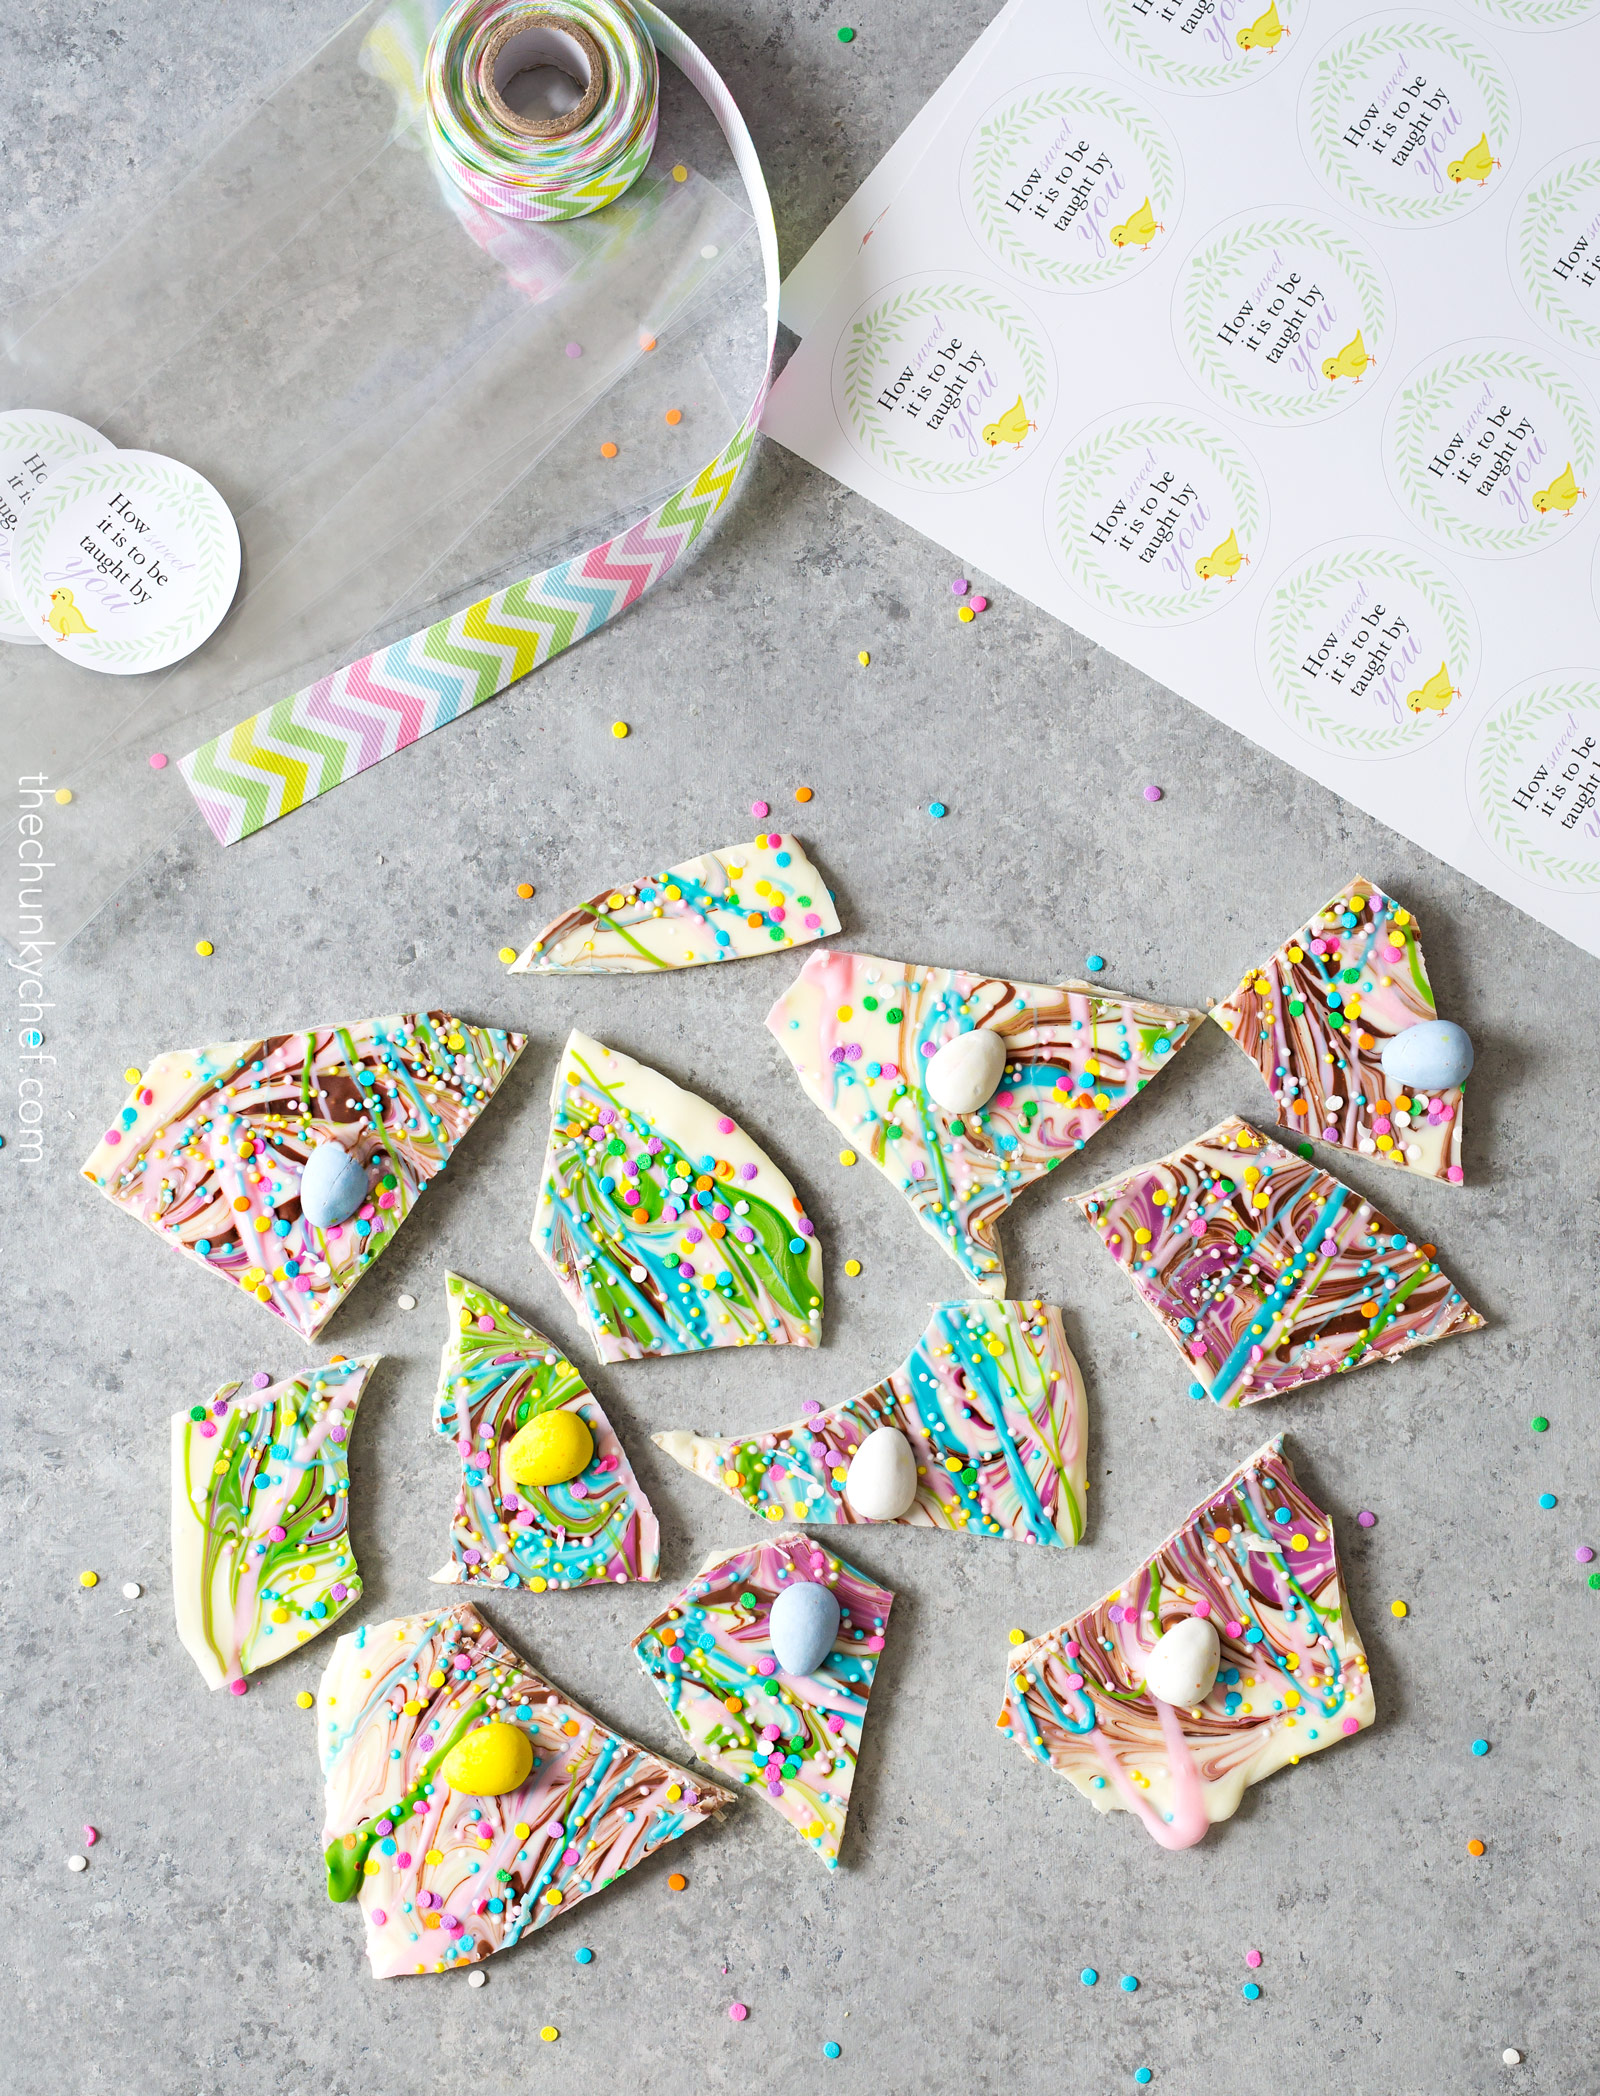
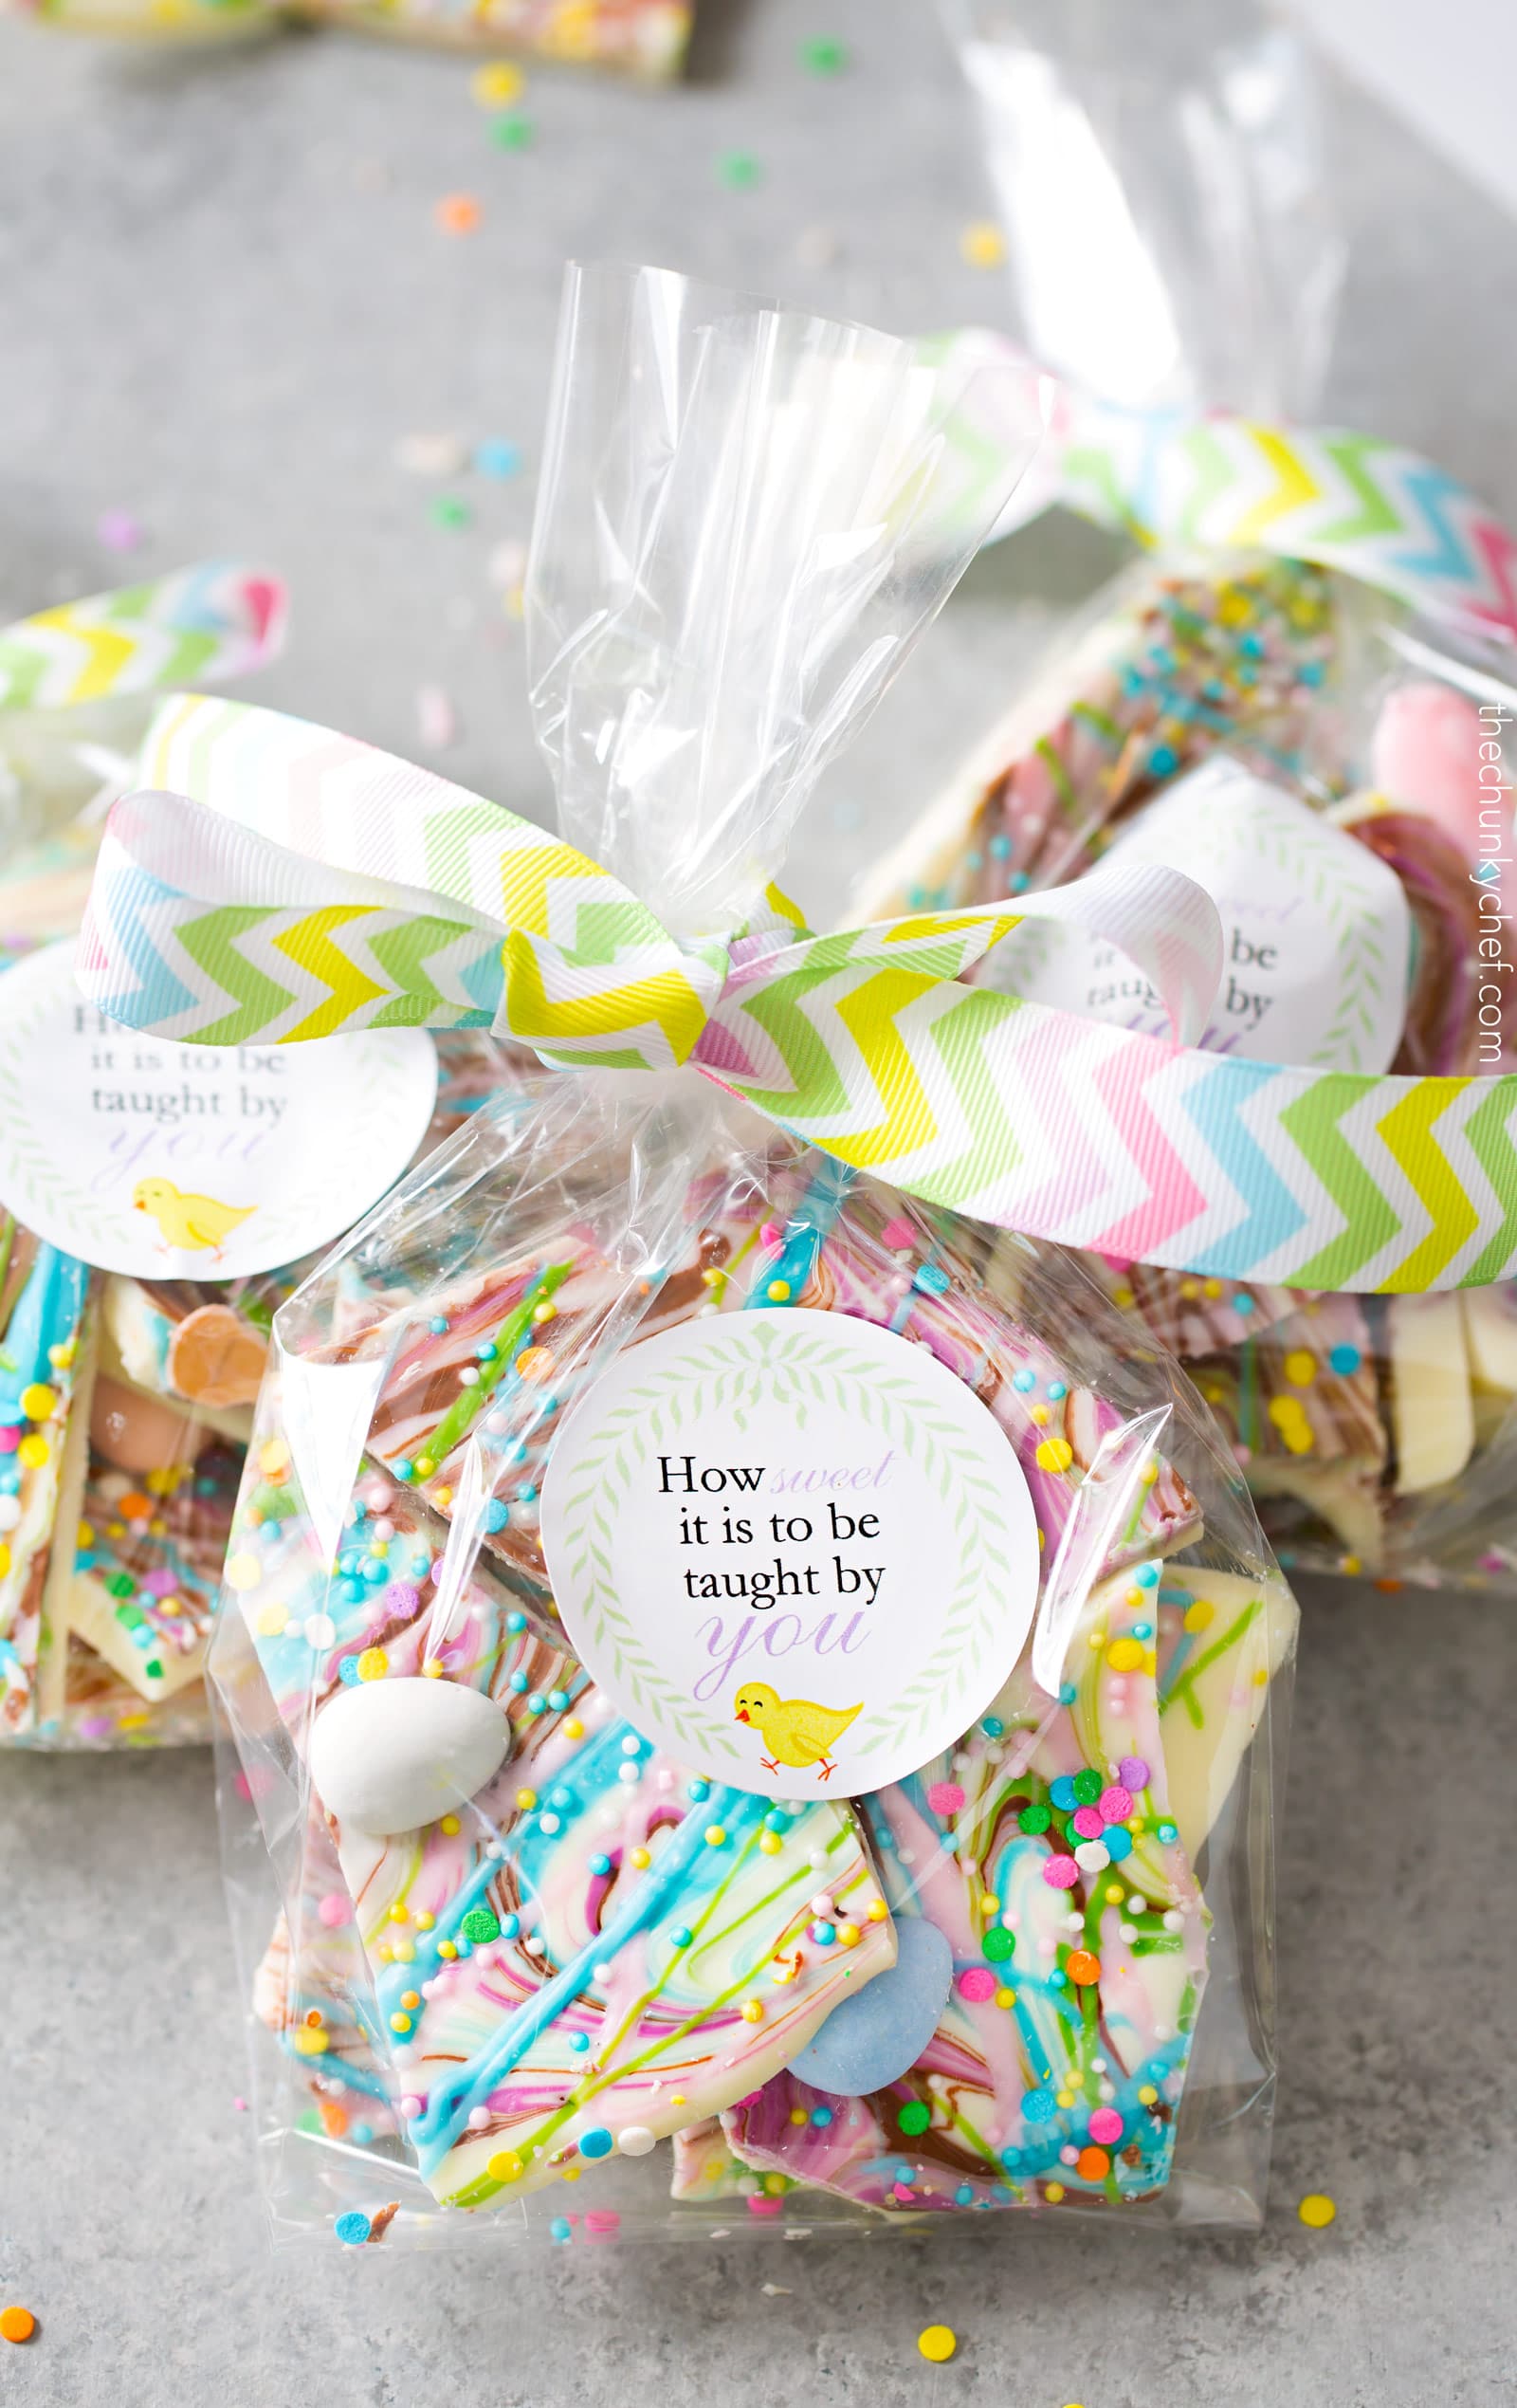
Making this bark into homemade gifts is super easy and FUN… especially when you can use some custom made stickers from StickerYou.com! Have you heard of them? They’re an awesome company that sells everything from custom stickers, car decals, magnets… the works!
I partnered with them for this post, and together we created those adorable stickers up in the photo above. They have some great templates, and an online editor that allows you to create whatever you want on your stickers, even different designs on the same sheet of stickers!
StickerYou is the only online platform in the world where you can upload your own designs or artwork to create completely custom stickers, labels, large format decals, temporary tattoos, iron-ons and magnets.
Plus, there’s no minimum order amount… so you’re not stuck with 100 stickers when you only need one sheet!
Perfect for almost any holiday or special occasion! These went to the teachers at school, and everyone loved the bark and stickers.
If you’d like to make a treat for someone you appreciate, check out these handy Tips for Designing Beautiful Labels and a Handy Guide with Awesome Food Label Ideas!!
Did you make this? Be sure to leave a review below and tag me @the_chunky_chef on Facebook and Instagram!
Ingredients
- 2 cups white chocolate melting wafers (I used Ghirardelli)
- 1 cup milk chocolate chips
- 2 1/2 Tbsp dry brownie mix
- 1/4 cup blue candy melts
- 1/4 cup pink candy melts
- 1/4 cup lavender candy melts
- 1/4 cup green candy melts
- various sprinkles
- chocolate candy eggs (optional)
- vegetable oil (or coconut oil - melted)
Instructions
- Line a rimmed baking sheet with aluminum foil lightly sprayed with cooking spray, and set aside.
- Add white chocolate melting wafers to a microwave safe bowl, drizzle with 1 tsp vegetable or coconut oil, and microwave in 20-30 second increments, stirring after each time, until smooth.
- Add milk chocolate chips to microwave safe bowl, drizzle with 1/2 tsp vegetable or coconut oil, and microwave in 20-30 second increments, stirring after each time, until smooth. Stir in brownie mix.
- Add colored candy melts to microwave safe bowls (each color gets their own bowl), add 1/2 tsp vegetable or coconut oil, stir to coat, and microwave in 30 second intervals, stirring after each time, until smooth.
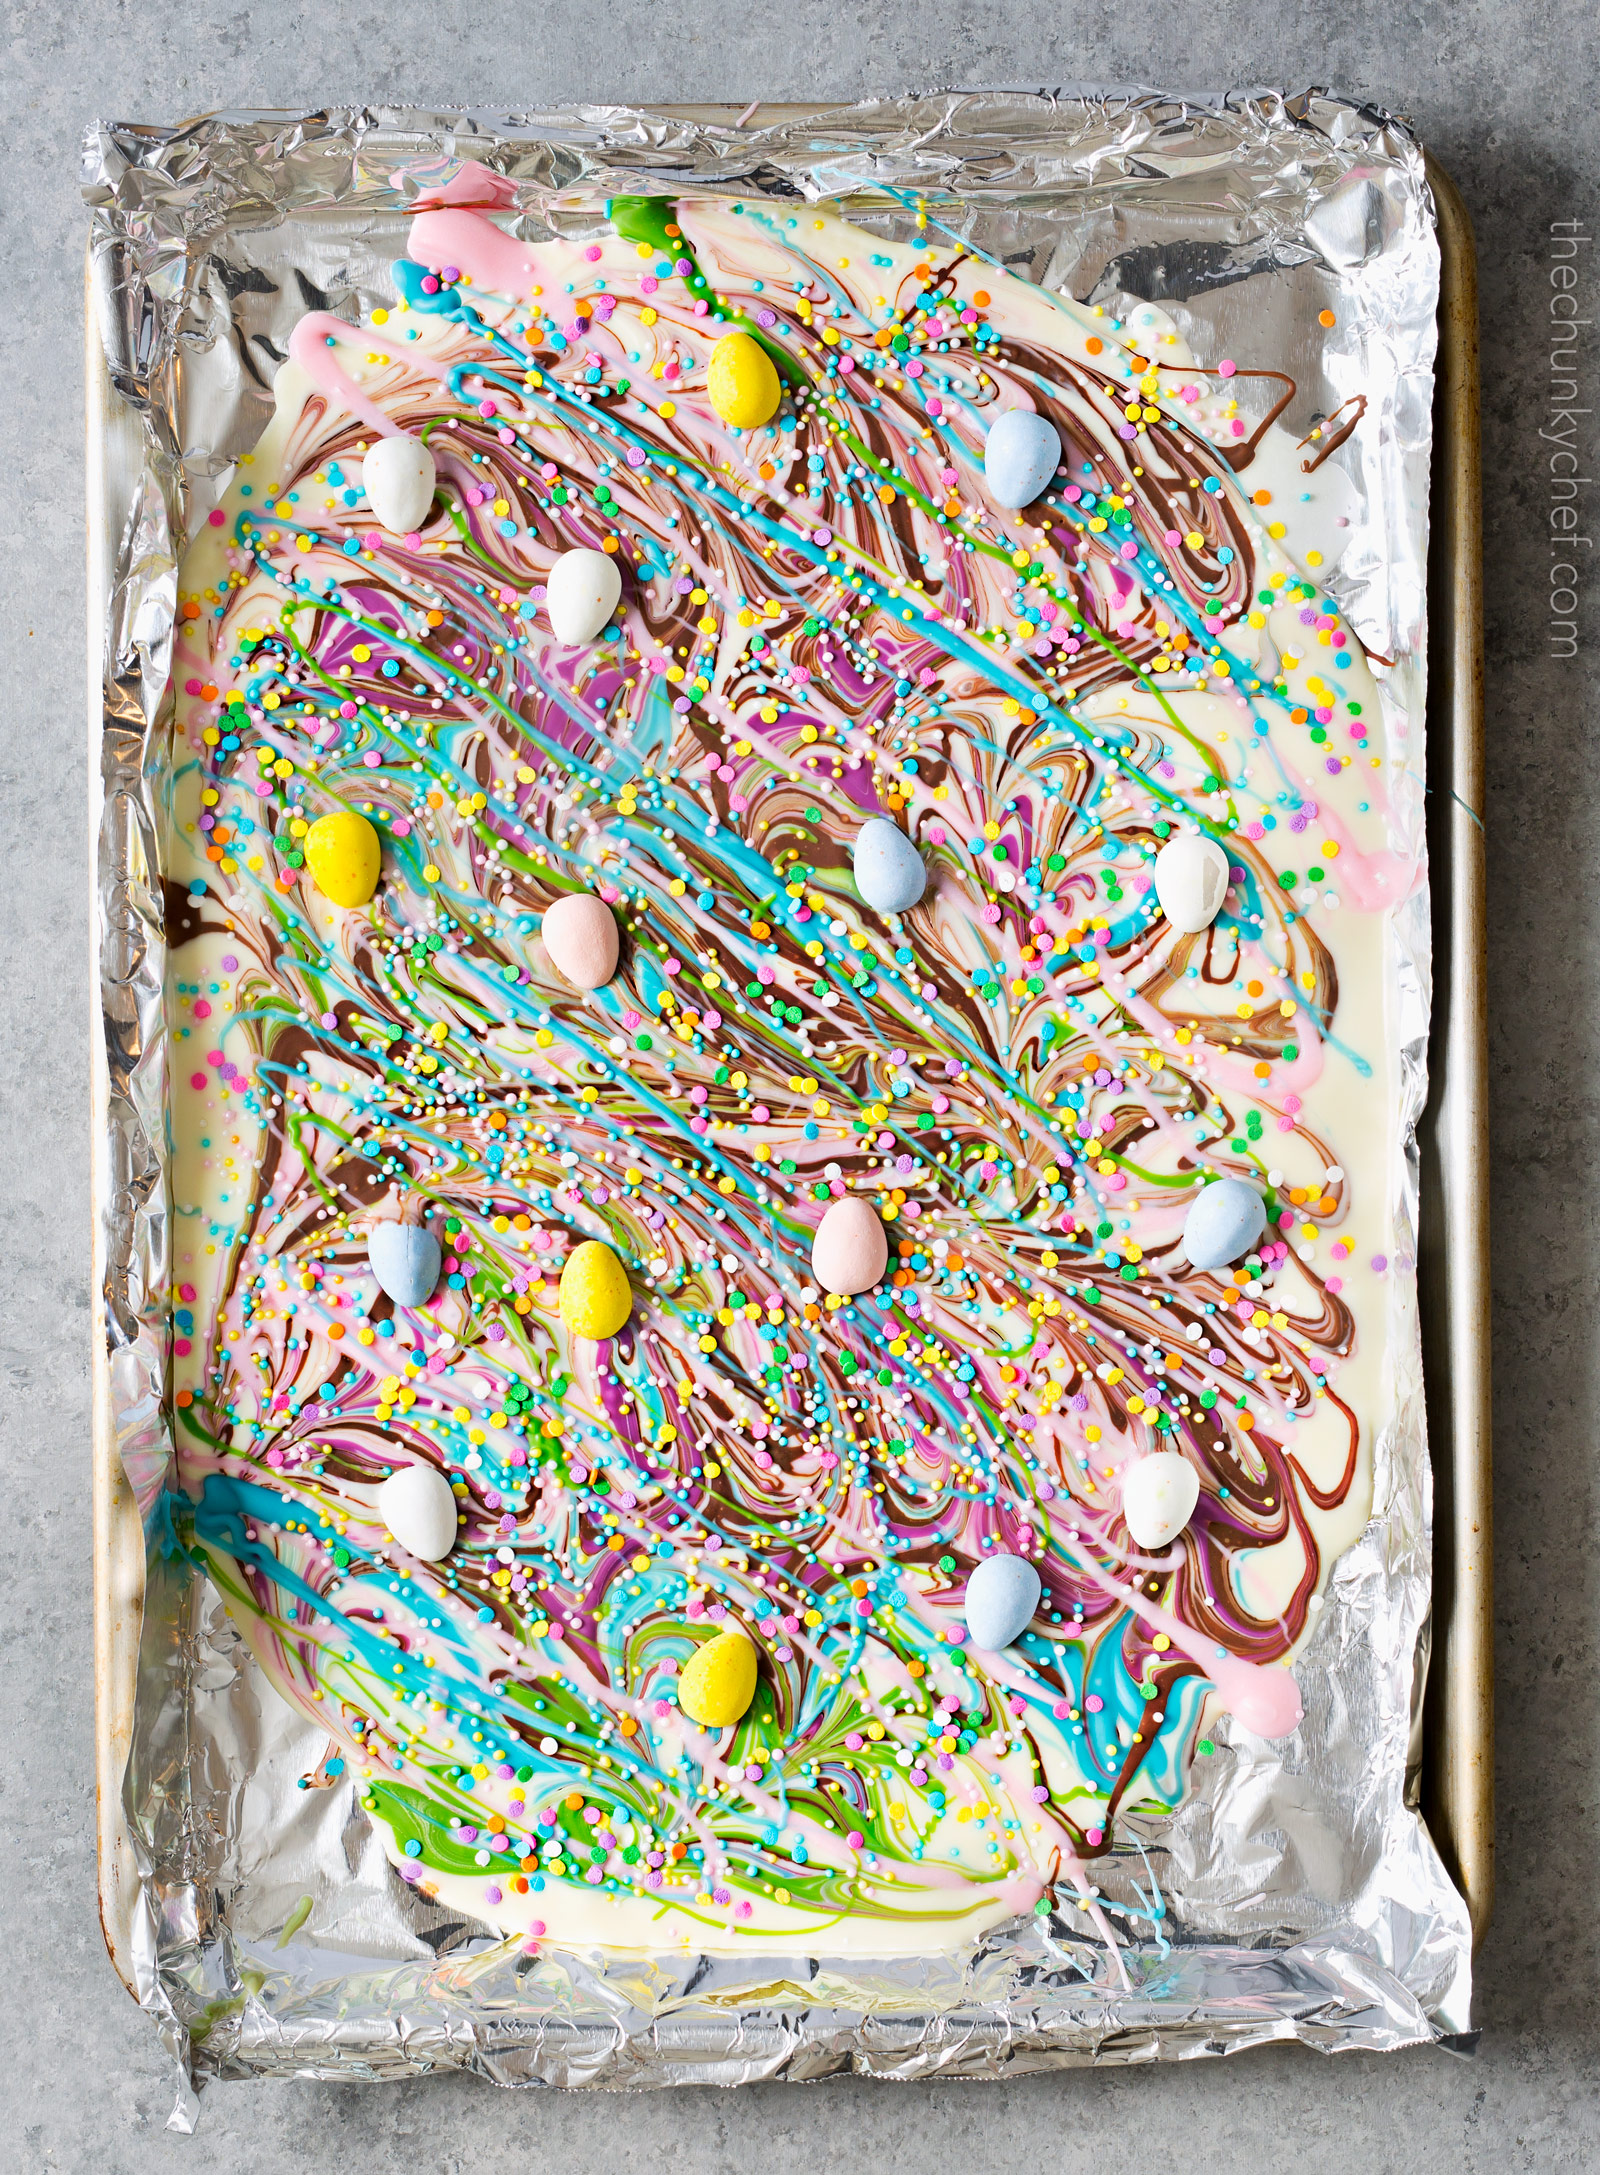
- Use a rubber spatular to spread out white chocolate in the baking sheet in an even layer. Dollop the milk chocolate mixture in random spoonfuls, onto the white chocolate. Use a toothpick or wooden skewer (the flat end is perfect for this) to swirl the two chocolates together.
- Drizzle colored candy melts in vertical lines over the chocolate (you could also drop them by spoonfuls in a non-pattern), and use a toothpick or skewer to swirl them into the mixture as well.
- Top with sprinkles and candy (if using), and refrigerate several hours, or until hard and firm.
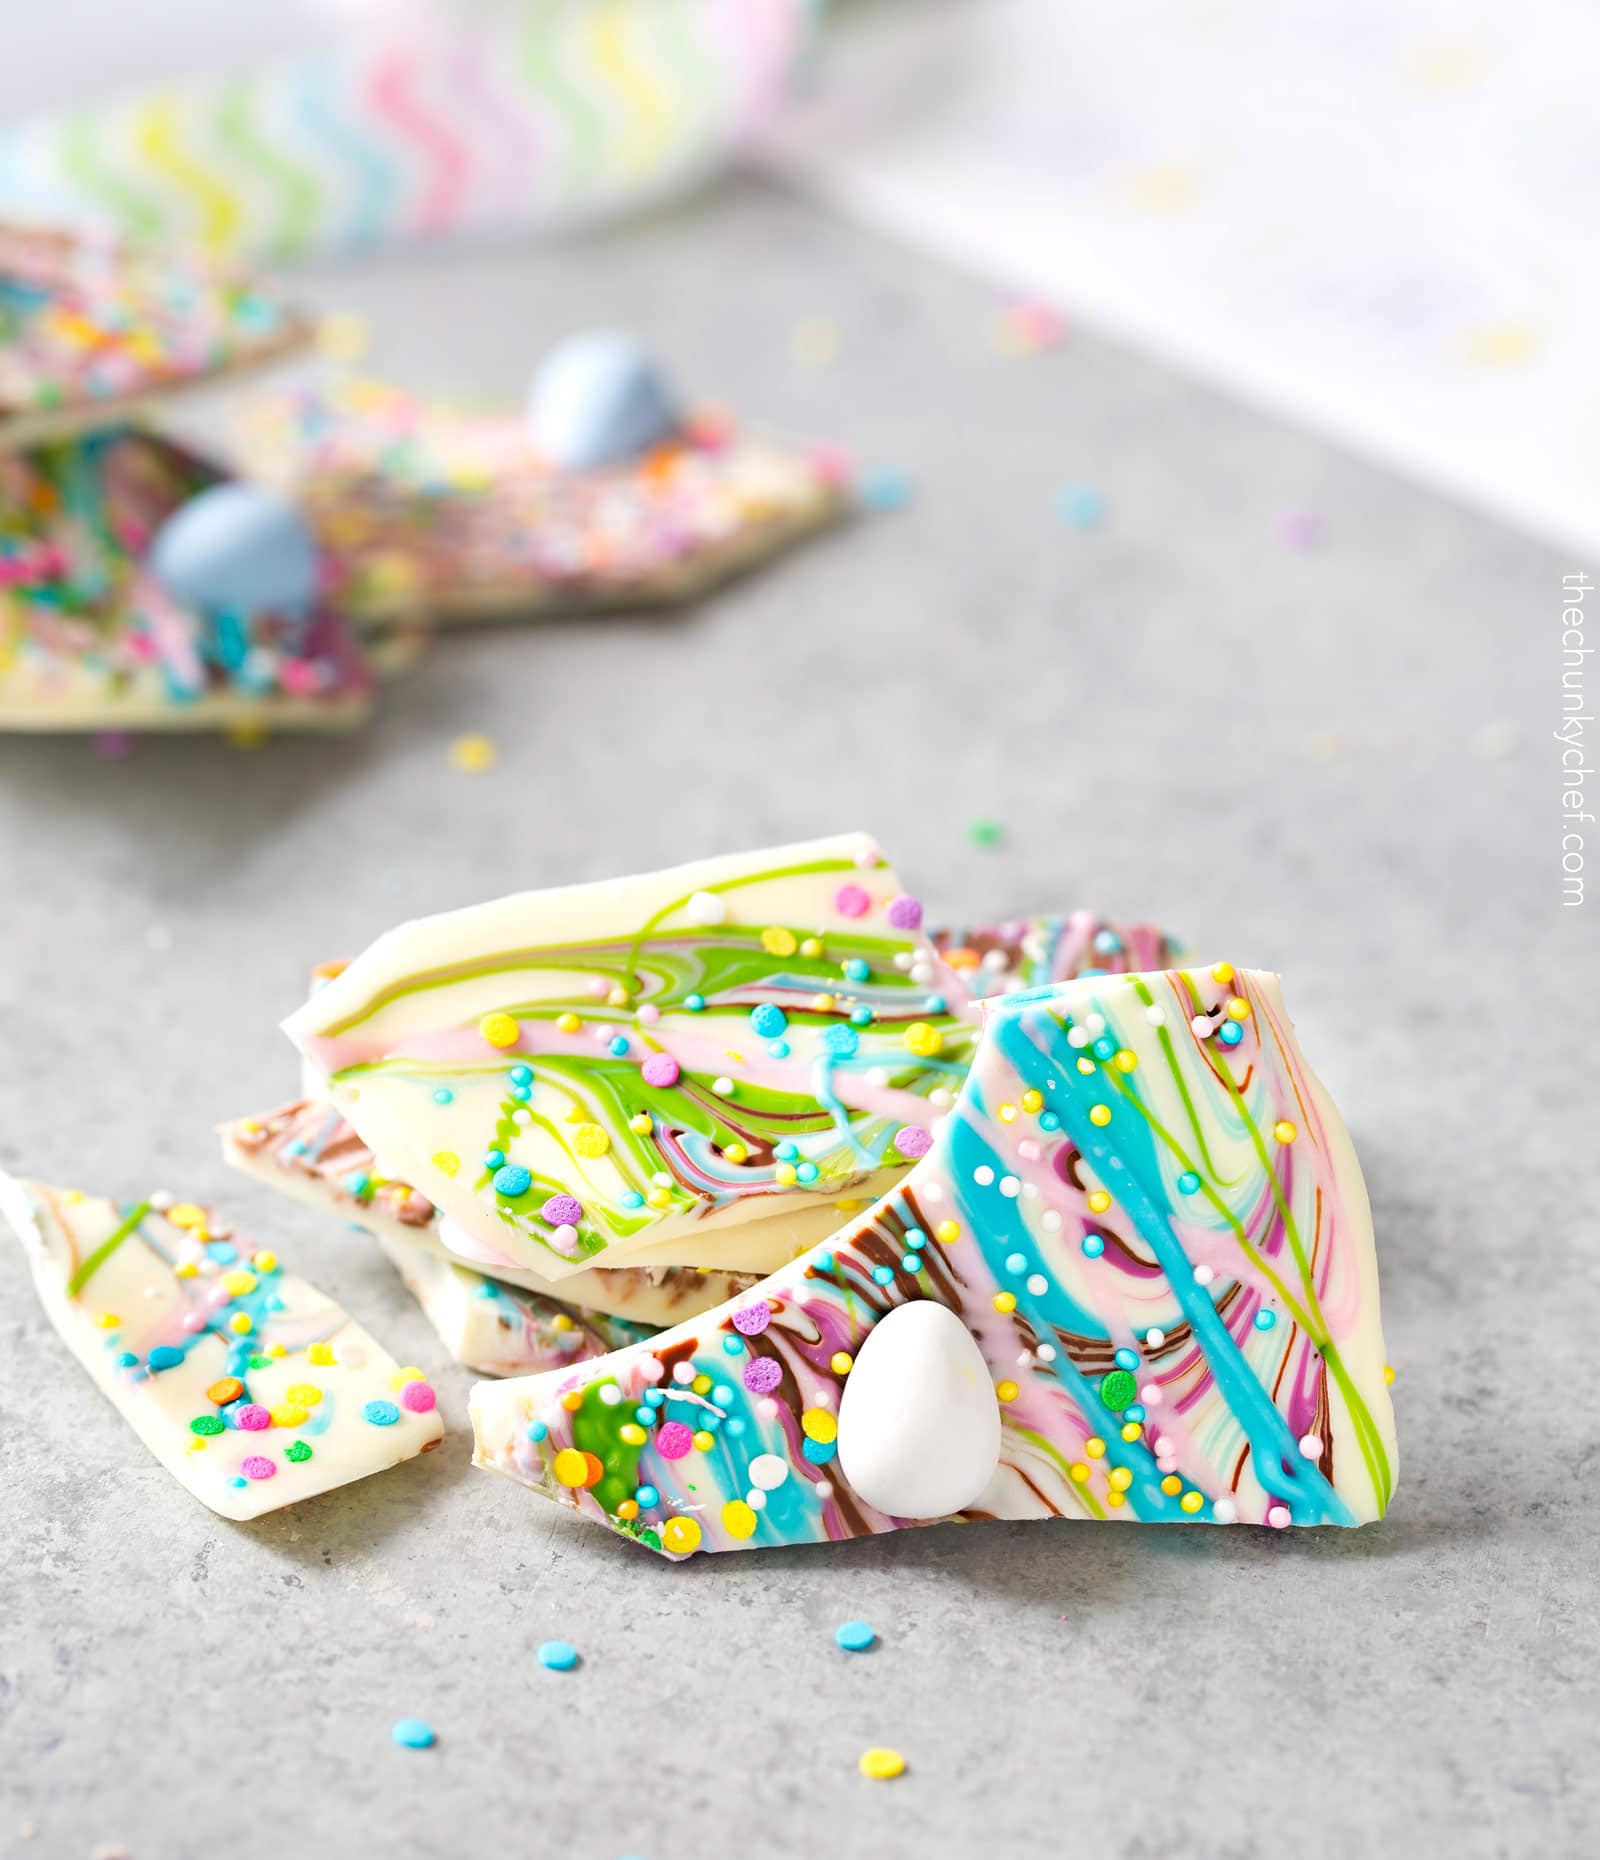
- Break into pieces and serve.
Want to save this recipe for later? Click the heart in the bottom right corner to save to your own recipe box!
Chef Tips
- I used Wilton candy melts, but Merckens is another good brand with a wide color assortment.
- In place of white chocolate melting wafers, Wilton's bright white or white candy melts will work as well.
Nutrition Disclaimer
The Chunky Chef is not a dietician or nutritionist, and any nutritional information shared is an estimate. If calorie count and other nutritional values are important to you, we recommend running the ingredients through whichever online nutritional calculator you prefer. Calories can vary quite a bit depending on which brands were used.
DONNA says
May I ask why you add the coconut oil? Is it for flavor or something else?
The Chunky Chef says
It gives the bark a texture that has a good “snap”, as well as keeping the white chocolate and candy melts from seizing during the melting process 🙂
terdralynn says
Oh my goodness, and I do mean goodness! This is beautiful, and I’m sure just to-die-for delicious. White chocolate is my favorite sweet of all time. My grands will love making this with me!
Anne Kepner says
Thanks for this post, I know white chocolate. And thank for the information on the stickers. This is the prettiest and more delicious bark which I’ve ever seen. Fantastic idea for a birthday gift, I think my younger brother love it.
Many thanks.
Sandi (@fearless_dining) says
This bark looks like so much fun…my kids will love it.
Catalina @ Peas & Peonies says
These are so cute and sweet! 🙂 Fantastic idea for a Easter gift!
Melanie | Melanie Makes says
This bark is so pretty – perfect for Spring and Easter!
d says
This is just so cute! I bet it tastes as good as it looks!
Renee - Kudos Kitchen says
This is the prettiest bark I’ve ever seen, and those labels really make it a charming gift!
Jen says
This is not only completely adorable but looks so yummy! Thanks for the info on the stickers too. I’m always doing gifts for my boys’ friends and teachers and this is such a cute way to personalize it.
Erren says
This is actually perfect for Easter! It looks so fun to make and I bet it’s so tasty!