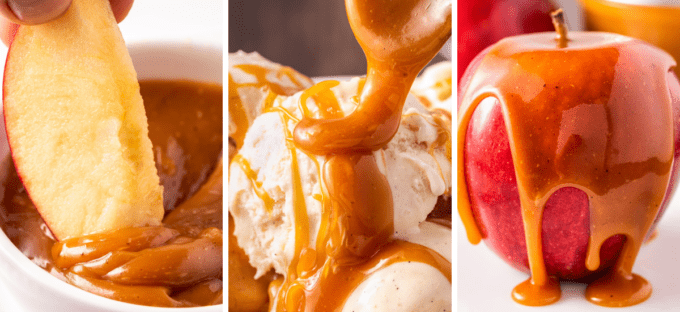
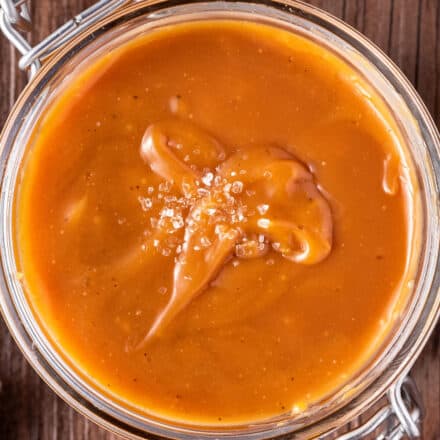
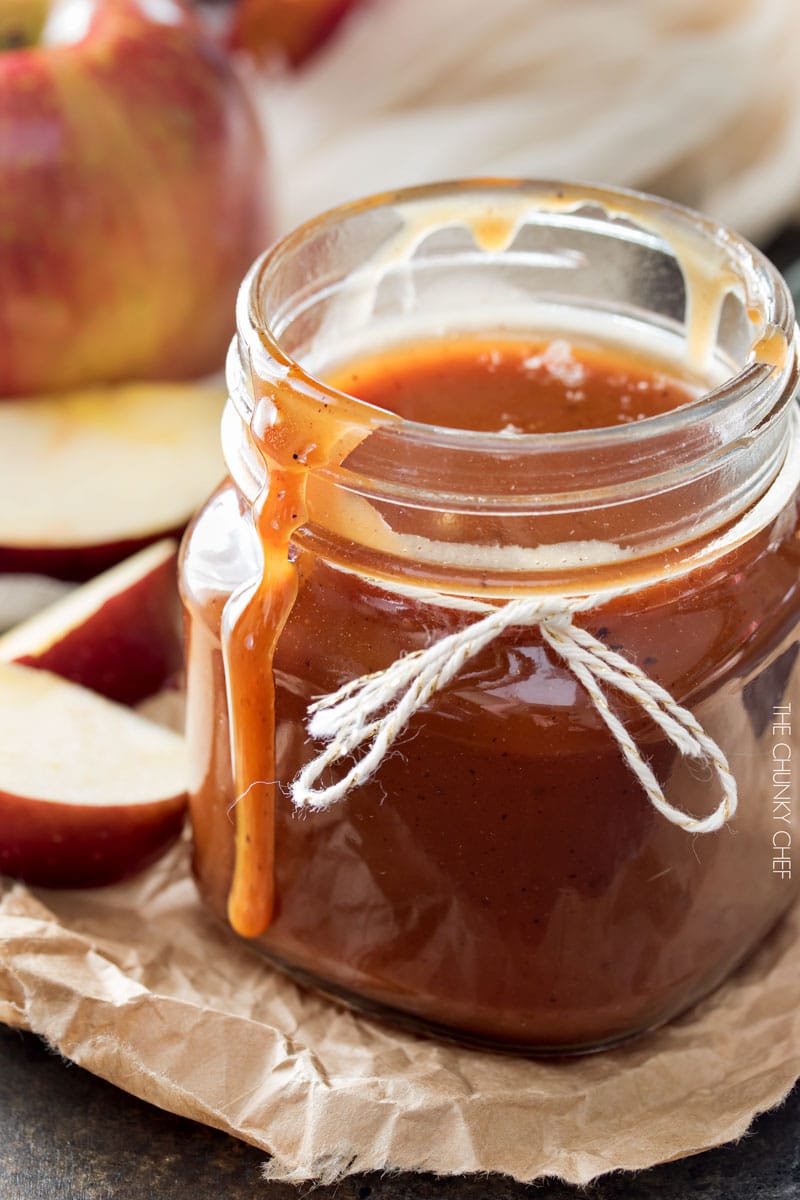
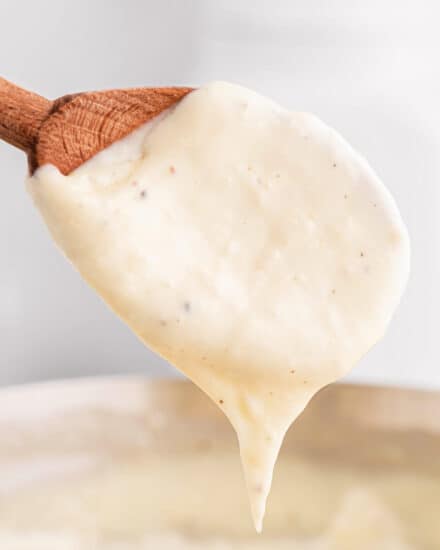
Rich and silky salted caramel sauce made even better by the addition of nutty browned butter! This simple recipe requires only 4 simple ingredients, and is perfect drizzled all over your favorite desserts, or eaten by the spoonful.
This is one of my Pantry/Kitchen Basics recipes I know you’ll want to keep on hand! These recipes are great homemade alternatives to store-bought items.
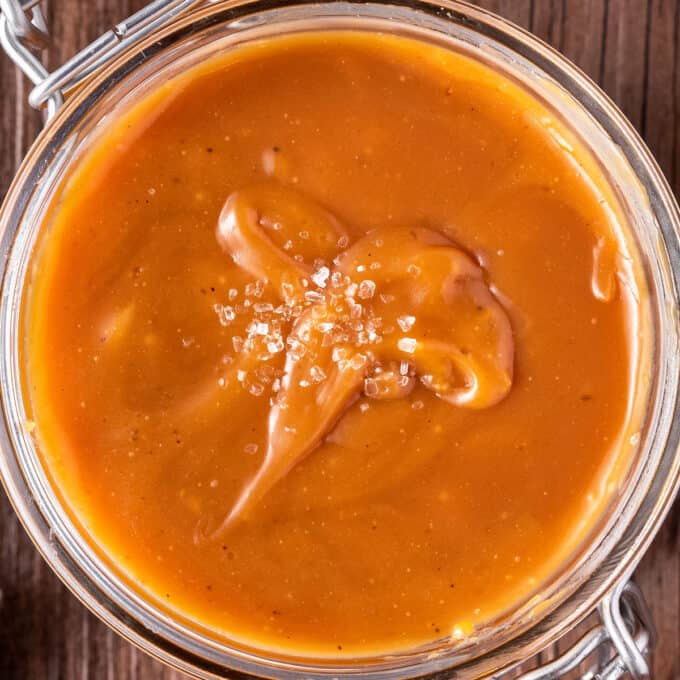
I always thought I wasn’t a huge caramel fan, but as it turns out, I’m just not a fan of the sauce you can buy in the store.
Once I started making caramel sauce at home, I was hooked. I mean, eating it off a spoon type of hooked!
If you’ve never made caramel at home before, I promise, it’s not incredibly difficult… it just takes some patience and faith. And of course, like all skills, you may need to practice a bit before you’re a pro!
There are two main methods for making a homemade caramel sauce; the dry method, and the wet method.
While this recipe has been on the website since 2016, it also happens to be a version of a “dry” method.
There are pros and cons to both methods, and a lot of it comes down to personal preference. I’ll be sharing a “wet” caramel sauce in a couple of days, so you’ll have to give them both a try and see which you like best!
How to make salted caramel sauce?
This is just an overview; the full ingredients and directions are in the recipe card toward the bottom of this post.
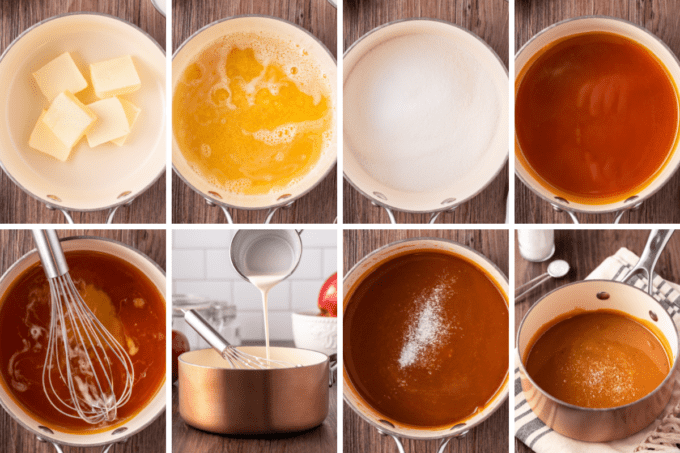
- Brown the butter. This is a great kitchen skill to have; just make sure you don’t walk away while it’s cooking. Butter solids can go from beautifully golden to burnt pretty quickly.
- Melt the sugar. Since this is a dry caramel method, there’s no liquid added to the pan; just sugar. Stir often until all the clumps of sugar are melted and it’s a rich golden/amber color.
- Stir in butter. This is best done slowly, whisking as you pour.
- Stir in heavy cream. This is the part where things get really exciting. The mixture will foam up like crazy, but just keep whisking and it’ll settle into a glossy sauce.
- Stir in salt. I like to use sea salt for this.
Helpful Tip!
When making caramel sauce, and browning butter, I highly recommend using a heavy bottomed stainless steel saucepan. The lighter color allows you to be able to see the color of the butter solids and sugar, and the heavy bottom distributes the heat evenly, so you don’t have hot spots and burn the butter or sugar.
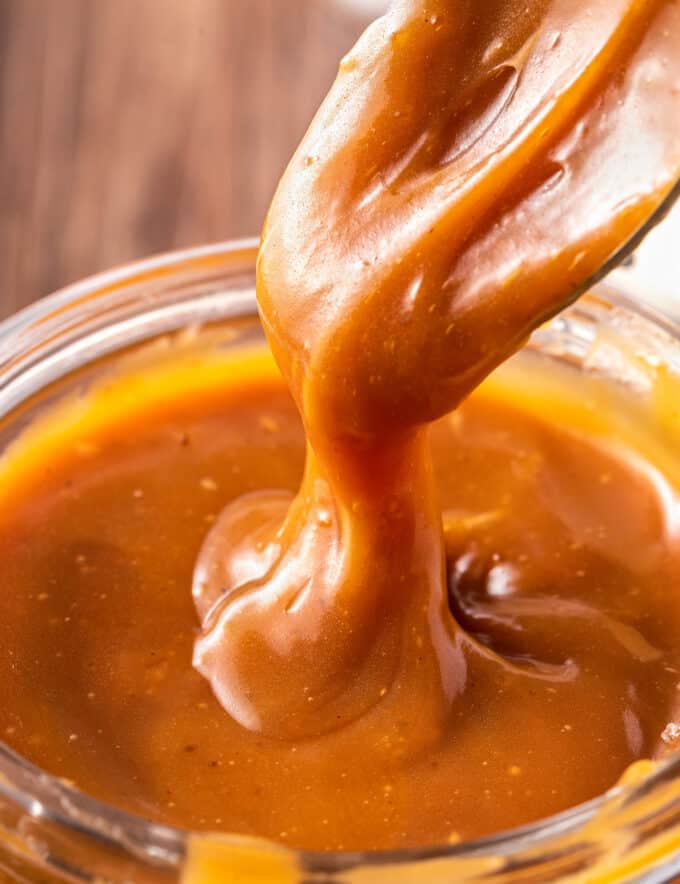
Variations of this recipe
- Unsalted – while I love salted caramel, I know not everyone does… so feel free to leave out the salt if you’d like.
- Liquor – try adding a couple of tablespoons of your favorite liquor (bourbon, whiskey, rum, and apple brandy are my favorites!).
- Spices – adding a cinnamon stick or two to the sugar as it melts will add a nice little kick of flavor.
- Chocolate – once the caramel is made, try stirring some chopped chocolate into the sauce!
- Citrus – if you want something a little different, try adding some orange zest to the caramel (at the end)… it adds a subtle, yet yummy flavor.
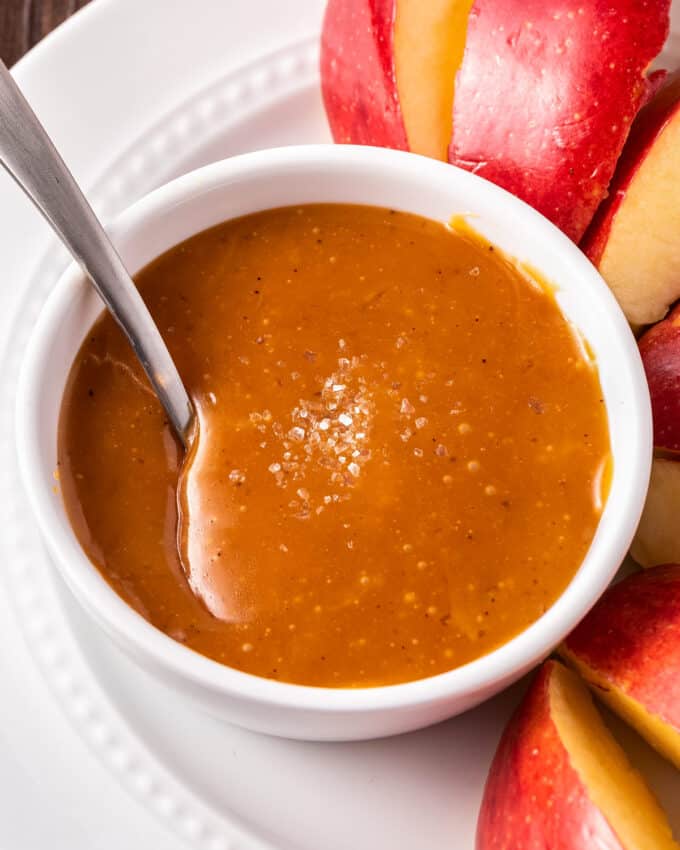
FAQ’s
You can, but I believe that would technically be more of a butterscotch sauce. Equally delicious, but with a little bit of a different flavor.
There are two main ways we prevent seizing in this recipe. Heating the cream up a bit (so it’s not cold at all), and adding the cream slowly while whisking the entire time it’s added. You also want to make sure you have the pan off the heat when you add the cream.
Making caramel sauce ahead of time
The good news is, homemade caramel sauce has long shelf life!
Feel free to make this caramel completely ahead of time, then cool and refrigerate it in an airtight container.
Freezing
This sauce can also be frozen! Just transferred to cooled caramel to a freezer-safe container and freeze for up to 3-6 months.
Thaw in the refrigerator, warm it back up, and use as desired!
Storage
Caramel sauce should be refrigerated in an airtight container and enjoyed within 2-4 weeks.
Since it’s cold, you may want to microwave it a bit to loosen up the sauce.
Tips for a perfect browned butter caramel sauce!
Making caramel from scratch can be intimidating, but I promise, you can do this. Let’s break it down:
- The pan – I highly recommend using a stainless steel or lighter colored pan for the butter and the caramel. Those processes rely on visual cues, aka the color, and it can be difficult to see that in a darker pan. You also want a saucepan with high sides to prevent bubbling over.
- The butter – browning butter can be a little bit of a longer process, and you can’t really walk away and let it do it’s thing… it needs some babysitting. If you’ve never browned butter before this is a great tutorial.
- The sugar – at first it will look like nothing is happening when the sugar is cooking. You may start to question whether you’re doing it right (you are), but then you’ll start to see small wet clumps that gradually become wetter and wetter.
- The heat – it takes a bit of time for the sugar to be completely melted and liquid, so don’t be afraid to adjust the heat on your burner as needed. If you notice it getting super dark before things are mostly dissolved, turn the heat down and pull the pan off the heat for a minute, then add it back to the low heat.
- The patience – I know it’s hard to wait, because you want to move ahead and have a great caramel sauce, but don’t skip waiting for the sugar to completely melt though… you want the sauce to be nice and smooth, not grainy.
- The bubbling – when you add the heavy cream, the caramel will foam and bubble up like some crazy science experiment gone horribly wrong… but don’t worry, it’s supposed to do that! That’s why you need a saucepan with high sides – you don’t want that caramel sauce bubbling over on your stovetop.
- The clump/seize – if you happen to have some clumps of hard caramel, don’t panic. Most of the time, that can be fixed by whisking steadily over a low heat, and it’ll melt away into a rich sauce.
- The lumps – occasionally, especially if you’re new to making caramel, there can be some small, hard lumps of sugar that just won’t melt. You can pour the caramel sauce through a strainer or mesh sieve to remove those, or if they don’t bother you, leave them in.
- The persistence – making homemade caramel sauce can take some time to perfect, even for professional pastry chefs, so don’t worry if it isn’t perfect the very first time you try. Practice makes perfect, and it means you get to have even more caramel sauce 😉
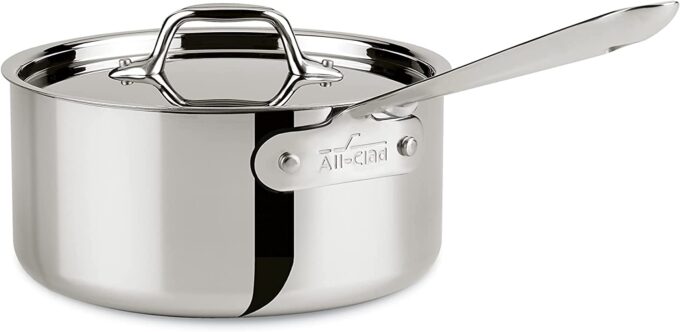
My Favorite Stainless Saucepan!
I know this is an expensive brand, but I wanted to be honest with you about the pan I use to make caramel, and this All-Clad pan is it. You can certainly use any brand of saucepan you’d like, just make sure it has a heavy bottom (look for reviews mentioning even heat distribution) and high sides.
Did you make this? Be sure to leave a review below and tag me @the_chunky_chef on Facebook and Instagram!
Ingredients
- 6 Tbsp unsalted butter
- 1 cup granulated sugar
- 1/2 cup heavy cream + 2-3 Tbsp warmed up, or at the very least, room temperature
- 1/4 tsp sea salt
Instructions
Prepare
- You'll need a high-sided heavy bottomed saucepan for this recipe. Preferably one that is stainless or light in color, so you can use visual cues (the color) to determine doneness of the butter and caramel.
Brown the butter
- Add butter to saucepan and heat on MED-LOW.
- The butter will melt, foam up, then the foam will start to go away. Whisk or swirl the pan frequently as it cooks.
- Brown flecks (the butter solids) will start to form at the bottom. Once they're golden brown (not dark brown or black), and the butter smells nutty, immediately remove pan from the heat.
- Pour butter into small bowl and set aside to cool.
- Wash out and dry the saucepan.
Melt the sugar
- Add sugar to the saucepan and heat over MED-LOW heat, and stir often with a rubber spatula.
- After several minutes, the sugar will start to melt into a whiteish, then light brown liquid and will look clumpy. More and more clumps will appear, then they will start to melt into a brown liquid. Remember, stir often, breaking up clumps if needed.
- Make sure all the clumps of sugar have melted before moving on to the next step.
Make the caramel sauce
- Pour the browned butter in slowly, whisking as you pour.
- Turn off the burner and remove pan from heat. Add the cream slowly, while whisking continuously.
- It will foam and bubble up like crazy, but keep whisking and it will settle down.
- The bubbling will go down and become a glossy sauce.
- Turn the burner back on to simmer for 1-3 minutes on LOW heat, whisking often.
- Sauce will thicken as it cools, so if it looks thin, just give it time to cool some.
- Once it cools for a little bit, stir in the salt.
Serve
- Use right away or store in an airtight container in the refrigerator for 2-4 weeks.
Want to save this recipe for later? Click the heart in the bottom right corner to save to your own recipe box!
Chef Tips
- Recipe makes approximately 1.5 cups, which I’ve estimated should serve around 12 (with the serving size being about 2 Tbsp). Of course, you can portion it into as many servings as you’d like.
- As always, all stove burners will heat differently, and all pans will distribute heat differently. Please use your best judgement and visual cues to decide what’s best.
- If you notice the sugar starting to burn and get very dark while the sugar is still starting to melt, pull the pan off the heat for a minute while stirring. Turn down the heat and continue.
- Warming up the cream is essential to making sure the caramel sauce doesn’t clump into a huge lump on the end of your whisk.
Nutrition Disclaimer
The Chunky Chef is not a dietician or nutritionist, and any nutritional information shared is an estimate. If calorie count and other nutritional values are important to you, we recommend running the ingredients through whichever online nutritional calculator you prefer. Calories can vary quite a bit depending on which brands were used.


Stacey Sturgill says
I’m like you…. I HATE caramel!! Very unpopular opinion. I ran across your recipe and thought “OMG! She’s like me. It’s a recipe worth trying.” Thank you for your witty writing. This is a go to recipe for me now. I now love THIS caramel sauce but won’t eat any other 🤣 Now excuse me while I go throw a recipe of it together for some fruity pebbles covered pretzels for a unicorn birthday party 😊🤤
Pam says
This tastes amazing. I had a big clump form after I put the cream in and it wouldn’t melt. I was worried that it would burn after trying to melt it for about 7 minutes but the rest of the caramel is rich and creamy. There was a build up of crusty sugar around the top part of the pan that I wasn’t expecting. Is that common? Thanks for this. It’s going to go in my apple crisp which will be delicious!
Elizabeth says
Where did I go wrong if it tastes burnt?
The Chunky Chef says
Oh no 🙁 It sounds like your browned butter got burnt. There’s a fine line, so I always error on the side of it maybe not being browned enough, versus taking it too far.
Courtney Mayo says
This is so easy to make my 12 year does it! Absolutely delicious recipe, best caramel sauce I’ve ever had!!!
Sandra says
There are easier ways to make this sauce, with less chance of failing.
The Chunky Chef says
Of course there are; there are easier ways to make a lot of things. I didn’t say this was the only way. Don’t worry, I’ll have an easy and more fail-proof caramel sauce on the site for you soon 😉
Porcelana says
I’m sure it’s delicious but I didn’t have enough patience to make it correctly thus a failure. I thought I would but old habits are hard to break!
Jennifer Wiebe says
So easy and so delicious.
Wanda Hawkins says
Question is it required to use non salted butter.
The Chunky Chef says
No, you can use salted, you’ll just want to be careful how much salt you add at the end 🙂
Sherrie says
I can’t wait to make this homemade Carmel sauce! If it turns out as well as I think it will, I’m gifting small jars of it for the holidays.
Makismom says
So, I’m a disaster at cooking and need to follow instructions to the tiniest detail…. Your recipe lists sea salt as an ingredient, but never tells me what to do with it! Presumably it gets sprinkled on the top, once it’s in the jar, per the photo?
The Chunky Chef says
You add it in step 15 🙂
Sarah says
This is the first time I’ve made caramel that didn’t come out grainy! This is SO GOOD and I’m so thankful for your tips because I wanted to give up at least three times. haha. I substituted half n half because that’s what I had and am still very pleased with the result. Can’t wait to put this in my coffee tomorrow!
Gabriele says
First try at the recipe and it turned out perfect! Thanks! My question ( as I am relatively new to trying new things and NOT a chef! …) can this recipe be used to make hard candies somehow? Or because of the butter, it would stay in fluid form?
The Chunky Chef says
So happy you enjoyed the recipe! However, I’ve only tested this recipe as written. So without testing and retesting it myself, I can’t say for certain if they would work as hard candies, or what would need to be altered to make it work.
Snowflake23 says
How do you keep it from hardening so I can actually use it?
Amanda says
Hardening in the refrigerator after you’ve stored it?
Wendy says
I made your apple crisp this morning, and made this as well. After I added the butter, I stepped away to grab the cream and when I added the cream, the sugar and butter had formed a big clump and stuck to the whisk. I had to turn the heat way up to dissolve the clump. It took a while. Any advise to what I perhaps was doing wrong? Butter too hot
The Chunky Chef says
Hi Wendy 🙂 Based on reader feedback (including yours – thank you!!), I did a lot of extensive retesting and discovered that the cream needs to be at least room temperature. You can also warm it up a bit in another saucepan or in the microwave. This vastly reduced the change of the caramel seizing like you described.
Kara says
Can recipe be doubled? Tripled even?
Kara says
Can recipe be doubled or tripled?
Amanda says
Sure thing 🙂 Just make sure you double or triple all the ingredients.
Kara says
Great! Thank you.
Tessa says
Amazingly delicious! Have thought about making a big batch of it to give away as Christmas gifts. The family loves it – goes great with apple crisp, or dipping apples, etc. Very easy to make.
Susan says
Can this be canned for gifts. Either water bath or pressure cooker. Would love to try for me gift basket but I need a shelf life. Have you tried?
Amanda says
Hi Susan 🙂 I’m not exactly sure if this recipe could be canned, as I’m not super familiar with the canning process and would hate to give you the wrong advice.
Briana says
So delicious! I made exactly what you wrote. I’ll never go back! Ha
Sarah says
Really good! I’ve made traditional caramel before and it wasn’t my favorite but the brown butter is a great addition! The caramel is darker then I prefer though, so next time I’m going to try and put a few drops of water in it to get it to melt a bit faster so that it hopefully doesn’t get as dark. Or maybe try melting it on a lower heat.. not sure but I will experiment with it!
Also made your Apple crisp tonight, going to try it tomorrow! Smells delicious though, its gonna be hard not to sample it!
Sarah says
I tried one more time, this time I pulled the butter off before it made solid chunks, just brown silt at the bottom and whisked it constantly.
I cooked the caramel the same way, but this time lowered the heat to med low. I also combined the milk in the butter and added a bit if vanilla
Came out perfect this time, just needed a little trial and error!
Wendy says
I wonder if your tweak here might help me. After I added the butter, I stepped away to grab the cream and when I added the cream, the sugar and butter had formed a big clump and stuck to the whisk. I had to turn the heat way up to dissolve the clump.