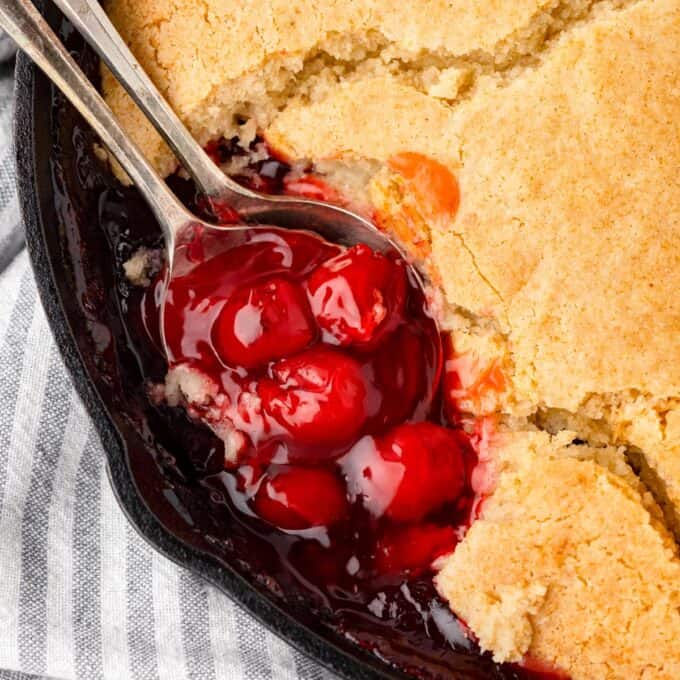
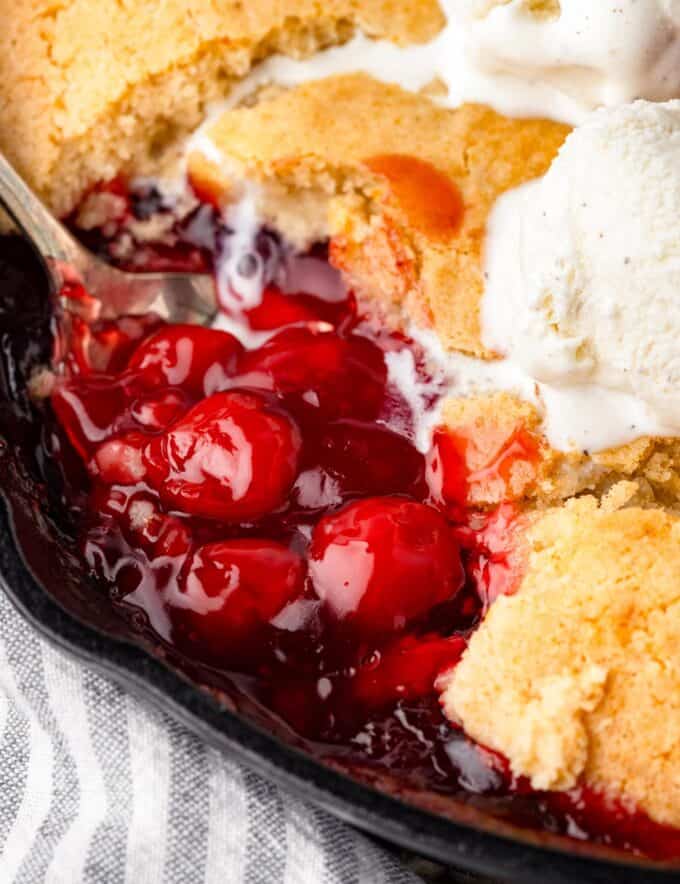
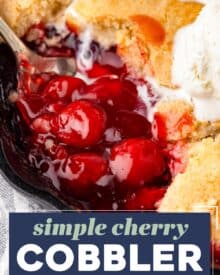
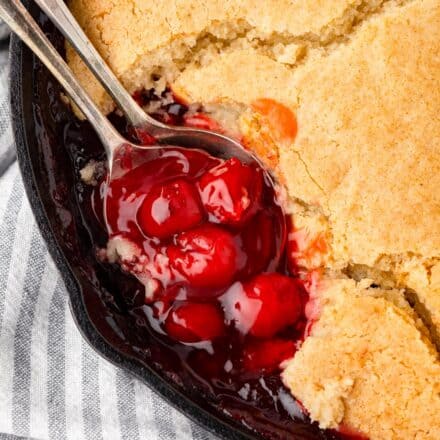
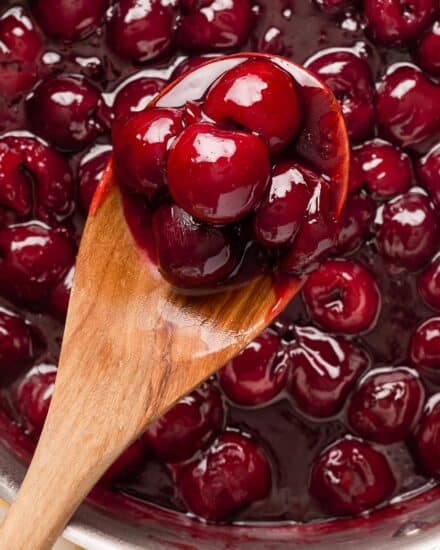
This mouthwatering cherry cobbler is made with canned cherry pie filling (for convenience) and a simple cake batter. As the cobbler is baked, the batter bakes up into a cobbler-style crust on top of the sweet cherries. This recipe is extremely versatile, so you can use homemade pie filling instead of canned, or switch up and use a different fruit filling!
This is one of my Cobbler recipes I know you’ll want to keep on hand!
Well school is back in session here in my neck of the woods, which means we’re all in need of something comforting and sweet.
And I think a homey, smells like Grandma was in your kitchen baking, kind of a dessert is just the thing!
This cobbler is just what the proverbial “doctor ordered”. Cherry pie filling (canned or homemade) is laced with cinnamon and topped with a simple cake batter, and baked in a cast iron skillet until perfectly golden. Oh my goodness you won’t believe how tasty this dessert is.
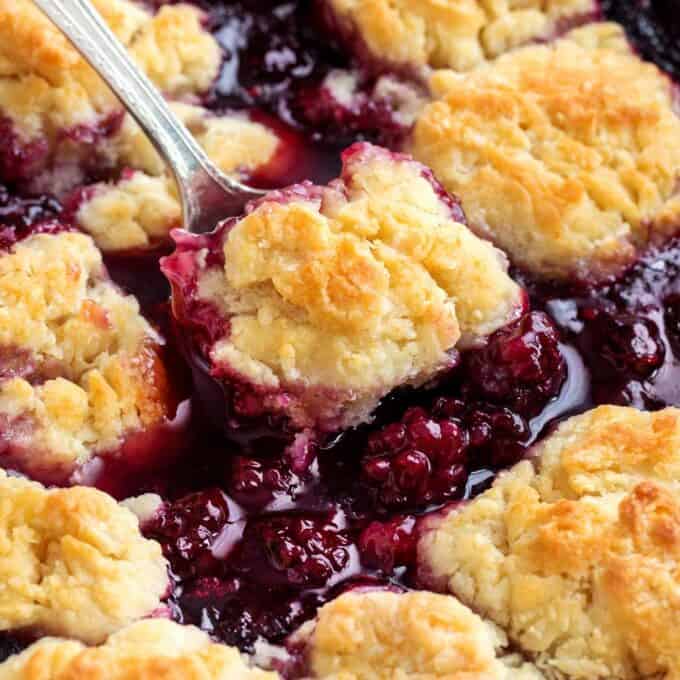
Everyone has their own idea of what constitutes a cobbler. Traditionally speaking though, cobbler is a baked fruit dish that’s either topped with a biscuit, pie crust, or shortbread-like top, or baked with a cake-like topping (like this recipe).
Then when baked, the topping creates a “cobbled” look, similar to a cobblestone street.
What do I need to make this recipe?
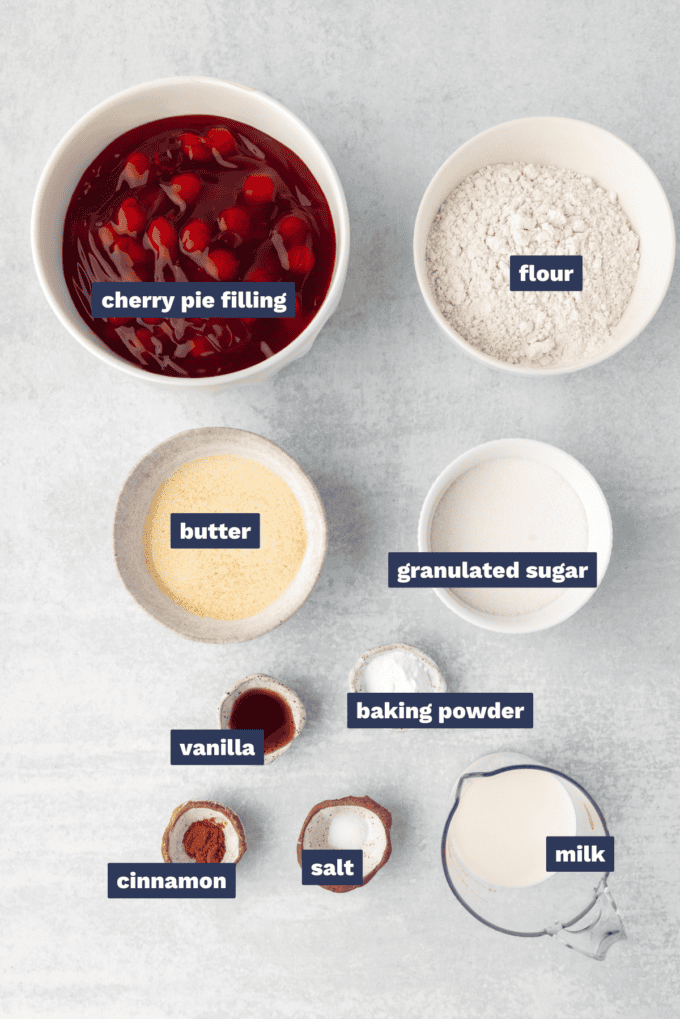
- Cherry pie filling – if I’m using canned pie filling, I like to use Duncan Hines Comstock Original Country Cherry.
- Ground cinnamon – the cinnamon adds a subtle warm flavor.
- Flour – for this recipe, you just need all purpose flour, no need for anything fancy.
- Granulated sugar – every cake batter needs some sweetness!
- Baking powder – this is what causes the batter to puff up while it bakes.
- Salt – salt brings out the sweetness.
- Butter – I prefer to use unsalted butter, but you can use salted if you’d like. Just use less of the salt called for in the recipe.
- Milk – this recipe was developed and tested using whole milk.
- Vanilla extract – I prefer to use real vanilla extract, as opposed to imitation.
How to make cherry cobbler:
This is just an overview; the full ingredients and directions are in the recipe card toward the bottom of this post.
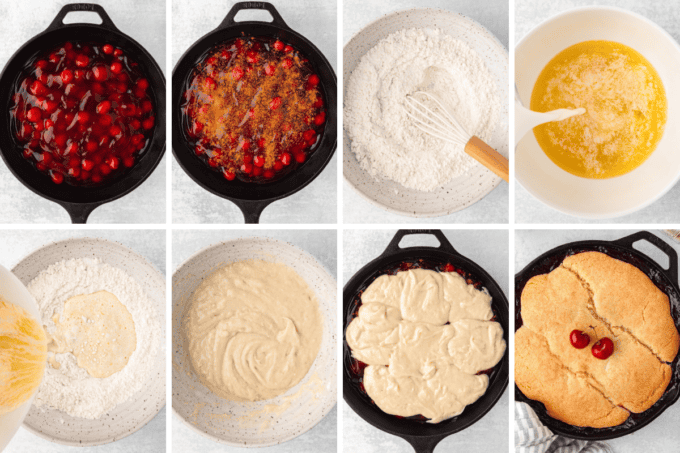
- Add pie filling. Make sure you grease the pan first.
- Stir in cinnamon. There’s no need to do this in a separate bowl, you can stir it right in the skillet or baking dish.
- Whisk dry ingredients. They mix into the batter better this way.
- Stir wet ingredients. This is the melted butter, vanilla extract, and whole milk.
- Combine. Pour the wet ingredients into the mixing bowl with the dry ingredients.
- Stir. Stir/whisk until just combined and no flour streaks remain.
- Spoon onto fruit. I prefer to spoon the batter on top, rather than smoothing it out into a flat layer.
- Bake. Until golden brown and a toothpick inserted comes out clean.
Helpful Tip!
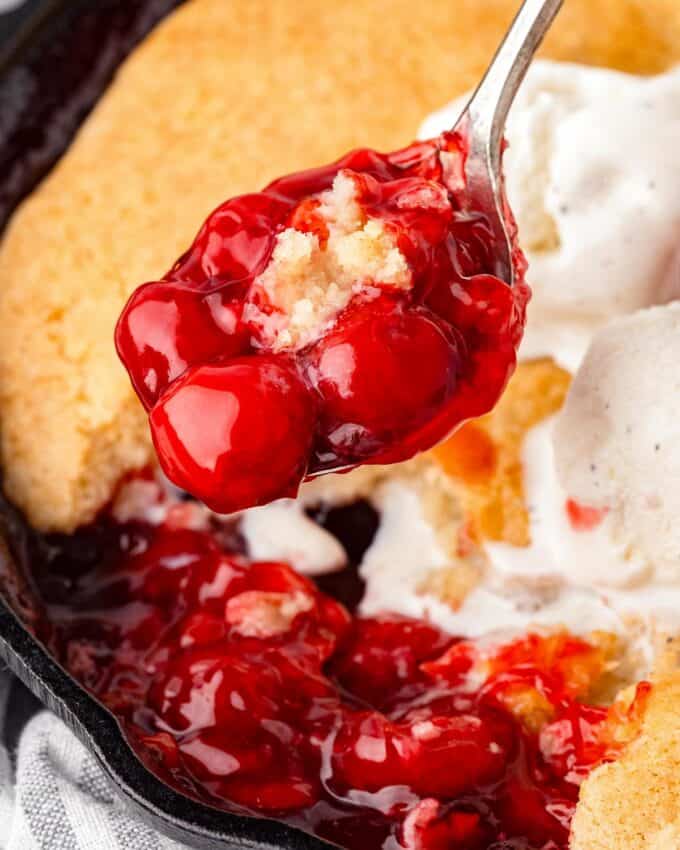
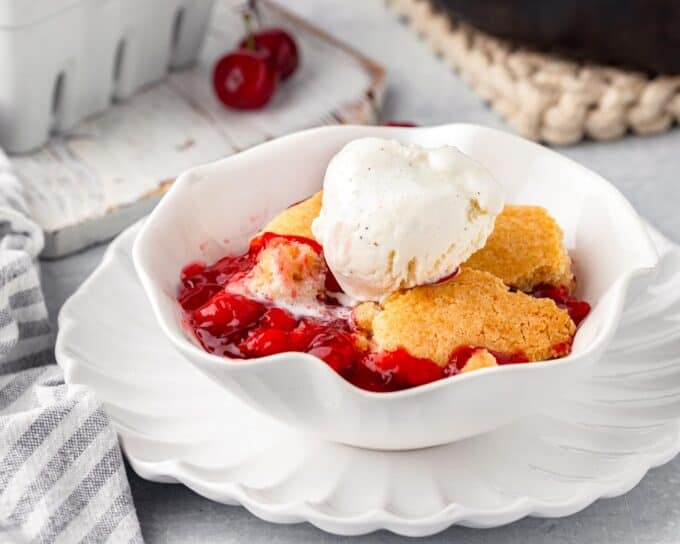
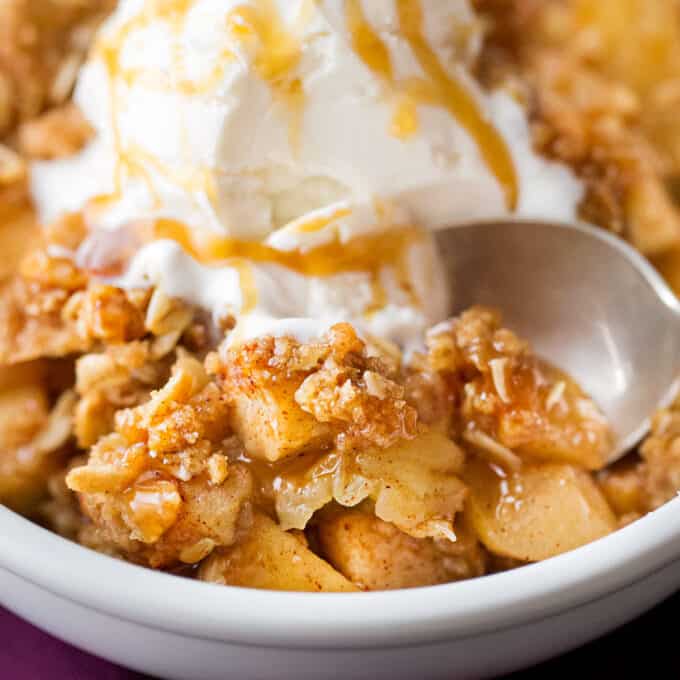
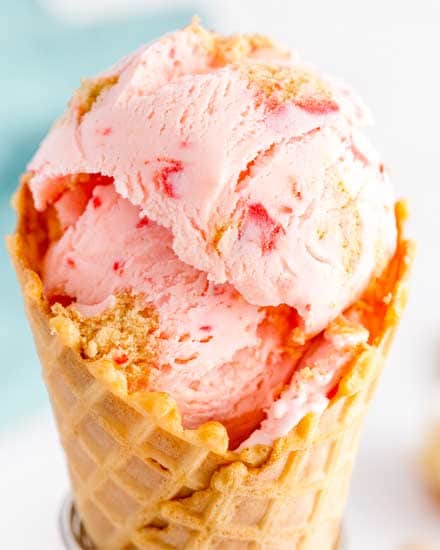
While you certainly don’t need to top this cobbler with anything, our favorite two options are vanilla bean ice cream, and whipped cream.
Variations of this recipe
- Butter – feel free to use salted butter instead of unsalted, but you may want to reduce the kosher salt to just a pinch.
- Cherry pie filling – if you don’t like using canned pie filling, you can use this homemade version. You’ll want to use about 4-5 cups of the filling.
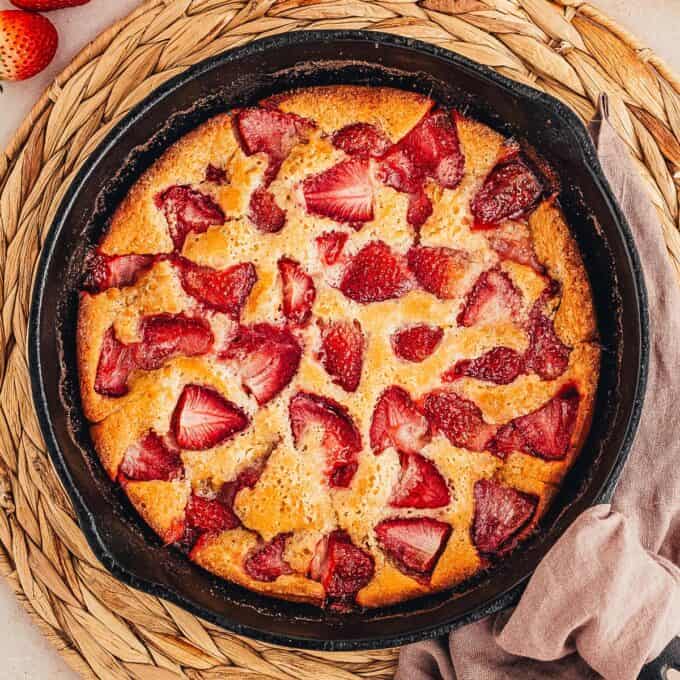
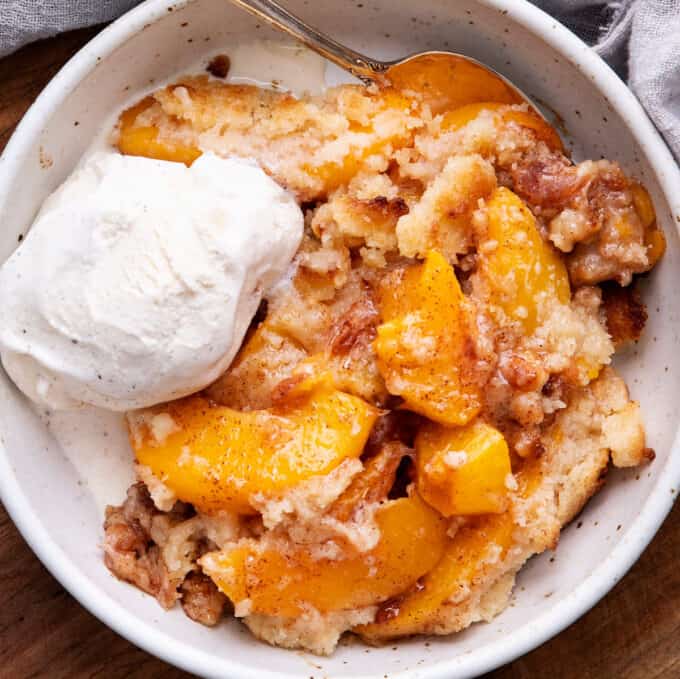
- Other fruit – instead of cherries, you can use another type of fruit pie filling.
- Milk – I recommend using whole milk, but if you’d prefer, you can use a lower fat milk, or even half and half. I haven’t tested this recipe with dairy-free milks, but I think it would work well.
- Baking dish – if you don’t have a cast iron skillet, you can bake this in a 9×9″ baking dish (for a thicker cherry layer) or a 9×13″ baking dish (for a thinner cherry layer). This may change the baking time, so you’ll want to experiment and keep an eye on it as it bakes.
FAQ’s
No, you can use a baking dish (9×9″ or 9×13″) if you don’t have a cast iron or don’t want to use it. Keep in mind that a baking dish may cause this cobbler to to have a different baking time, so keep an eye on it as it gets close, and use a toothpick to check for doneness.
Letting it cool allows the cobbler time to set up more, and as a bonus, you won’t burn yourself!
Making cobbler ahead of time
I feel desserts like this cobbler taste better when baked fresh, but in a pinch, you can bake it ahead of time.
Keep in mind that for the best texture, baking it before serving is the best bet.
Freezing
While I don’t love the texture of this cobbler once it’s been frozen and thawed, you can do it if you’d like.
Once baked and cooled, wrap the cobbler tightly in plastic wrap and then aluminum foil. Freeze for up to 3 months.
Thaw in the refrigerator and bake at 350°F until heated through and bubbly.
Storage
Leftover cobbler should be refrigerated and enjoyed within 3-4 days.
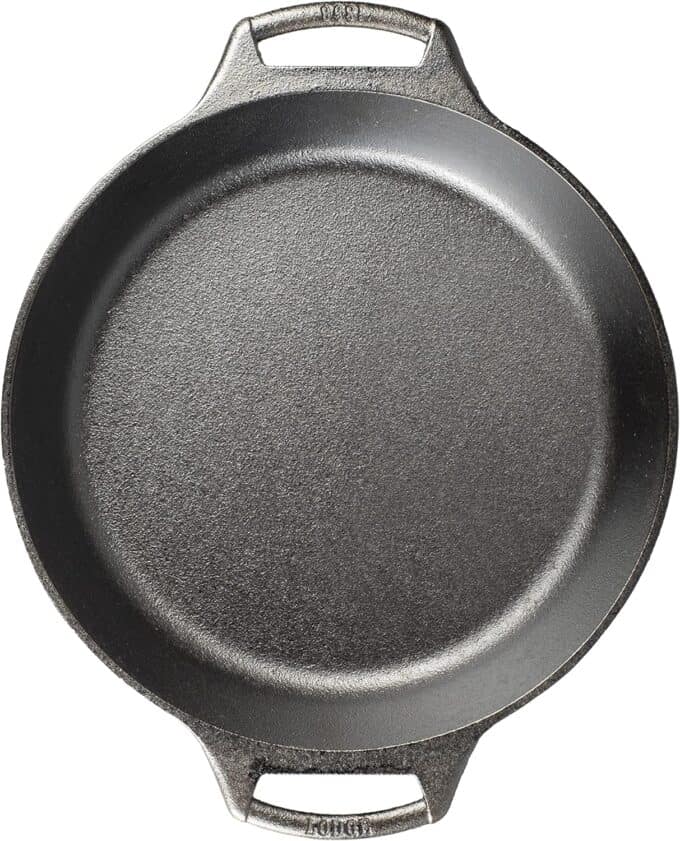
My Favorite Cast Iron Skillet!
This is the exact size you’ll need to make this cobbler, but it’s also great for cornbread, apple crisp, and more!
Did you make this? Be sure to leave a review below and tag me @the_chunky_chef on Facebook and Instagram!
Ingredients
- 2 (21 oz each) cans cherry pie filling
- 1/2 tsp ground cinnamon
- 1 1/2 cups all purpose flour
- 1/2 cup granulated sugar
- 2 tsp baking powder
- 1/4 tsp kosher salt
- 1/2 cup unsalted butter melted
- 1/2 cup whole milk
- 1 tsp vanilla extract
Instructions
Prepare
- Preheat oven to 375°F. Grease a 10" cast iron skillet. I like to use my pan release recipe, but butter will also work well.
- Add cherry pie filling to the greased skillet, then top with ground cinnamon, and stir lightly to combine.
Make topping
- To a large mixing bowl, add flour, granulated sugar, baking powder, and salt. Whisk to combine.
- In a separate bowl, add the melted butter. Warm milk in the microwave until warm to the touch, but not hot.
- Pour the milk and vanilla extract into the melted butter and stir to combine.
- Pour the milk and butter mixture into the larger mixing bowl with the dry ingredients.
- Stir to combine, until no flour streaks remain. Batter may be a bit lumpy, and that's okay.
Assemble and bake
- Drop spoonfuls of the batter over the top of the cherry pie filling, but don't smooth them into an even layer. There's no need to, and leaving them in spoonfuls really adds to the "cobbled" look.
- Bake in preheated oven for 35-40 minutes, until the topping is golden brown and a toothpick inserted into the topping comes out clean or with a few moist crumbs.
Cool and serve
- Remove from the oven and let cobbler cool for 10-15 minutes before serving.
- To serve, top with vanilla ice cream or whipped cream and enjoy!
Want to save this recipe for later? Click the heart in the bottom right corner to save to your own recipe box!
Chef Tips
- I’ve estimated this recipe serves 8, but you’re free to divide the cobbler into as many servings as you’d like.
- Instead of canned pie filling, try my homemade cherry pie filling (it’s super easy to make!).
- Other fruit pie fillings can be substituted if you’d like to change up the flavor.
- If you don’t have a cast iron skillet, you can use a baking dish (9×9″ or 9×13″). Keep in mind that a baking dish may cause this cobbler to to have a different baking time, so keep an eye on it as it gets close, and use a toothpick to check for doneness.
Nutrition Disclaimer
The Chunky Chef is not a dietician or nutritionist, and any nutritional information shared is an estimate. If calorie count and other nutritional values are important to you, we recommend running the ingredients through whichever online nutritional calculator you prefer. Calories can vary quite a bit depending on which brands were used.

Debi Hull says
This was delicious and my family loved it. Thank you.
Carol says
Thank You for all your yummy recipes. I have tried several and family and I truly enjoyed every one. So thank you. We appreciate your hard work and bringing goodness to our table.
Sarah T. says
Could I use almond extract in this recipe instead of or along with the vanilla? Cherry almond cobbler sounds delicious.😋
The Chunky Chef says
Absolutely 🙂