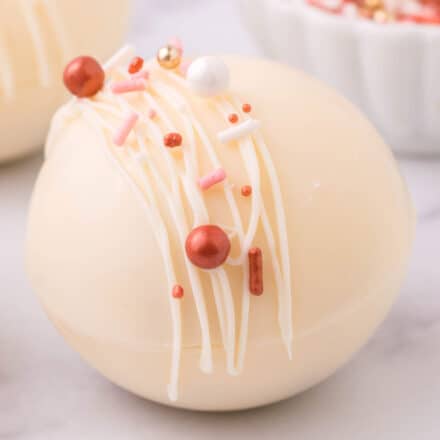
These Hot Chocolate Bombs are perfect for Valentine’s Day, or can be decorated for any holiday! Beautiful spheres of white chocolate are filled with hot cocoa mix and marshmallows… just add one to a mug and top with warm milk for the perfect cold weather drink!
This is one of my Drink recipes I know you’ll want to keep on hand!
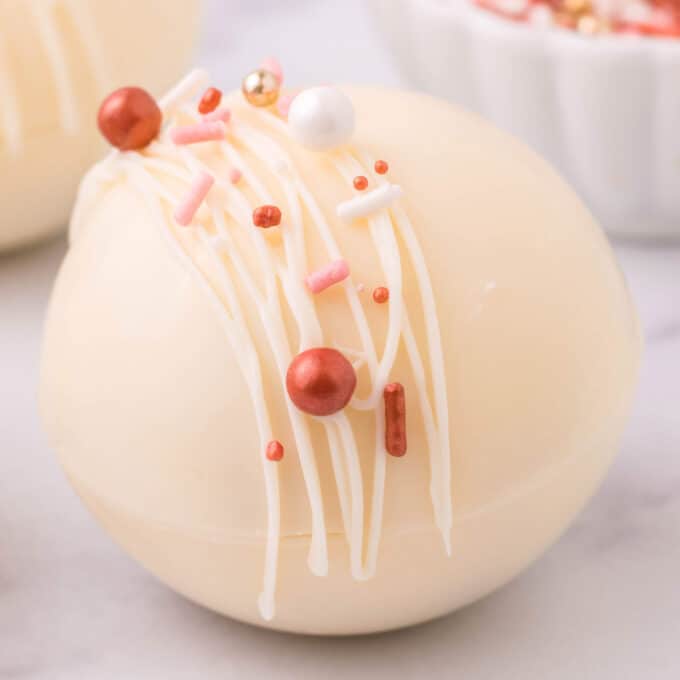
I’m sure you’ve seen or heard of the super popular “hot chocolate bombs”. They’ve been going crazy around the internet for a while now.
In case you don’t know what I’m talking about, they’re basically a hollow sphere of chocolate that’s filled with hot chocolate mix and marshmallows. You add one to a mug and pour in hot milk, then you have yummy hot chocolate!
This version is made with some mini chocolate chips inside as well, to really up the chocolate-y flavor, plus they’re beautifully white and decorated elegantly for Valentine’s Day.
Hot chocolate bombs are great to keep on hand when you want a mug of hot cocoa, and they’re also great to give away as gifts!
How to make homemade hot chocolate bombs?
This is just an overview; the full ingredients and directions are in the recipe card toward the bottom of this post.
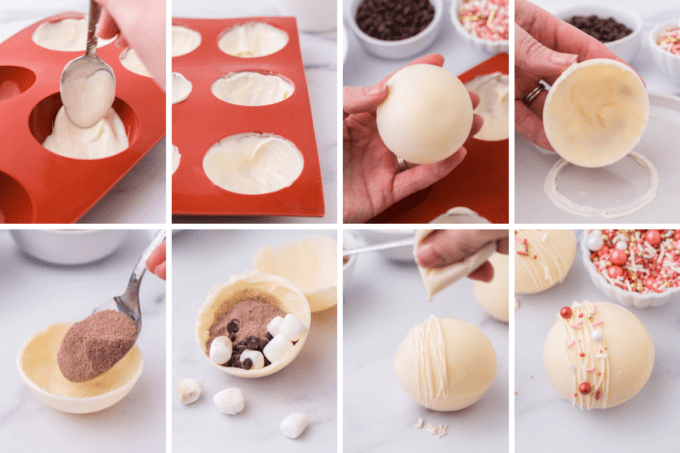
- Melt white chocolate. There are multiple ways to melt chocolate, but I usually use my microwave (for convenience). See my tips for perfectly melted chocolate towards the end of this post!
- Fill molds. Fill each half sphere with a little melted chocolate, then “paint” it up the sides of the cavity.
- Freeze. Just for 5 minutes, or until hardened.
- Remove half sphere.
- Fill. Use some hot chocolate mix, mini chocolate chips, and mini marshmallows.
- Melt rim. Take an empty half sphere and place it on a hot/warm plate until the rim is melted. Place on top of a filled half sphere and set aside to harden.
- Decorate. Drizzle with additional white chocolate and sprinkles.
Helpful Tip!
Don’t worry about what the inside of the half spheres looks like. That part won’t be seen once you’ve assembled the hot chocolate bombs. You just want to make sure the top inside edges of the mold cavities are completely covered and aren’t too thin. If that part is thin, it may break when you try to seal it and top it with another half sphere.
Variations of this recipe
- Type of chocolate – you can make hot chocolate bombs with any of your favorite chocolates. This recipe uses white chocolate, but semi sweet, milk, dark, or even candy melts, etc can all be used.
- Cocoa mix – feel free to use your favorite hot cocoa mix, whether it’s store-bought or homemade.
- Flavors – add some espresso powder for a mocha flavor, powdered peanut butter, powdered strawberry, or even use liquid such as Baileys, Kahlua, etc. If using liquid, please make extra sure your hot chocolate bombs are very well sealed!
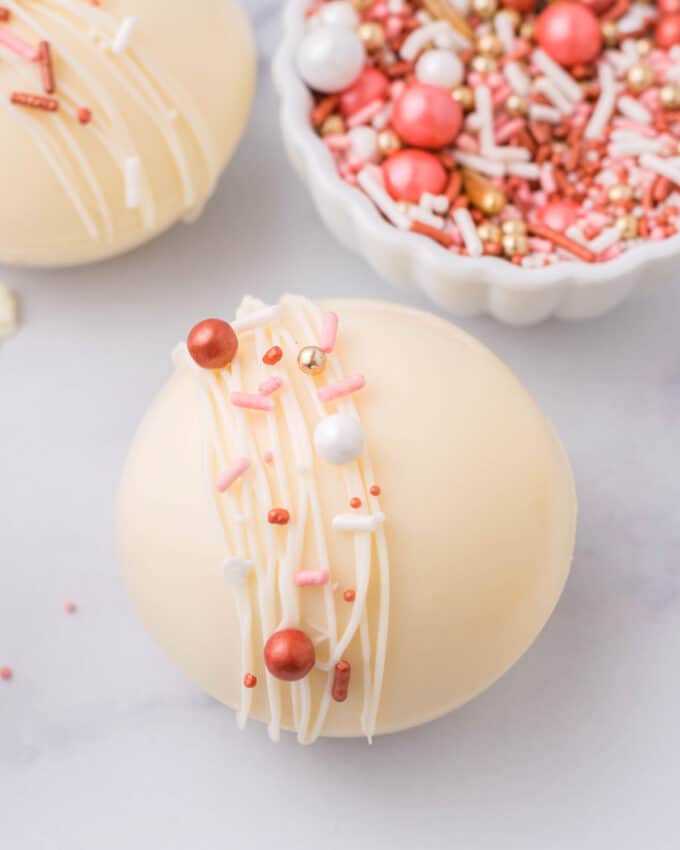
- Holidays – obviously these are decorated for Valentine’s Day, but you can easily make these for any holiday!
- Decorations – feel free to use darker chocolate for the drizzles, colored candy melts, different sprinkles, no sprinkles, peppermint, etc.
FAQ’s
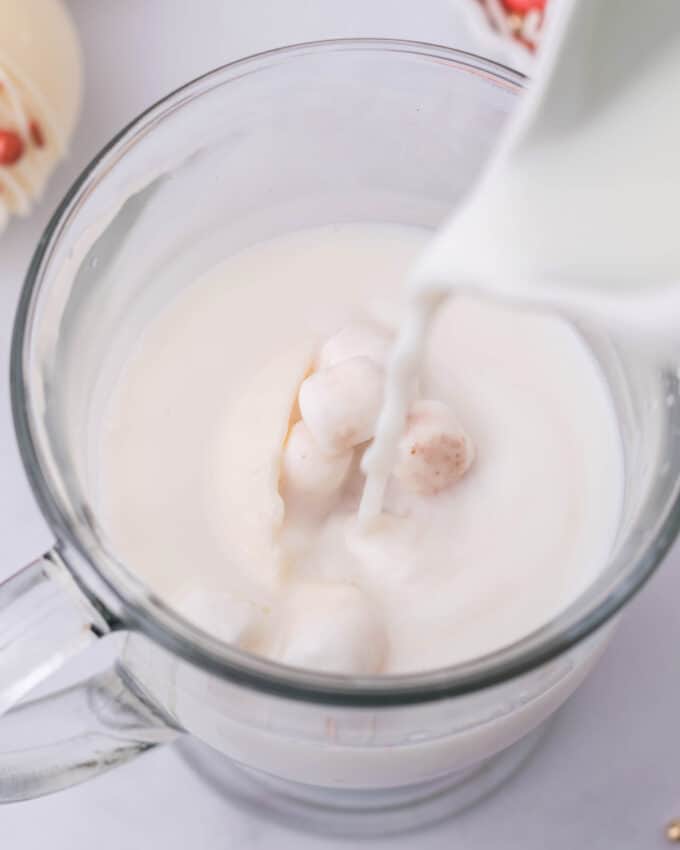
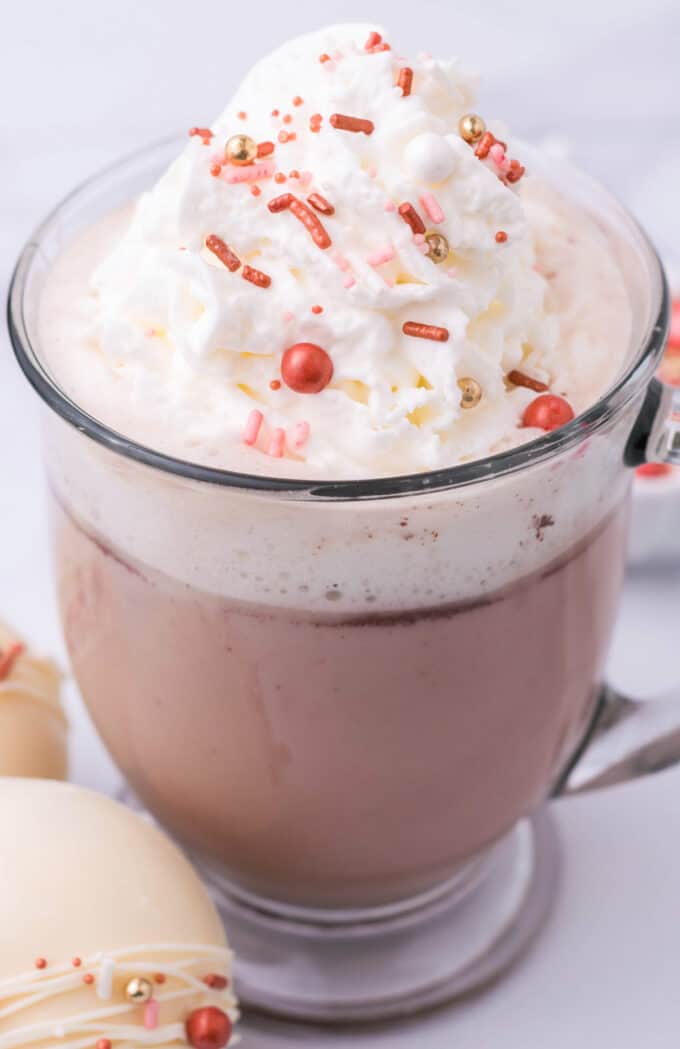
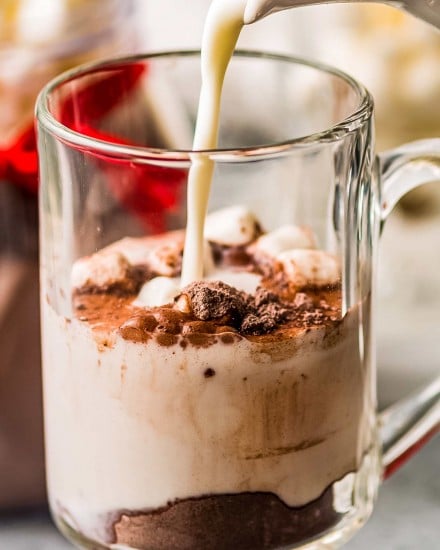
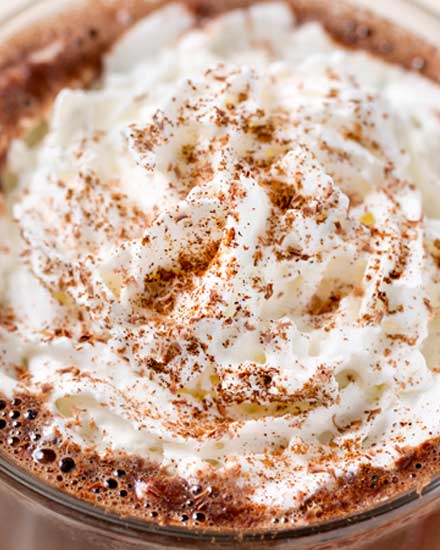
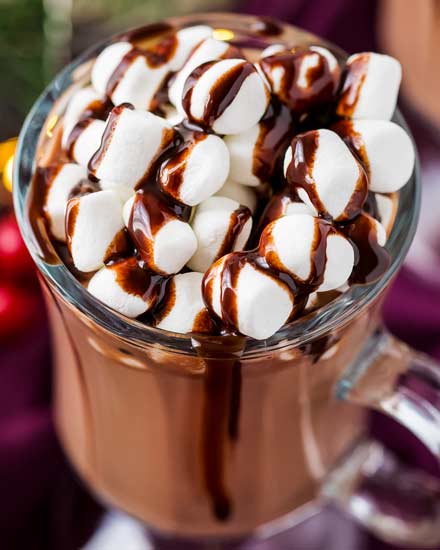
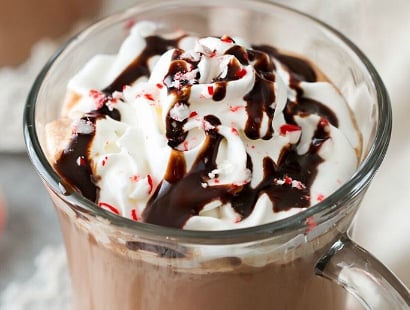
The best way to enjoy these bombs is to add one to a mug and top it with 8oz of hot milk! You can use water, but the hot chocolate won’t have a rich flavor or texture. Top with whipped cream and more sprinkles for a decadent treat.
There are several ways to seal a hot chocolate/hot cocoa bomb. In this recipe, we use a warmed plate, but you can use a warmed metal spoon, or even pipe on some additional melted chocolate. For the full details, see the recipe below.
Making hot cocoa bombs ahead of time
This is a great make-ahead recipe, since making these hot chocolate bombs ahead of time doesn’t sacrifice any flavor or texture.
Just make sure they’re kept in an airtight container. They can be made up to 2 weeks ahead of time.
Storage
Hot chocolate bombs can be stored in an airtight container in either the refrigerator or at room temperature.
They should last for up to 2 weeks.
Freezing
If you’d like even longer storage, hot cocoa bombs can be frozen!
Wrap each individual sphere in 1-2 layers of plastic wrap, then add to a freezer-safe container and freeze for up to 6 months.
Tips for Perfectly Melted Chocolate!
Melting chocolate seems super easy, but sometimes it goes awry and we don’t understand what happened. Here are my top tips for getting perfectly melted chocolate, every time!
- Don’t cook on full power. Set your microwave to half power (or medium). This lessens the chance of the chocolate heating too quickly and “seizing”.
- Heat slowly. Melt the chocolate in 20-30 second intervals for the first minute, then in 15 second intervals after that, stirring after each cooking interval. It takes longer, but trust me, it’s worth it.
- Add a bit of oil. One of my favorite tricks is to add a little bit (depending on the amount of chocolate, use about 2 tsp or so) of vegetable oil to the chocolate before melting. I don’t think I’ve ever had seized or scorched chocolate when following the microwave tips and this one!
Troubleshooting seized chocolate!
When melting chocolate, have you ever had it go from luxuriously smooth and silky, to a thick, grainy paste? It seized up on you, and it’s incredibly frustrating! Chocolate will do that for one of two reasons.
- First, a bit of water got into your chocolate. Water is the enemy of melted chocolate and will turn all it into a gluey paste, very quickly.
- Secondly, it can be overheated and scorched. This often happens when chocolate is cooked at too high of a temperature, and/or for too long.
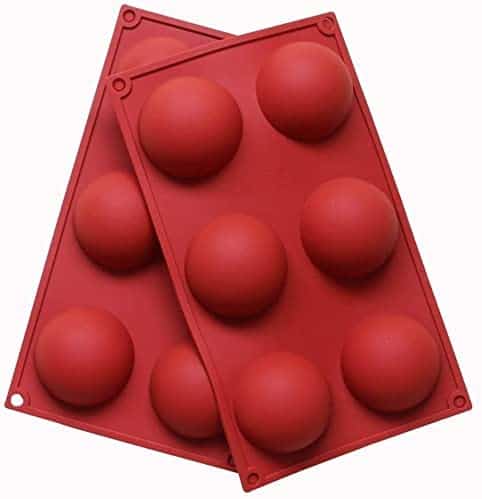
My Favorite Molds!
These silicone molds are so easy to use, clean, and store, and they’re pretty inexpensive. Great for making all kinds of hot chocolate bombs!
Did you make this? Be sure to leave a review below and tag me @the_chunky_chef on Facebook and Instagram!
Equipment
Ingredients
- 1 1/2 cups white chocolate chips divided
- 3 – 6 Tbsp hot chocolate mix (for reference, a standard packet of mix is almost 1.5 Tbsp)
- mini chocolate chips
- mini marshmallows
- sprinkles
Instructions
- Add 1 cup of the white chocolate to a microwave safe bowl and heat for 30 seconds. Stir, then heat again for 10-15 seconds at a time, stirring in between, until melted and smooth.
- Add about 2 Tbsp of the melted white chocolate to a half sphere mold cavity. Use a spoon or small pastry brush to "paint" the inside of the mold. Cover the interior of the sphere entirely. Repeat with remaining mold cavities and chocolate.
- Place mold in the freezer for about 5 minutes, or until completely hardened.
- Gently remove the half spheres from the molds and set on a work surface. Fill 3 of the half spheres with 1-2 Tbsp of hot cocoa mix, some chocolate chips, and some mini marshmallows.
- Microwave a microwave safe plate for about 45 seconds and carefully remove (use an oven mitt if it gets really hot). Place an empty half sphere, open side down on the warm plate. It should only take a second or two for the rim to melt a little. Place that half sphere on top of one of the filled half spheres, then set aside to harden. Repeat with remaining cocoa bombs.
- Once all the cocoa bombs are filled and assembled, melt the remaining 1/2 cup of white chocolate, heating for 15 seconds at a time, stirring in between, until melted and smooth.
- Transfer melted white chocolate to a piping bag, or ziploc bag. Cut a small snip off the corner and drizzle the assembled cocoa bombs with the melted chocolate. While the drizzles are still melted, quickly sprinkle with desired sprinkles.
- Set aside to harden, or add to the refrigerator to harden quicker.
- To use: add one hot chocolate bomb to a mug and top with 8oz of hot milk. Stir until it has melted completely.
Want to save this recipe for later? Click the heart in the bottom right corner to save to your own recipe box!
Chef Tips
- Recipe makes 3 fully assembled hot chocolate bombs, and can easily be scaled up for however many you’d like to make.
- Feel free to use store-bought or homemade hot chocolate mix.
- The amount of mini chocolate chips and mini marshmallows used is completely up to you.
- Other ways to seal the two half spheres together are to dip a metal spoon in hot water, wipe the liquid off, and run it around the rim of one sphere. You can also heat a non-stick skillet over low heat and use that in place of the warm plate used in the instructions above.
Nutrition Disclaimer
The Chunky Chef is not a dietician or nutritionist, and any nutritional information shared is an estimate. If calorie count and other nutritional values are important to you, we recommend running the ingredients through whichever online nutritional calculator you prefer. Calories can vary quite a bit depending on which brands were used.



Tisha says
I love hot cocoa bombs! These are such a cute idea
Cathy says
These are so fun my kids will love them!
Beti | easyweeknightrecipes says
My kids will be super excited with these! They are so adorable!
katerina @ diethood.com says
Oh my goodness, these are amazing! I can’t wait to try these for Valentine’s Day!!
Beth says
Oh, these are so cute. They’re the perfect thing to make for the kids or to give as a gift. Love it.
Erin | Dinners, Dishes and Dessert says
These Hot Chocolate Bombs are looking heavenly!
Deborah says
OMG, these look like the bomb! I cannot wait to try these. Thank you for sharing, Amanda.